


Fieldstone can be used for many things and we put it to excellent use by upgrading the porch of our carriage house.
Why did it “need” a fieldstone upgrade?
Well, even though it was completely functional it was looking a little sad.
Let’s turn that into a DIY word problem.
Sad-looking plus completely functional equals unrealized potential!
If you combine that with a train leaving the station my recently learned and very basic masonry skills, you get a match made in DIY heaven.

First, a mini primer on fieldstone.
Fieldstone occurs naturally in the soil, likely deposited by glaciers. The stones are comprised of granite, limestone, and sandstone and are collected from the surface of the soil, usually to make the land more farmable.
Before mechanization, fields had to be cleared of stones by hand if there was any chance of successfully growing crops on them. Talk about an arduous task. It was also neverending to some extent because a harsh winter could “frost churn” stones to the surface.
You’ll often see low stone walls around really old homes or fields and this is likely why. They had an excess of stones and needed somewhere to put them! Our property is an excellent example of this.
To this day, every time we dig in the ground, we find more stones and add them to the walls.


Fieldstone is also used in its natural form for architectural purposes as many old homes and buildings are built with fieldstone. Our house has an 18-inch thick fieldstone foundation.
Basically, if it’s a rock you found in the ground and you use it in its natural shape, that’s a fieldstone.
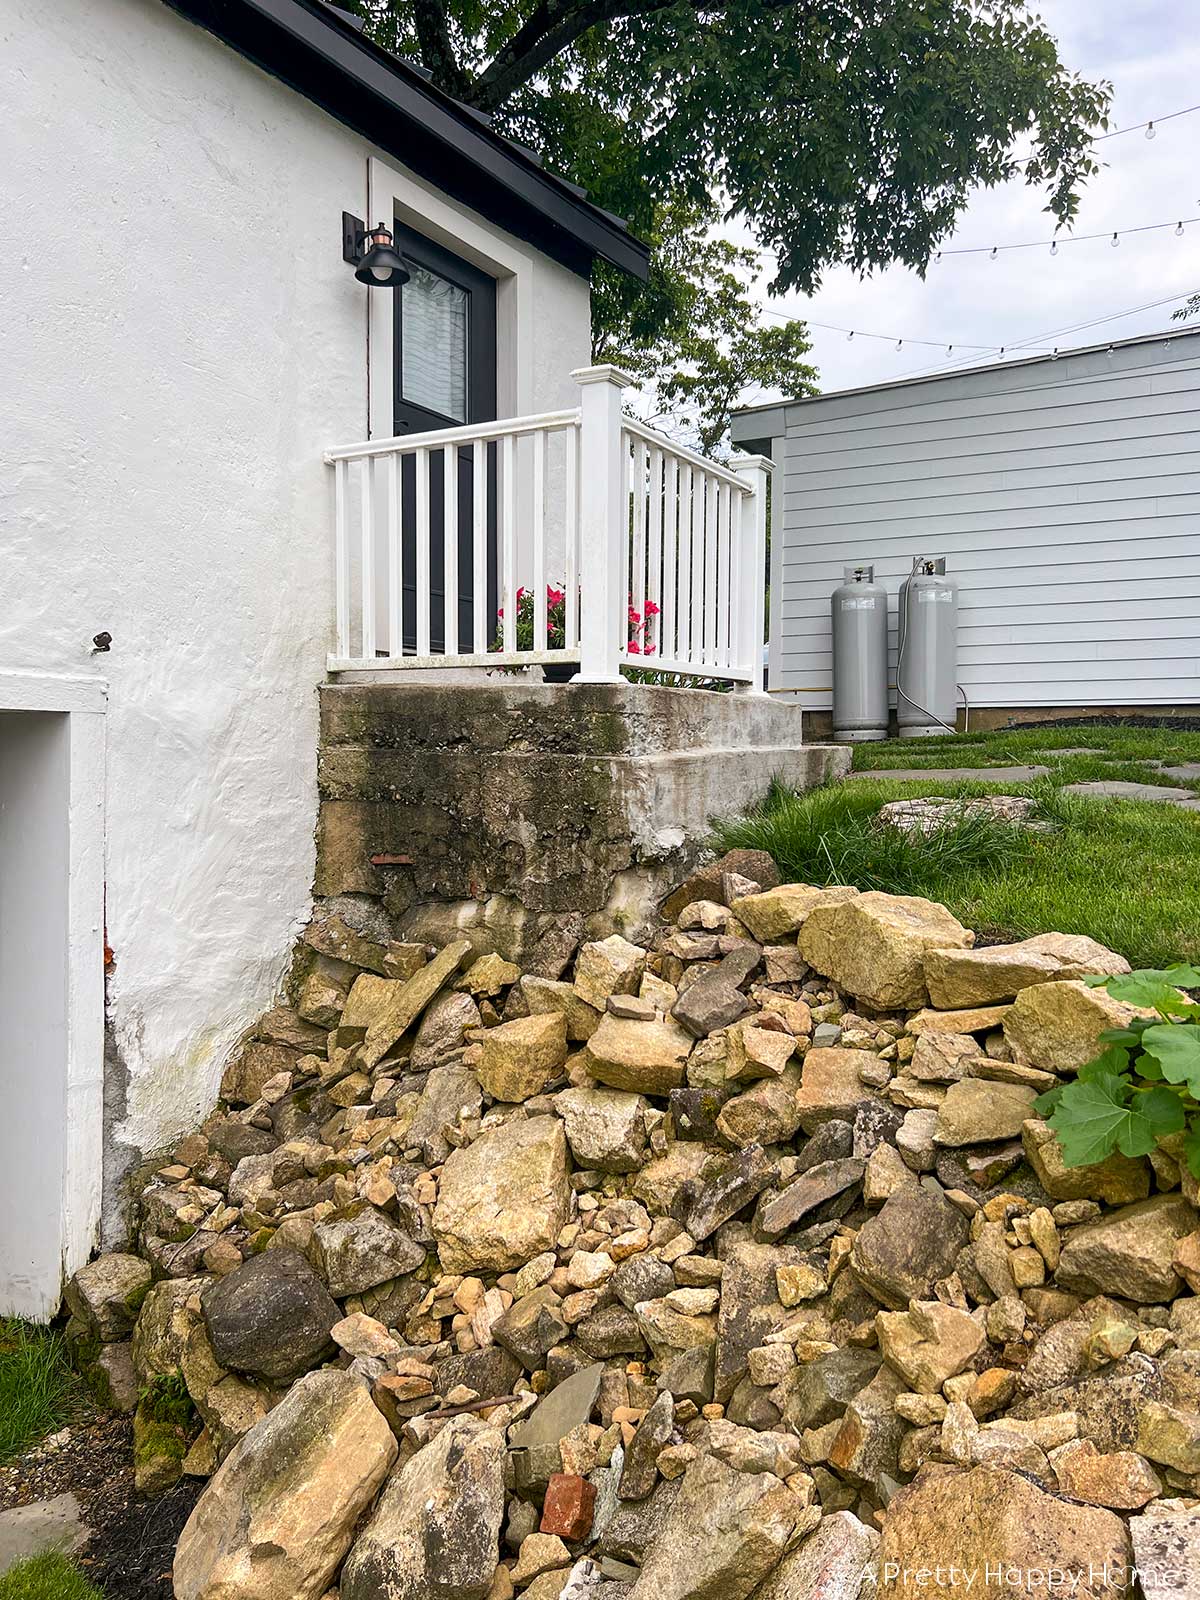
Since we have an excess of fieldstones, we decided to use them to upgrade this concrete porch that was poured in the 1980s to give access to the top floor of our carriage house.
This is how the porch and building looked in 2019. Squint and you’ll see the potential!
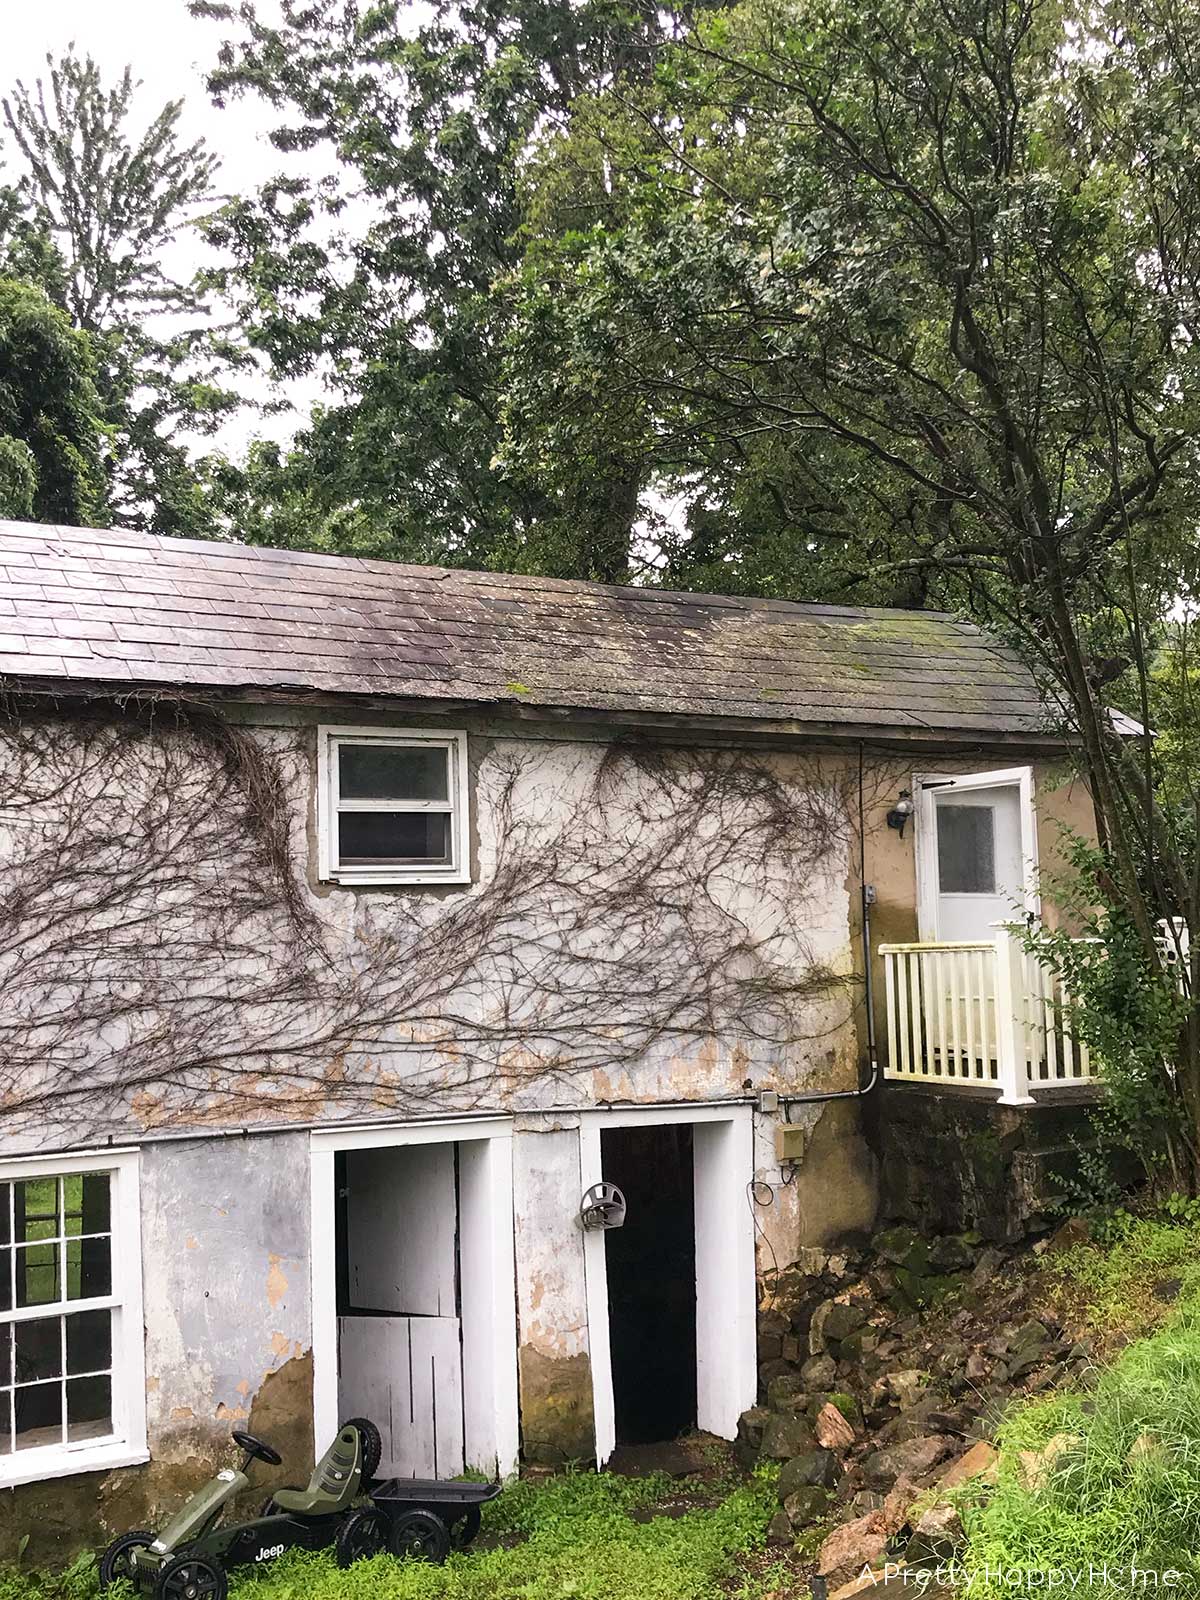
We’ve done a fair bit of work to the building since then. New roof. New paint. Cleaned up the landscaping.
If the porch concrete looks a little nicer than the above photo your eyes aren’t fooling you. We skimmed over the rough aggregate on the top part of the porch with new concrete a couple of years ago.
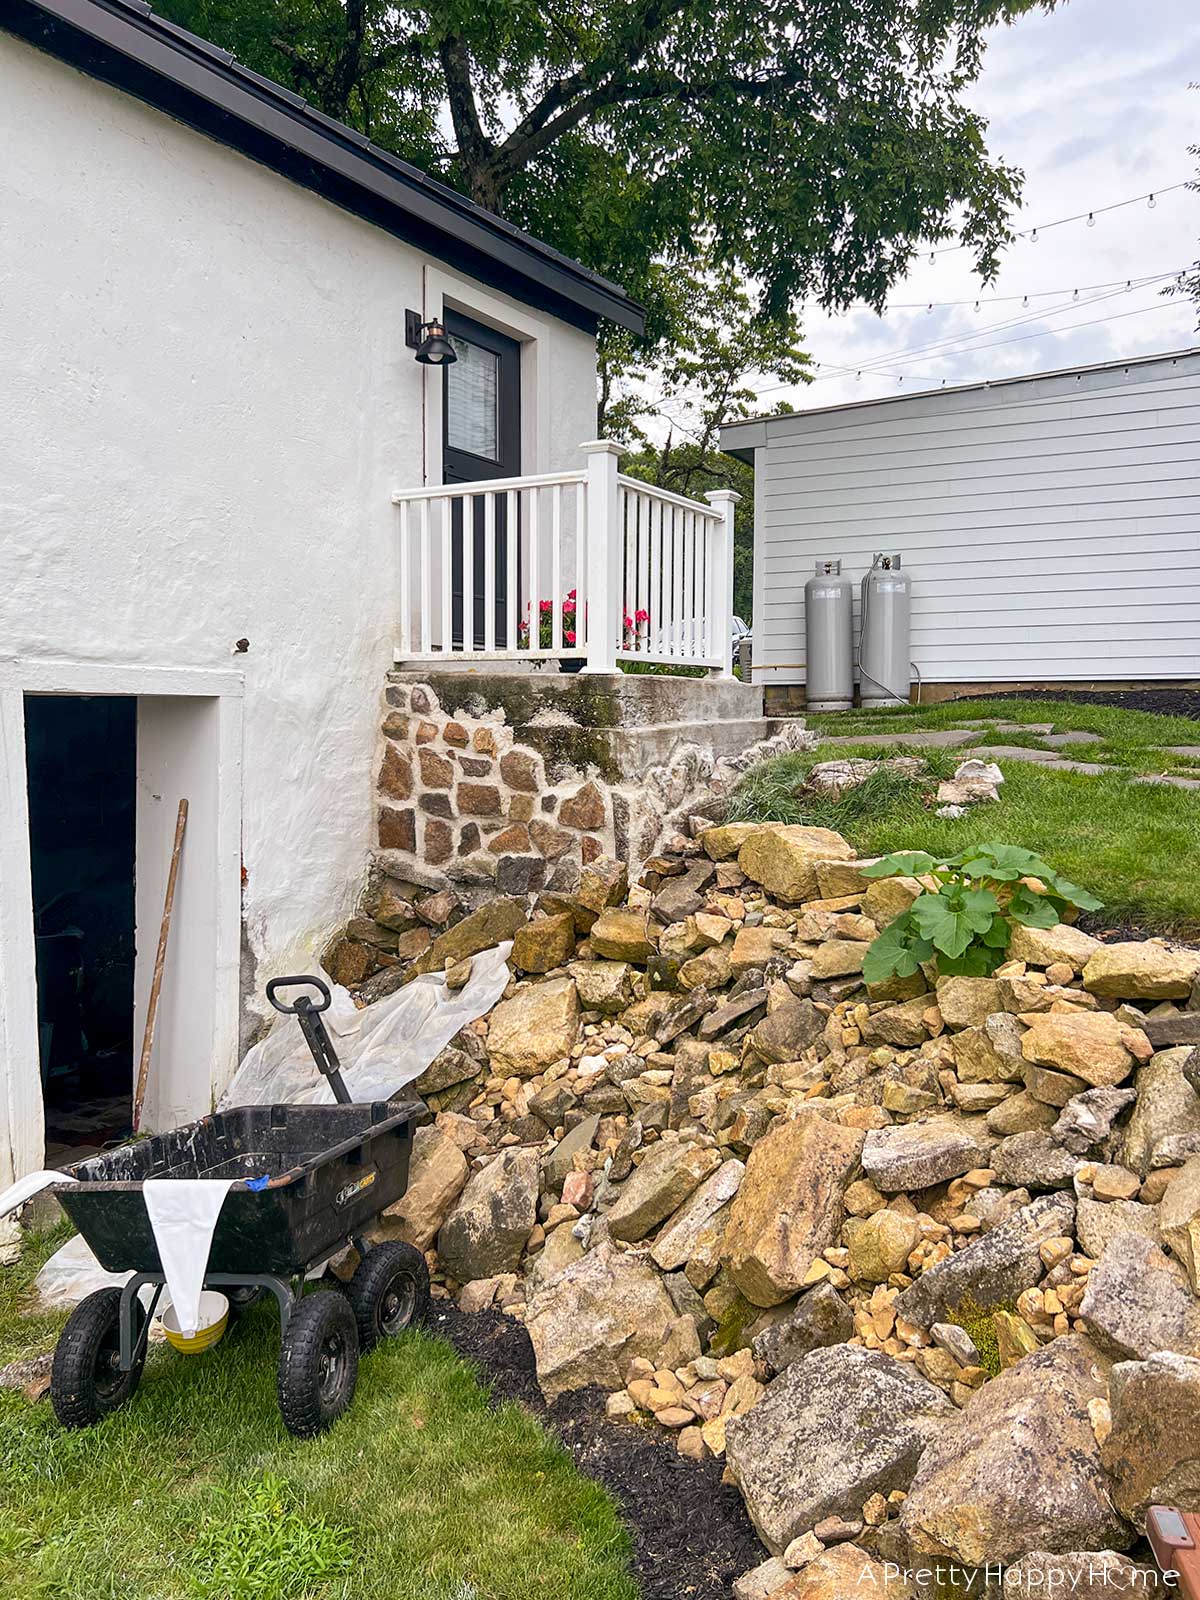
Using fieldstone as a stone veneer is a little bit tricky simply because even the most flat fieldstones aren’t perfectly flat. Plus, our concrete porch wasn’t perfectly flat either.
You definitely need a ledger of some sort to get yourself started. In this case, my ledger was some rocks that were partially sticking out of the concrete. They gave me a solid surface to build off of.

I affixed the fieldstone to the concrete porch with lime mortar.
I used natural hydraulic lime (NHL5) plus all-purpose sand and water to make my lime mortar. I did not use any chemical additives to prep the concrete or to make the mortar set quicker.
It probably would have been faster to use a masonry mix intended for stone veneer with this project, but the lime mortar is what we’ve been working with to keep things historically accurate and structurally sound with the fieldstone buildings on our property. Portland cement-based products end up being harder than the fieldstones, which can compromise the stones and don’t allow a stone foundation, for example, to breathe.
This application is clearly different than a stone foundation but I still used the lime mortar we had on hand and it matches the rest of the stone buildings on the property.
In addition, it might have been operator error but I also did not find it beneficial to use wire or a scratch coat on the flat surface like you’d do with regular stone veneer masonry.
What technique did I use?
Patience. I used good old-fashioned patience to cover this porch in fieldstone.
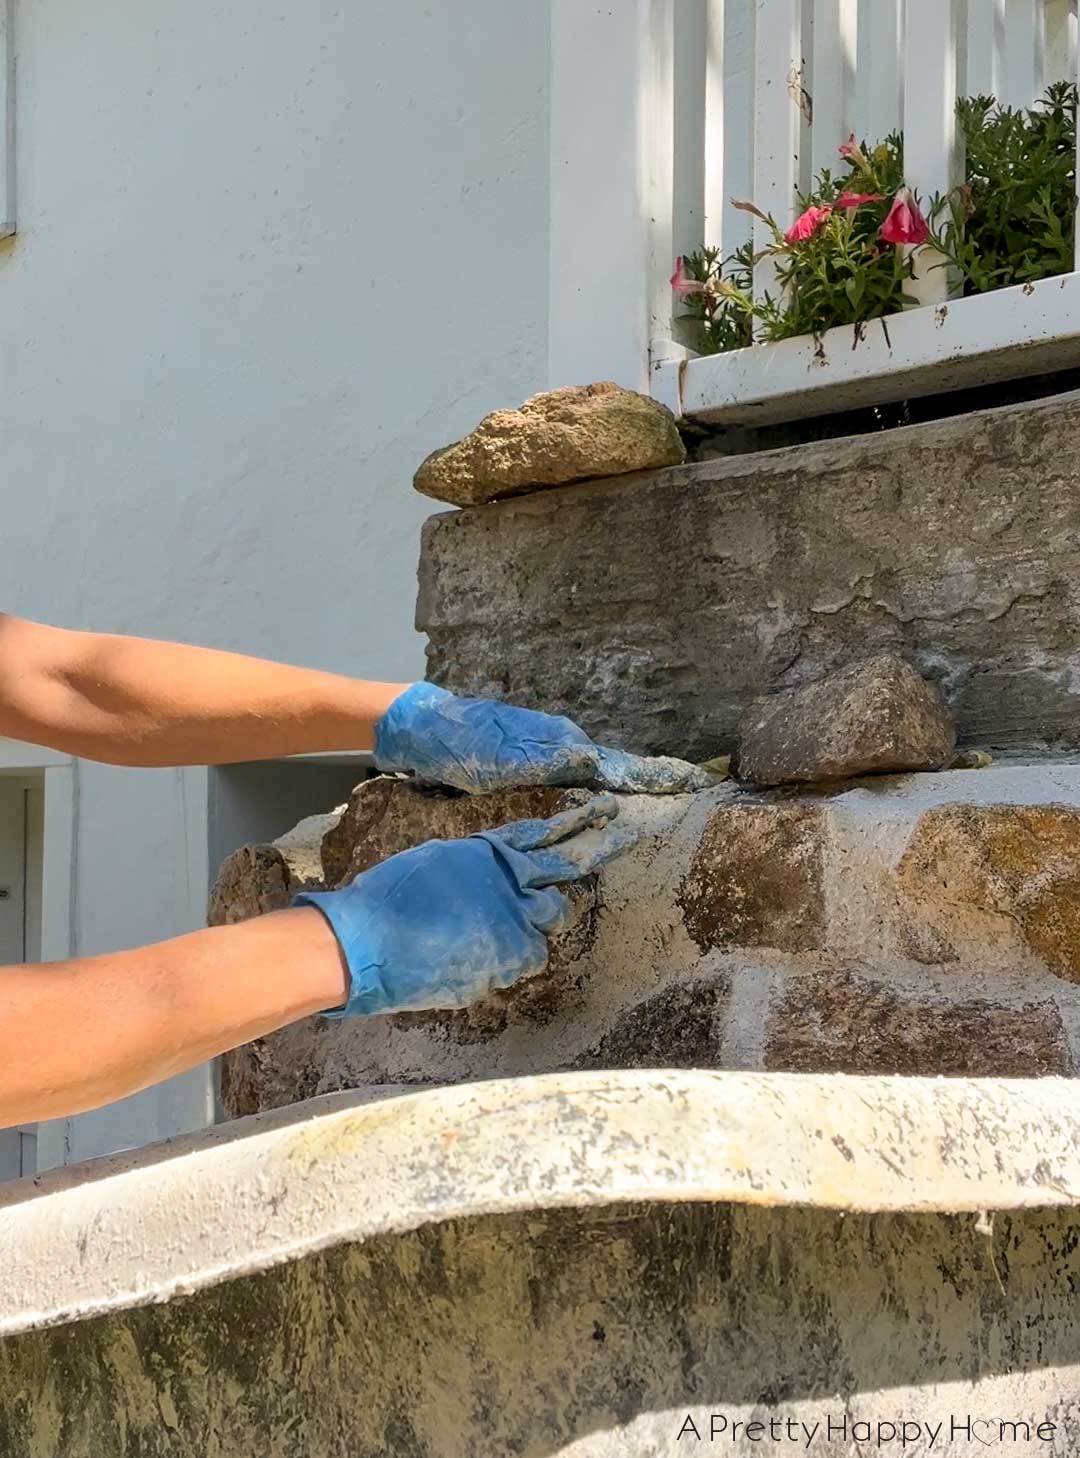

Using this method, I couldn’t backbutter the stone with mortar, stick it on the wall, and expect it to stay.
Sometimes I would get lucky, but most of the time in order to truly place the stone on the wall I had to mortar (grout) all the way around the stone too. I’d wait for one row of stones to set up before building up higher because each row had to be dry enough to support the next row I was adding.
For that reason, I placed stones on one side of the porch and then worked on the other side while I waited for the first set to dry.
Are the stones secure now? Oh my goodness, yes. I’d have to take a heavy hammer to them to get them off at this point.
The other part of this process that sucks up more time than you think is that, in my case, I had to go traipsing around the property to find stones that I thought would work in each section. I could gather up a bunch but if any of those didn’t work, it was back to the rock piles to find a rock in the “perfect” size and shape.
I’m sure my neighbors wondered what I was doing meandering around our stone walls and picking up and rejecting several different stones before finding one or two “good ones.”
Worth it though.
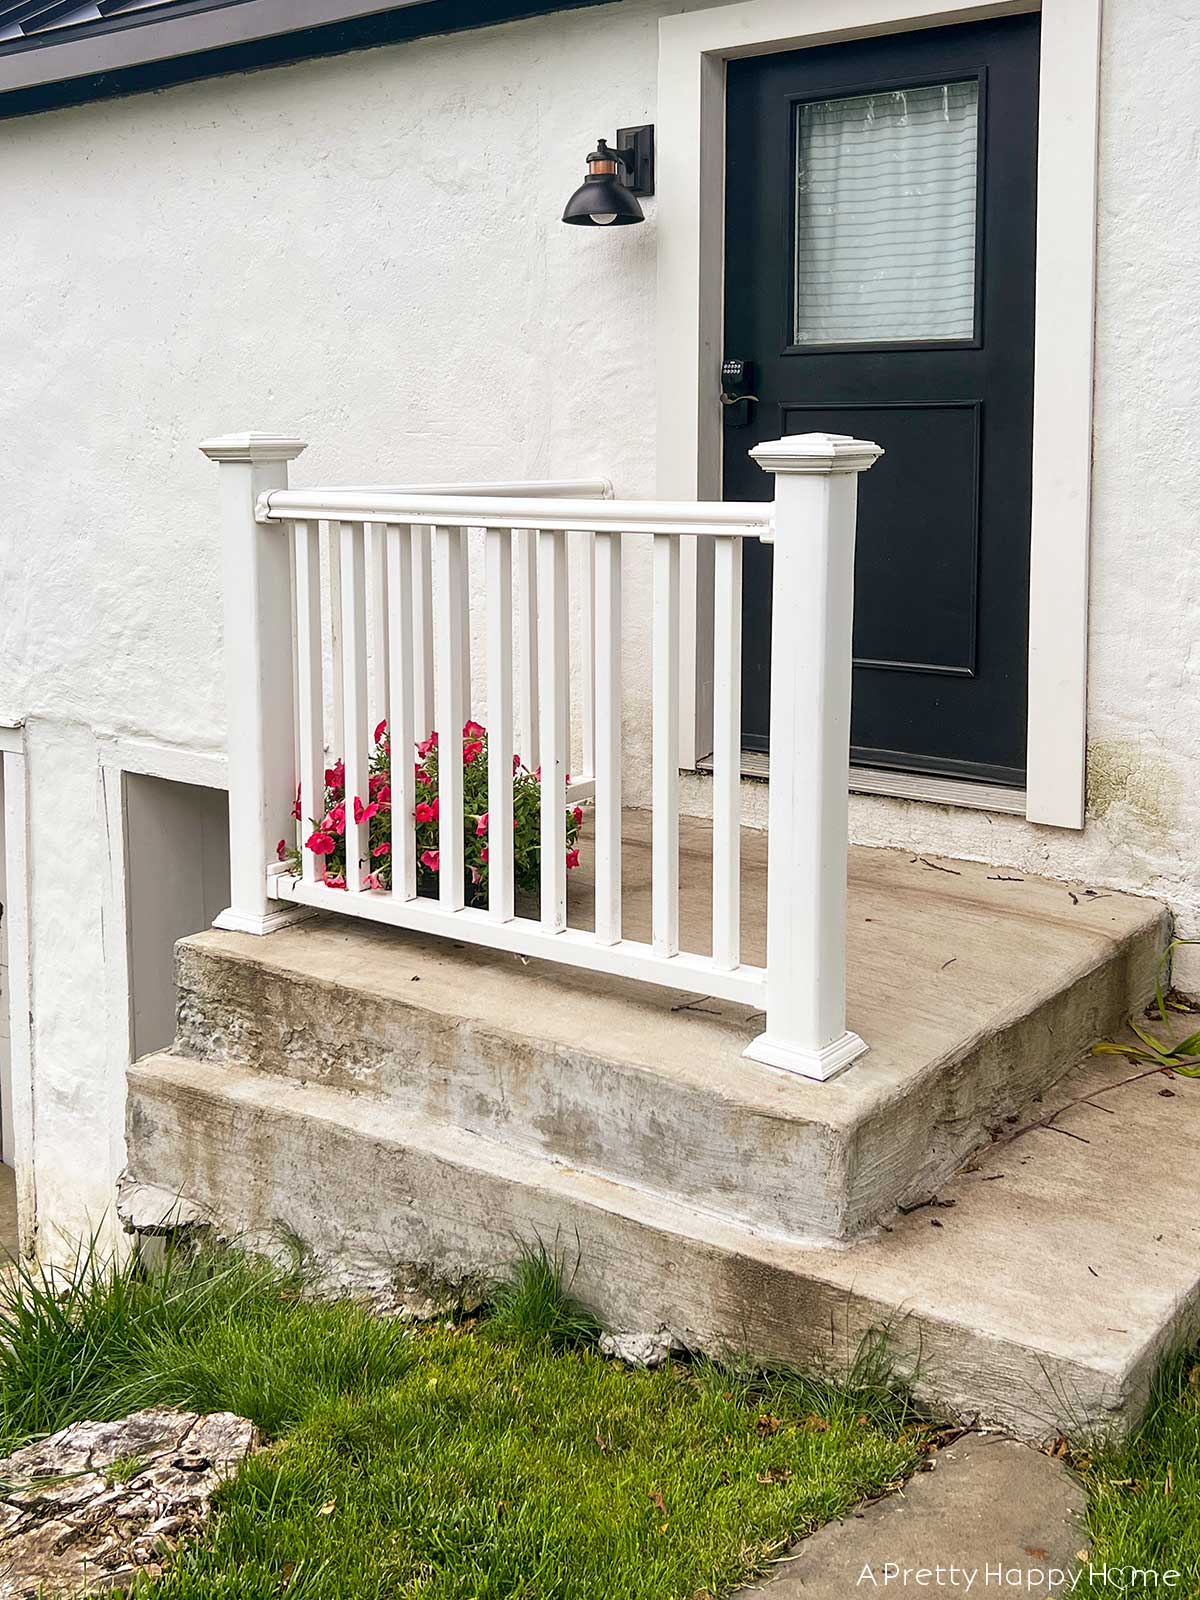
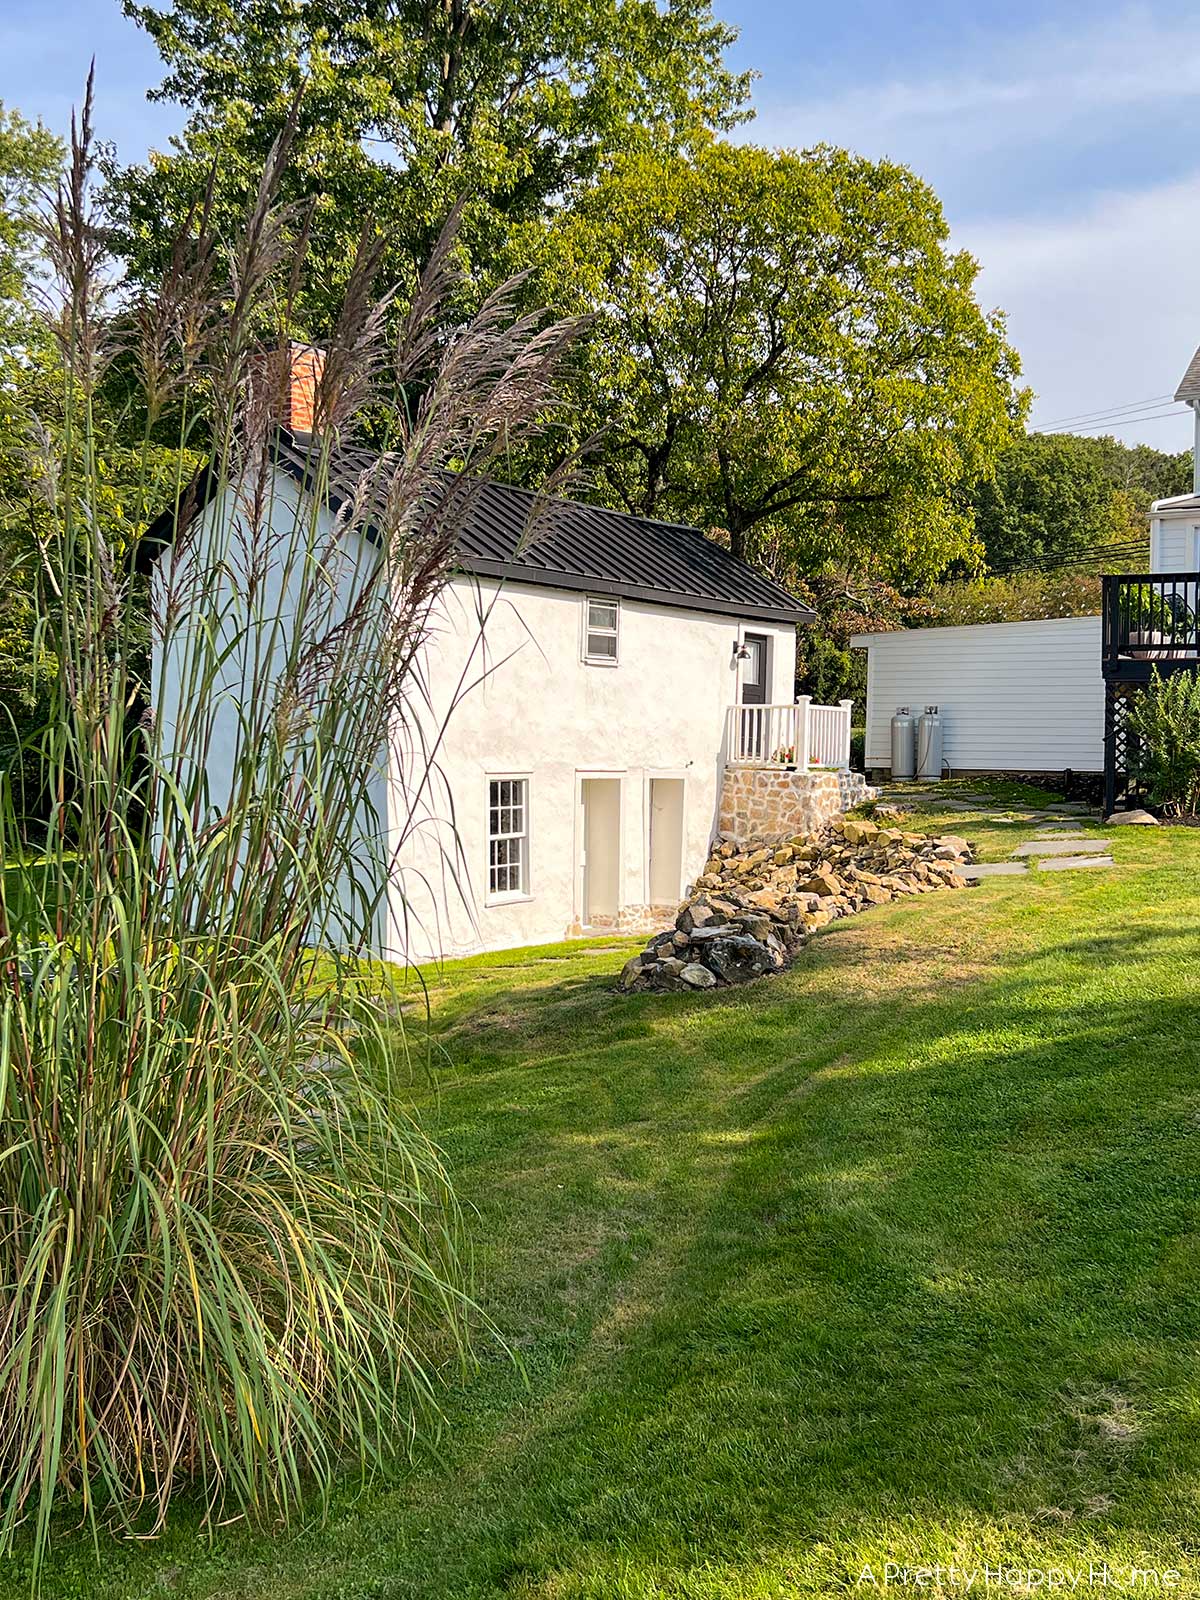
Here’s the finished fieldstone porch.
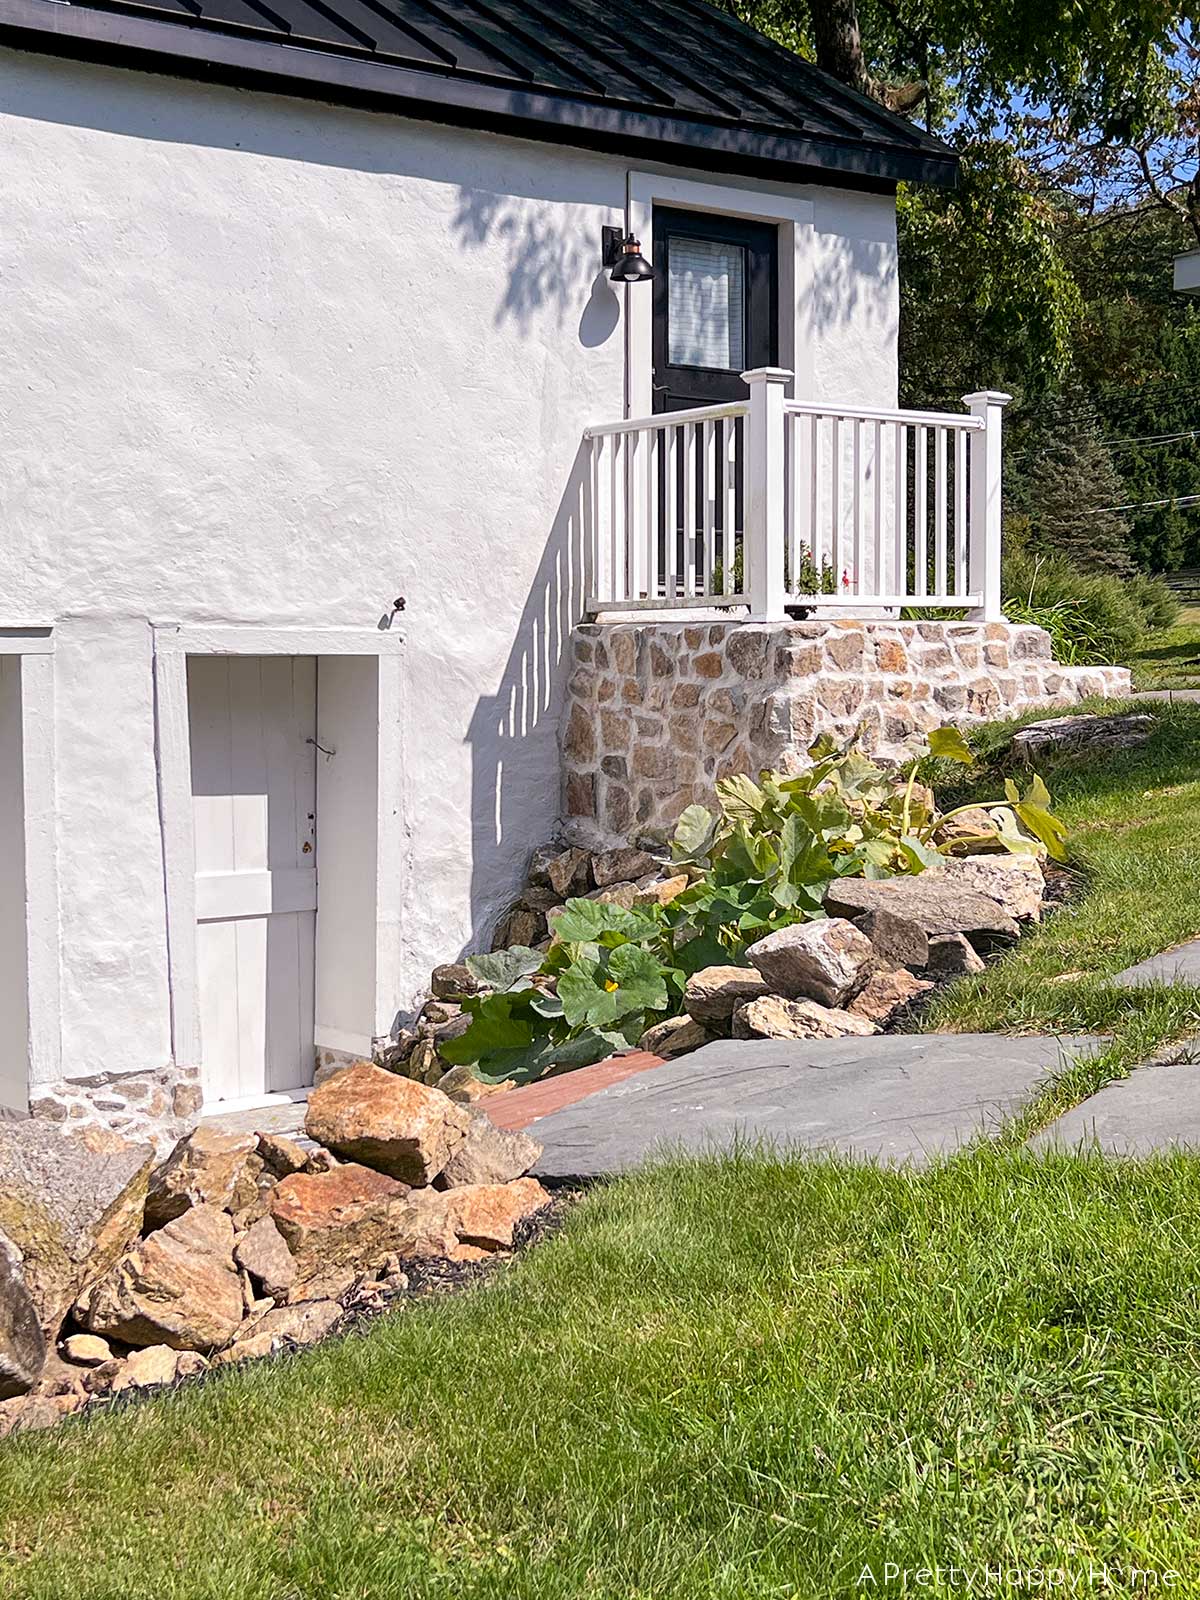
So pretty right?
Here’s how it started again.
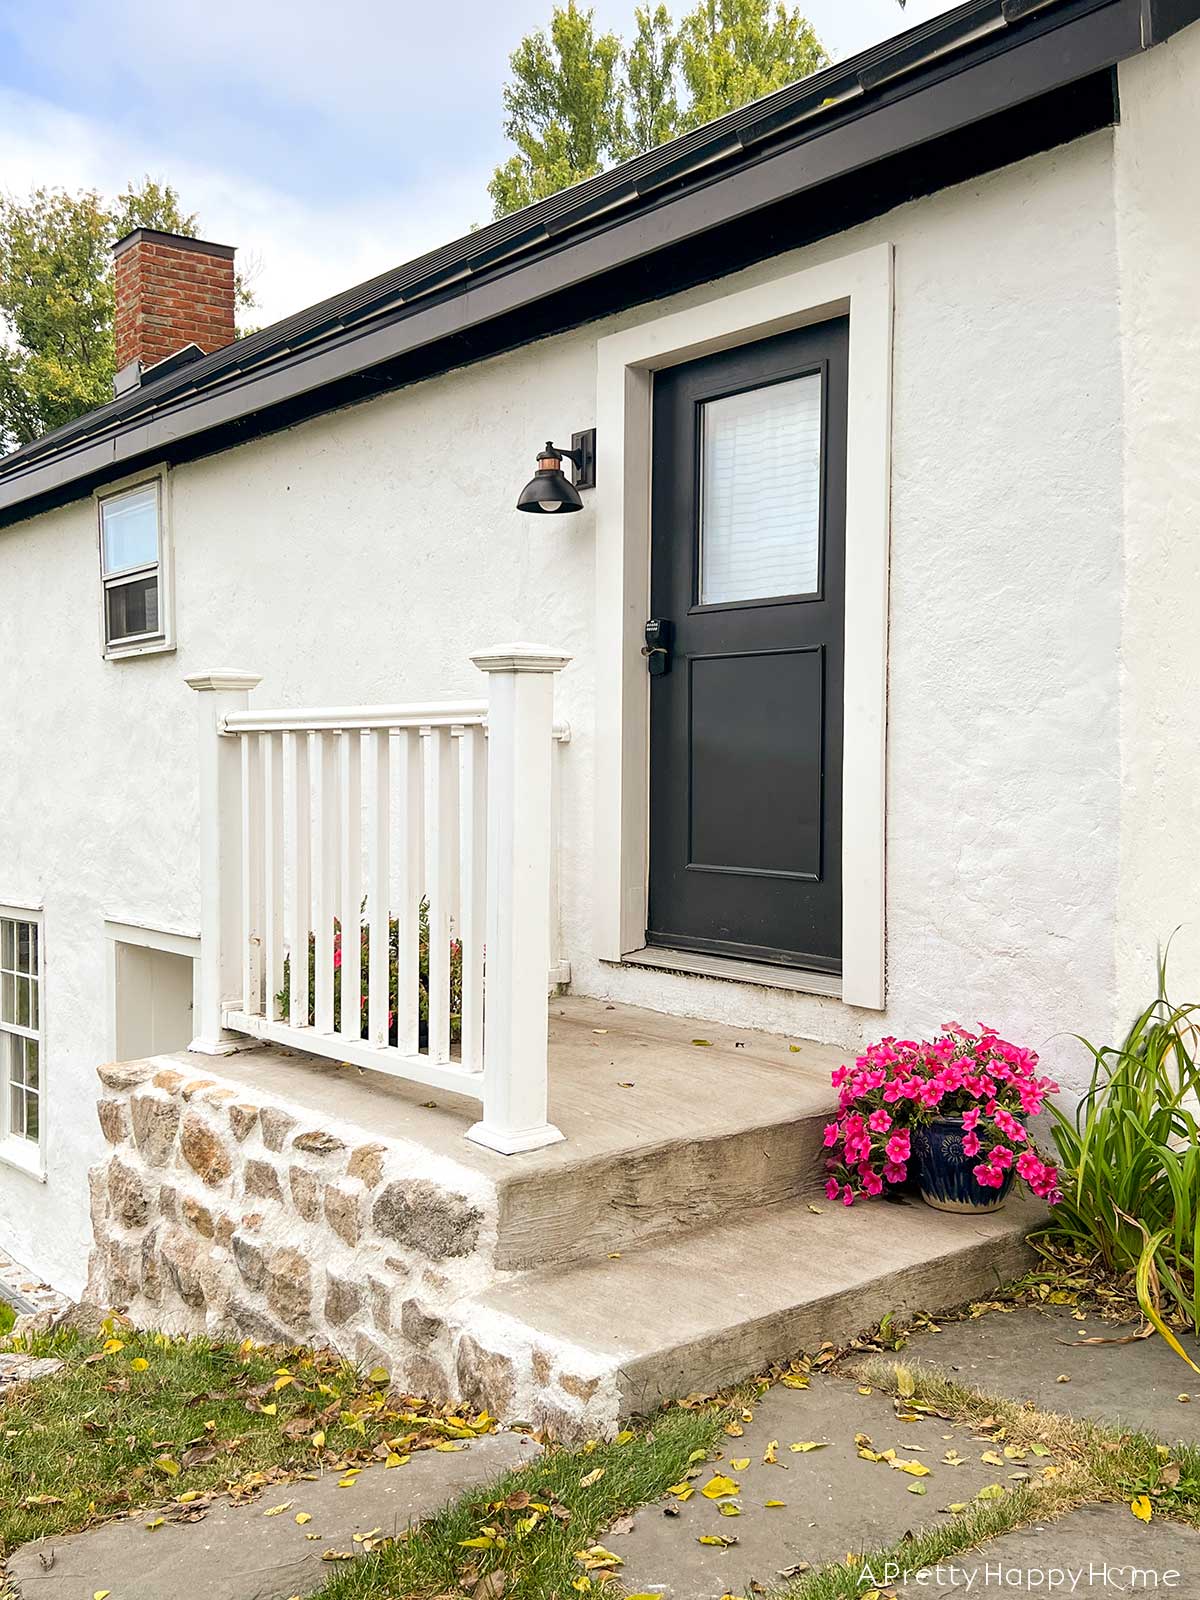
Here’s how it looks now.
We were going to wrap the fronts of the steps but decided at the last minute to wait on that. We receive a fair amount of snow and these steps have to be shoveled. It’s easier if they are completely smooth.
Since we already had the stones, I only have about $150 in sand and lime invested in this project.
Even if you count the time it took, it’s still quite the bargain for the transformation.
This stone will outlast me!
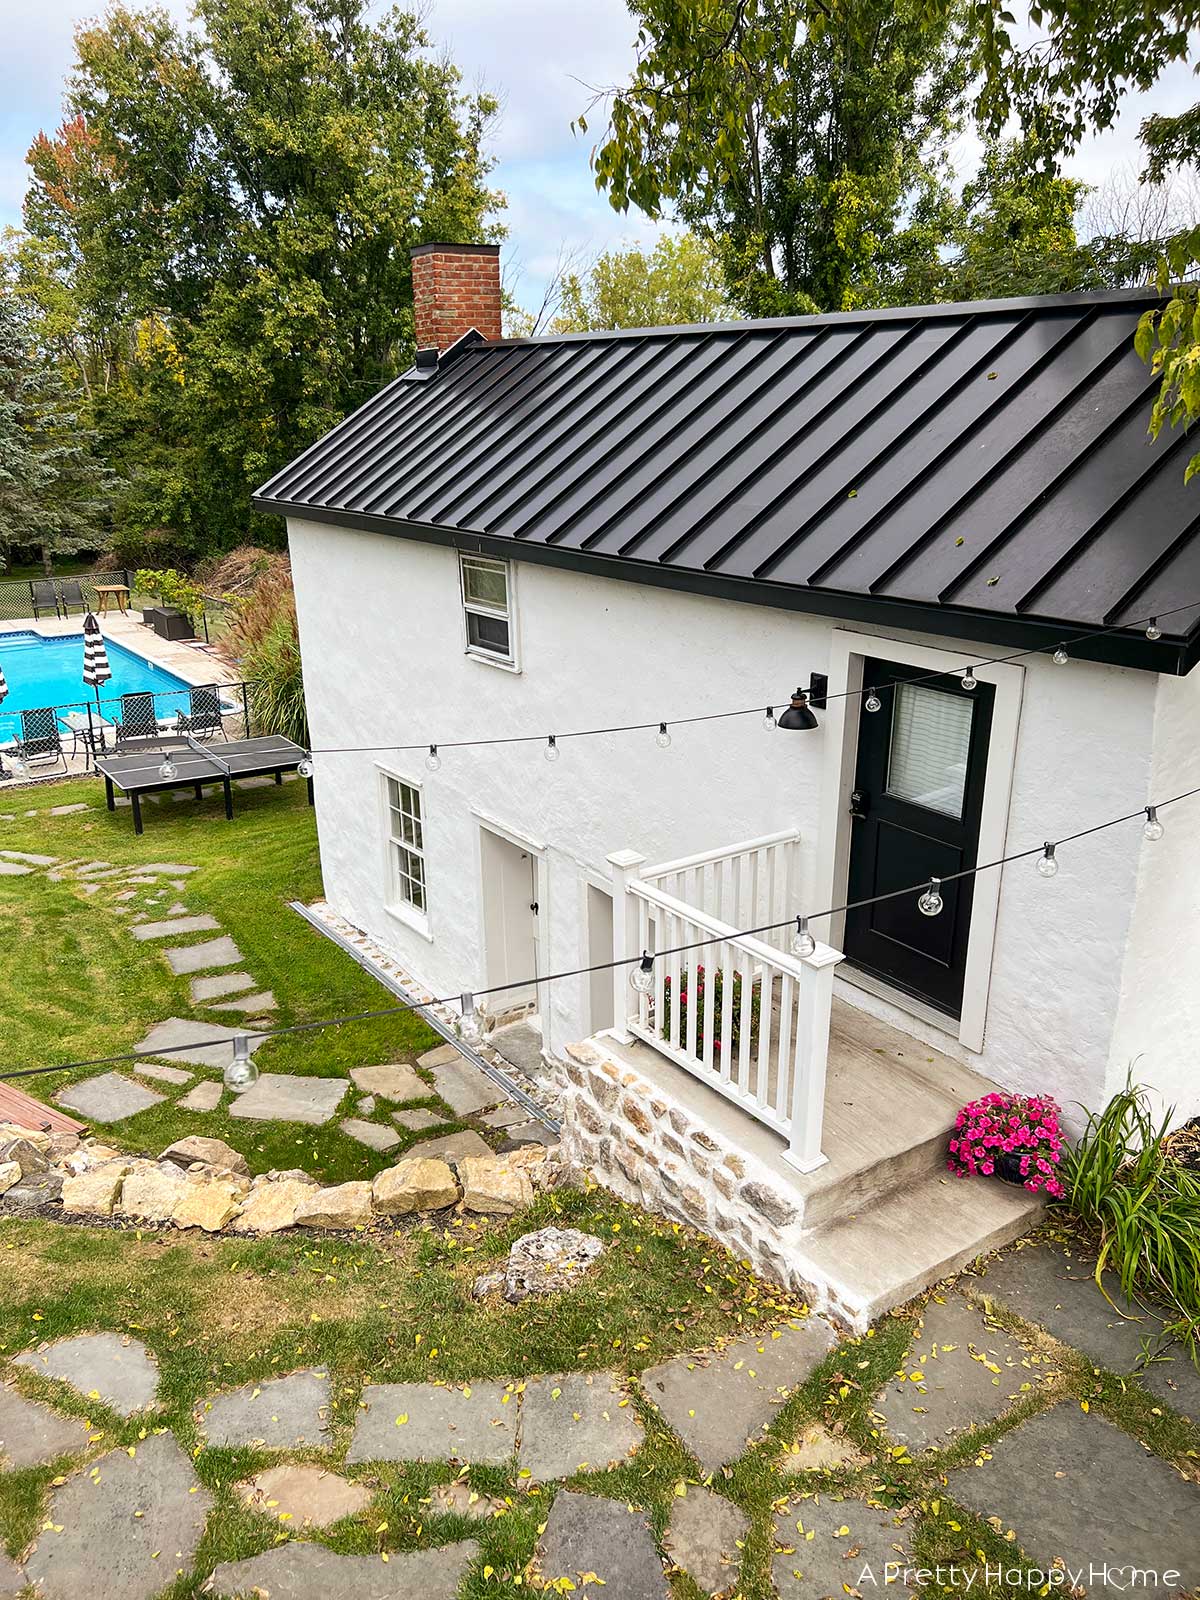
One more for the road, since this view puts hearts in my eyes.
It’s like the fieldstone porch is just rising out of that stone hillside.
9 months ago, I didn’t have the skills to make this fieldstone porch come to life. I had the vision but didn’t know how I’d execute the idea on my own.
Our journey through repointing our stone basement and carriage house has given me new skills and confidence. A whole new world of DIY possibilities has opened up to me.
It’s so empowering!
What do you think of our fieldstone porch? Is this something you’d consider for your house? Let me know. It makes my day to hear from you. Please leave a comment on this blog post, email us here, or reach out via Instagram or Facebook.
Happy DIYing!
P.S. Here are some helpful resources:
If you want to know more about fieldstone, this is a great overview.
We bought our lime mortar from Limeworks in Pennsylvania. That’s not a sponsored mention, just who we used and have received great service from. They also offer classes!
Thanks for hanging out with me. I love sharing ideas and our DIY journey with you. Here are some other blog posts you might enjoy!
An Epic Stone Fireplace Makeover