


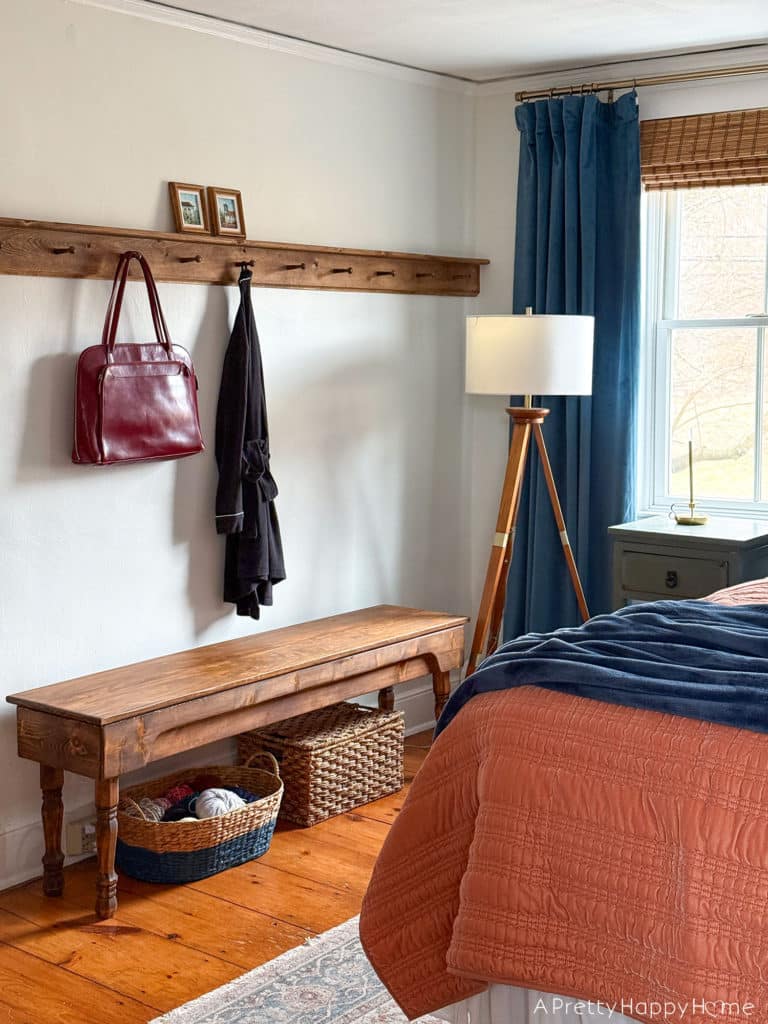
By adding a peg rail to one entire wall of our bedroom, we gained 15 feet of storage and organization space and an unlimited amount of glee over this addition.
Is there a Guinness Book of World Records category for the world’s longest peg rail? If so, I’d like to submit our bedroom peg rail as an entry.
You’ll have to use your imagination a little because it was hard for me to get a decent photograph of one gigantic wall broken up by a door. That’s why I’m showing the two sides of the peg rail in different photos in this blog post.
The hardship, I know.
Thank you for suffering through.
Why one entire wall of peg rail?
Go big or go home, baby!
I was looking to make a statement, increase the architectural interest, and add practical storage to our bedroom.
Check, check, checkity-check on all counts.
Plus, I cannot emphasize enough how much I adore peg rails. The love affair is real.
I’ve added peg rails in six other spots in our home so far. Give me enough time, and I’ll figure out where to add more.
It also helps that peg rails are historically accurate to our Colonial-era home. Most of the bedroom closets have peg rails. These peg rails were added directly over the stone walls. Then, at a later point, someone decided to plaster up to the peg rail. I know this because a peg fell out of the wall recently, and when I looked back there, I could see stone. That surprised me. I would have guessed the plaster came first.
Our preferred peg rail formula (yes, we have one) is a 1×6 sandwiched with cove molding on the bottom and a 2 or 2.5-inch deep cap on top. The cap is rounded over on the front. If you want to lean pictures on top of the peg rail, the cap needs to be at least 2.5 inches deep, in my opinion.
You can also add a cove molding detail to the 1×6 using a router instead of adding a separate piece of cove trim.
This time, we used screw-in wood pegs, and that was so much easier than drilling a hole and gluing the pegs in place.
As an aside, this is a renter-friendly project. We nailed each peg rail into the wall studs in about three spots. No glue was used. Those nail holes would be easy to patch when you move if you had to take the peg rail down.
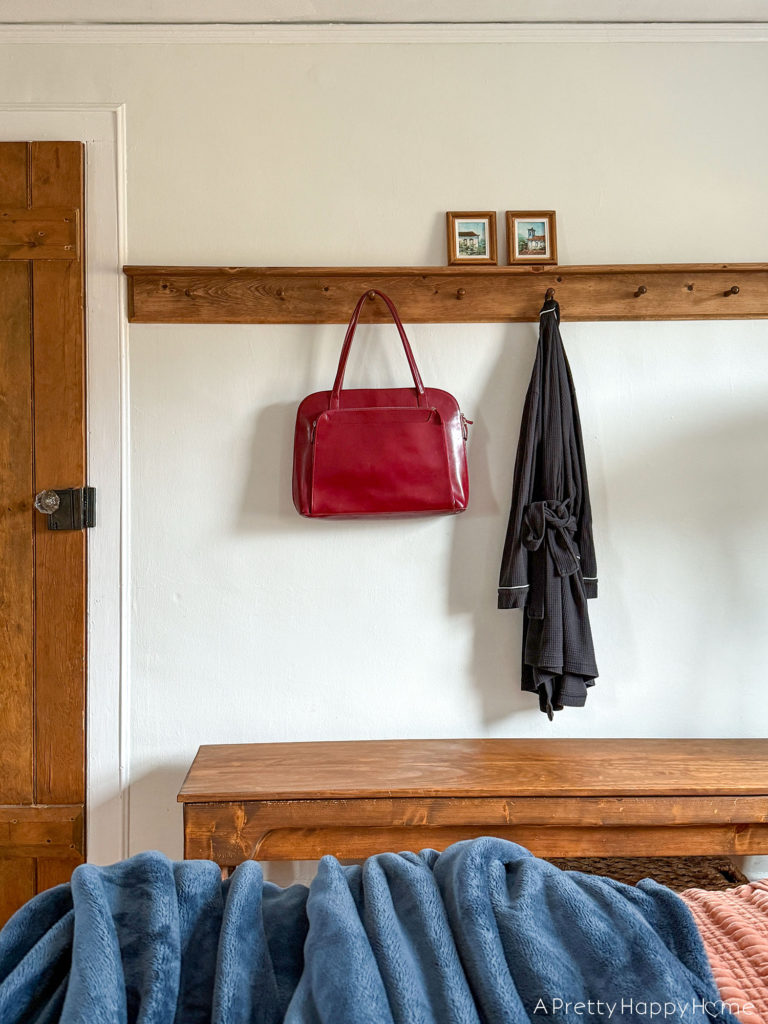
My goal with this DIY project was that it would look like the peg rails might have always been here, and I think I achieved that because they match the doors in our room pretty closely.
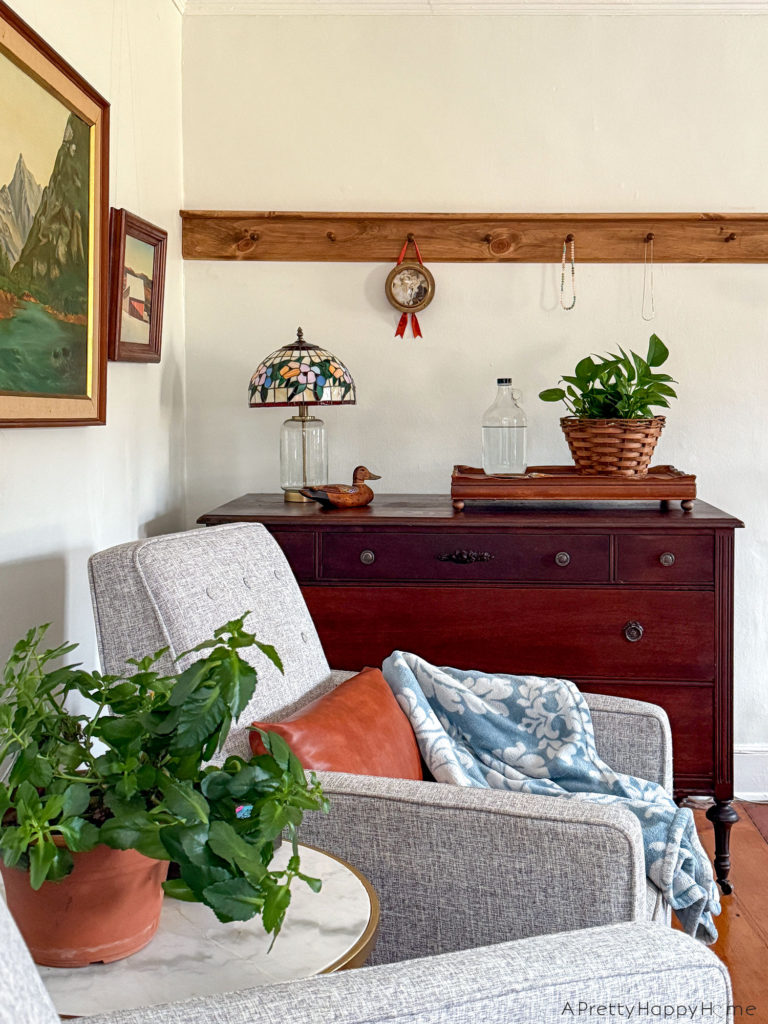
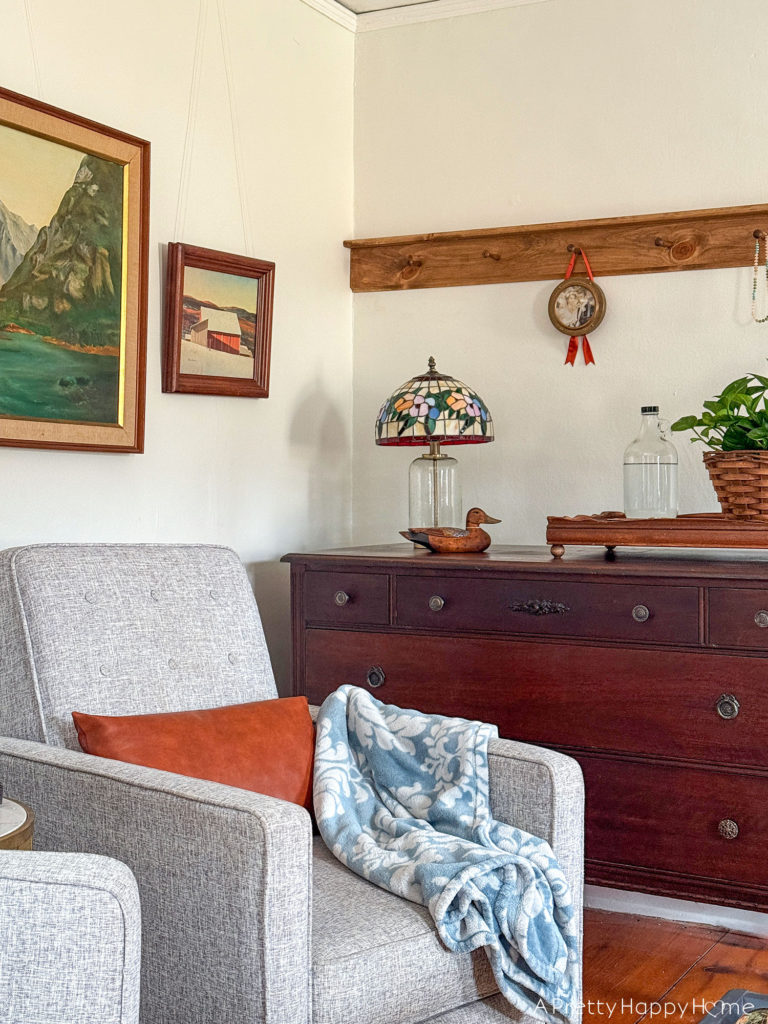
How I decorate the peg rail is most certainly going to change. So far, I’m using what I have to decorate.
I was mainly excited to share with you that the peg rail is up, and I’m living my best life having a place to hang my bathrobe at night. I can also hang my everyday necklaces on the peg rail, and they don’t get tangled. It’s grand!
About a day after we finished the peg rail, Handy Husband asked me, “So when do I get to hang something on the peg rail?”
Hahahaha.
Oh, Handy Husband. That’s not how this works.
Don’t feel bad for him. He has TWO peg rails in his closet. I do not.
Are you as passionate about peg rails as I am? Do you have any in your house? Let me know. Send pictures if you want. You can always comment on this blog post, email me here, or reach out via Instagram or Facebook.
Happy Decorating.
Room Sources:
Peg Rail Stain – Varathane Special Walnut
Dresser – Thrifted
Nightstand – Old
Wall Color – Behr Arcade White
Wall Decor – Thrifted
Blue and White Throw – Old
Solid Blue Blanket – Target
Baskets – Old
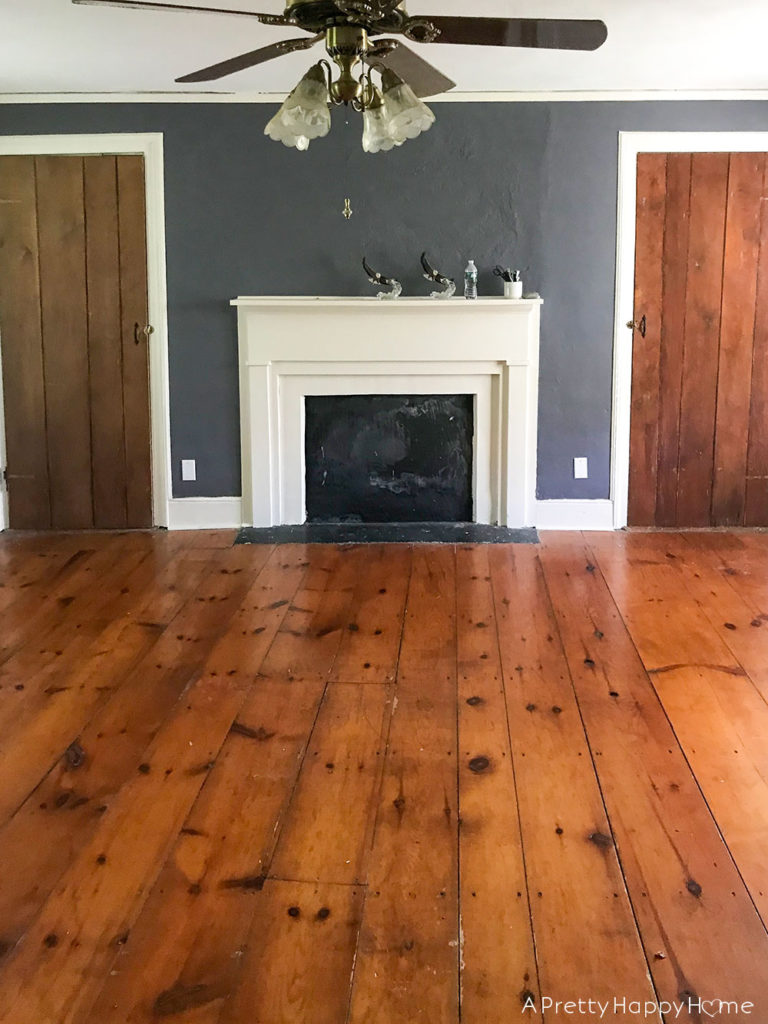
P.S. If you made it this far in the blog post, you get a prize! (It’s not a great prize, but it’s something. Ha!) Here’s one of the few semi-before photos of our bedroom. The wall with the hooks is the wall where the dresser currently sits. In this photo the dresser is placed on the wall where we have the seating area.


Here’s the opposite wall of our bedroom. I think this was taken the day we moved in. The items on the mantel were left here. You never know when you’re going to need someone’s bottle of water and a cup of pens.
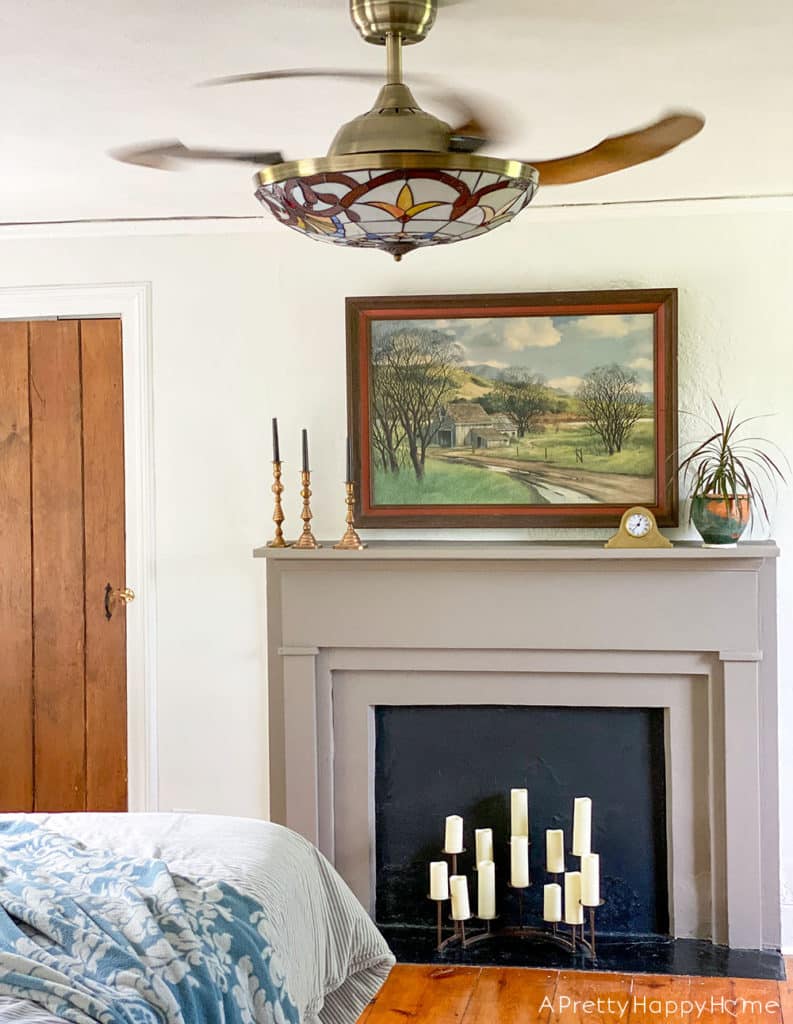
Here is, more or less, how that same wall looks now.
Lighter and brighter has been the theme around here as I “cleanse my palate” so to speak from how the house looked, felt, and smelled when we moved in.

Thanks for hanging out with me today. If you’re having too much fun and don’t want to stop, I get it. Here are some other blog posts to check out. Go wild.
Wood Bench With Hidden Storage For Charging Devices (This is the bench you see in our room.)
That Time I Refinished 250-Year-Old Wood Doors (These are the closet doors in our room.)
The Case For Tiffany-Style Lights (I have two in our room. I don’t care if they are trendy or not.)
*affiliate links in this blog post*