

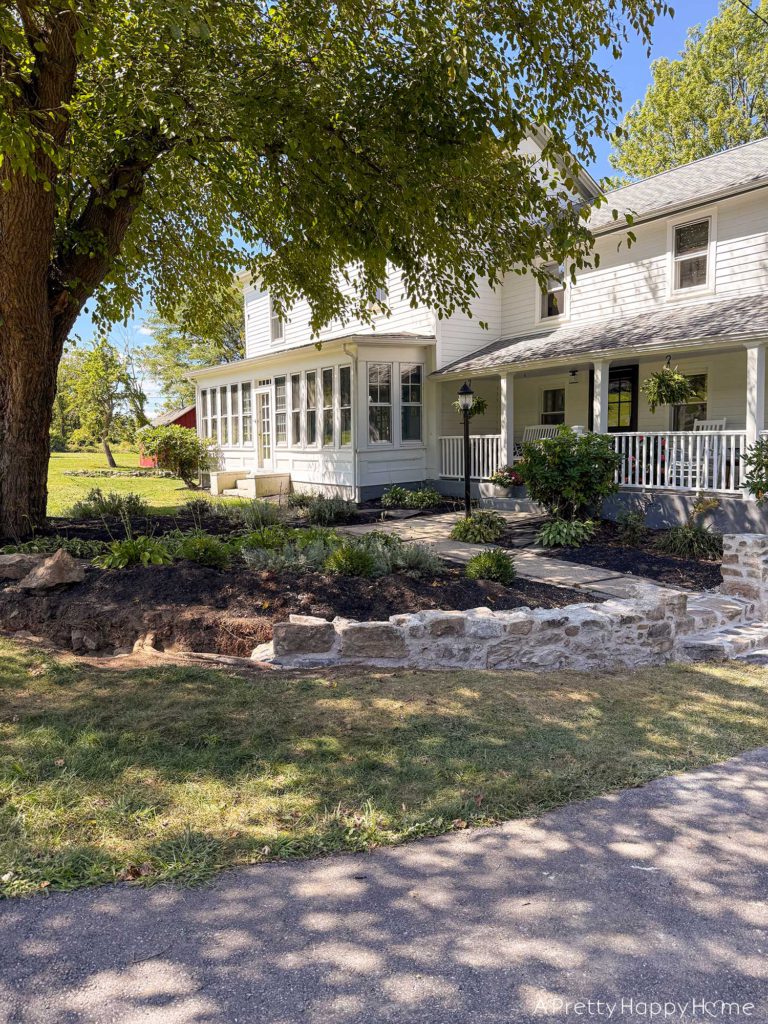
Welcome back to our Curved Fieldstone Wall Series, where we attempt to rebuild the fieldstone walls in our front yard using historical masonry techniques. When we last left off, we had built the first wall section, demoed the second wall section, and built stairs. Anyone tired yet? Ha!
Now, it is time to connect the stairs to the second wall section and show you the progress we’ve made with the second wall. I’ve been working on it every day for a few hours, and the unvarnished truth is it’s a slow slog.
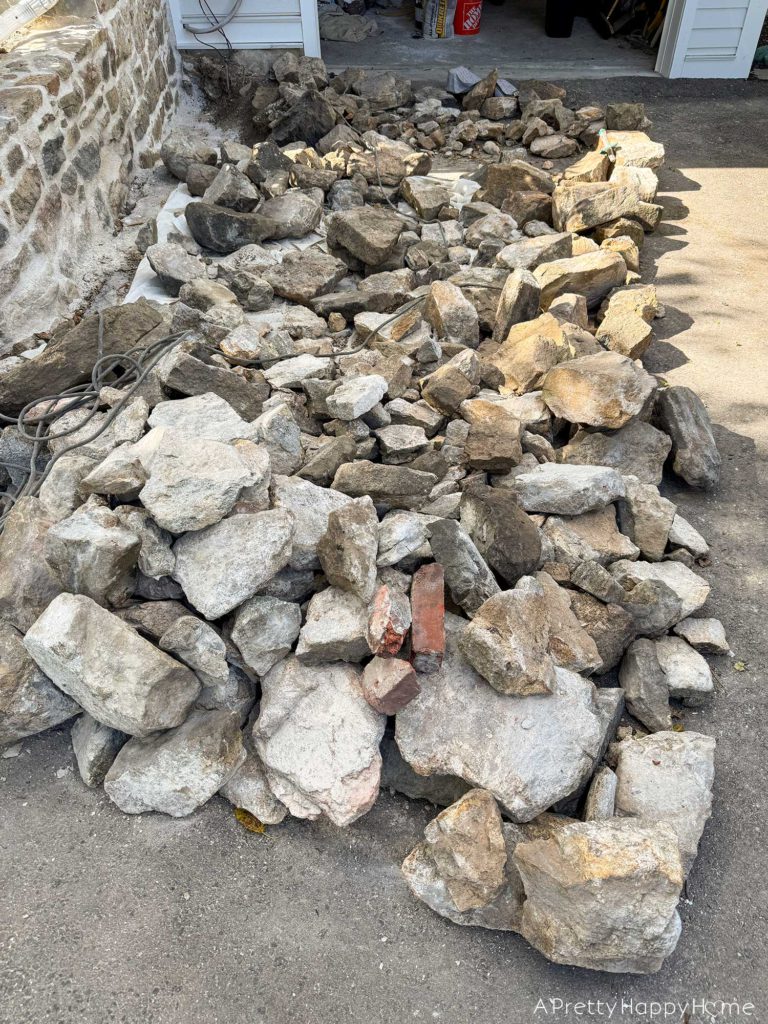
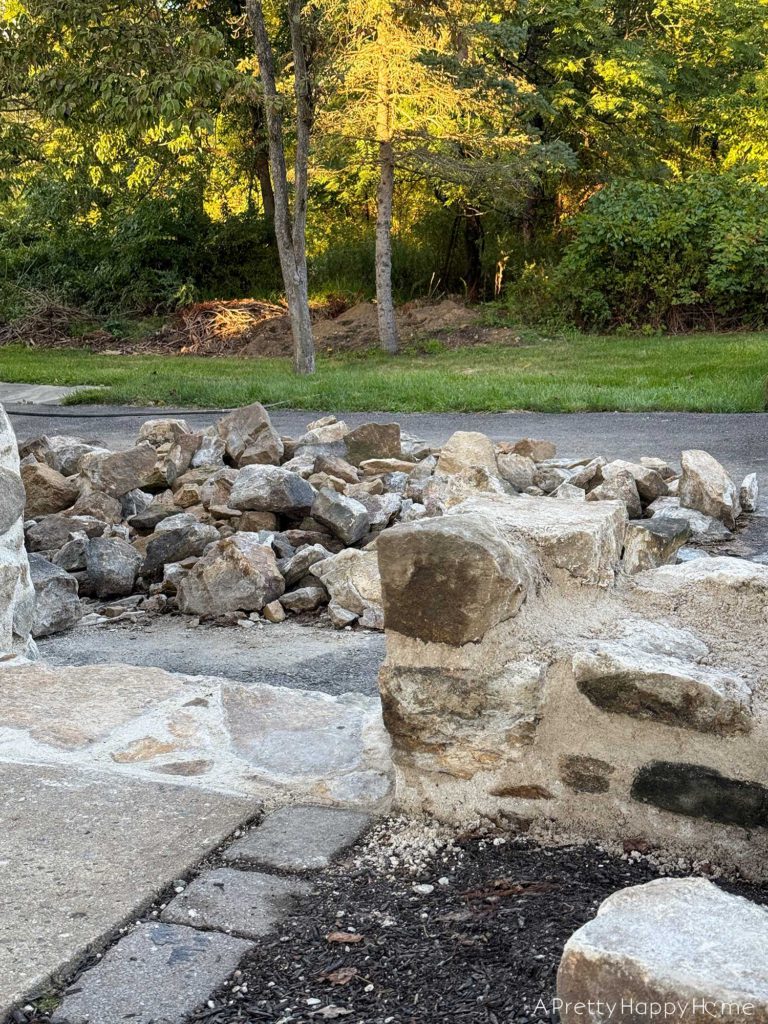
The main reason why it is so slow is that we are reusing the rocks from the old wall to build the new one. It takes time to turn rubble into something beautiful and structurally sound. I have to make sense of this rock pile by sorting through this mess and finding rocks that will fit together.
You know the saying about leaving no stone unturned? Idioms aren’t meant to be literal, but that doesn’t apply to this situation.
The first task in this portion of the project was to wonder how terrible it would really be to leave our front yard and driveway looking like an absolute disaster.
Kidding. (Sort of.)
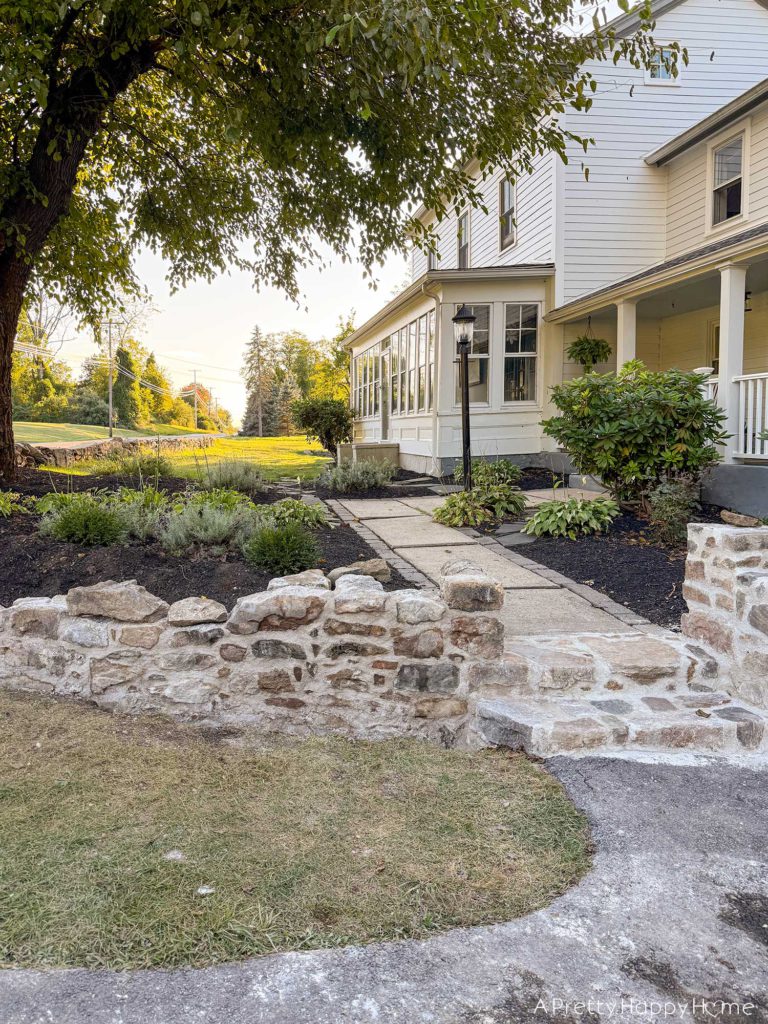
The true first task was to connect the second wall section to the newly-built steps.
This is going to make the entire wall structure even stronger.
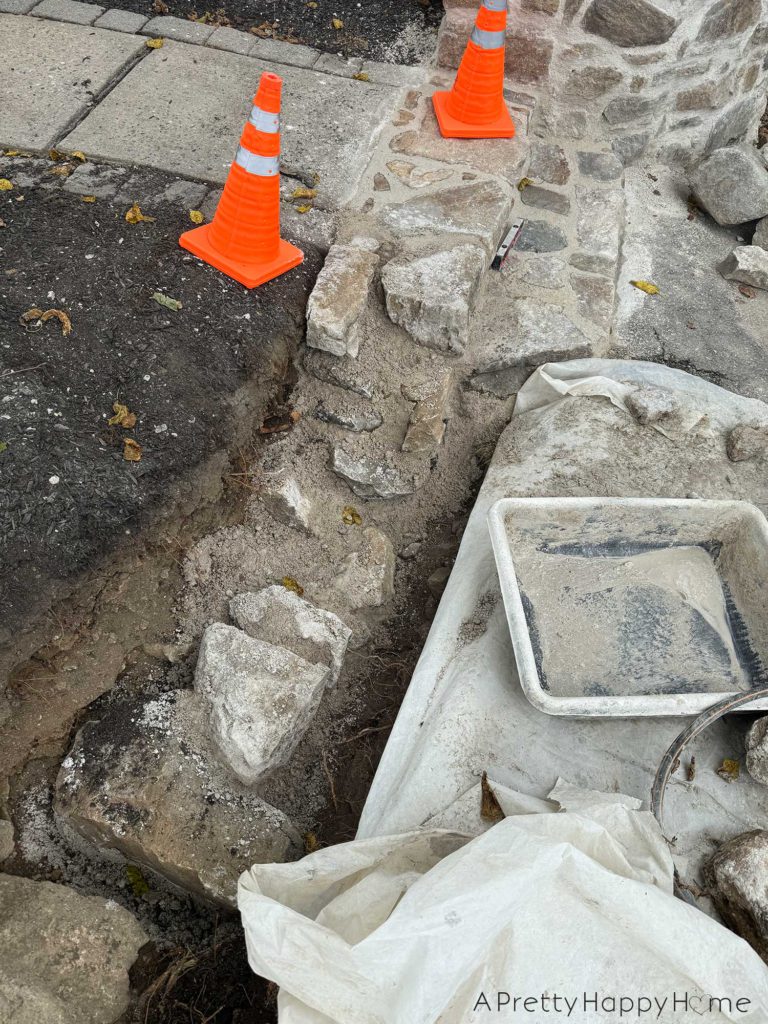
Most of the initial work will never be seen because the wall extends below ground level.
Thankfully, whoever originally built this wall situated it at or below the frost line. We trenched and removed loose rocks and soil until we found the base of the old wall.
We could discern it was a wall and not just rocky soil because there was some order to the chaos.
If the wall base was relatively stable, we figured we could build our wall off of the existing structure. Time will tell if we figured correctly. If we figured incorrectly, let’s hope we no longer live here then.
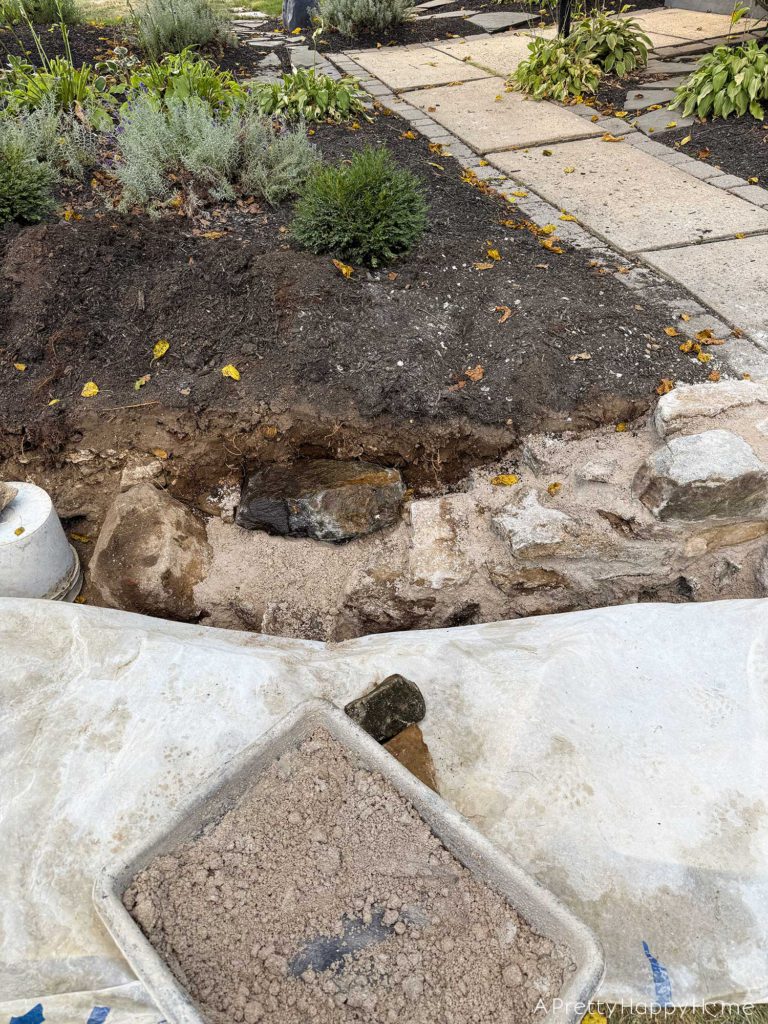
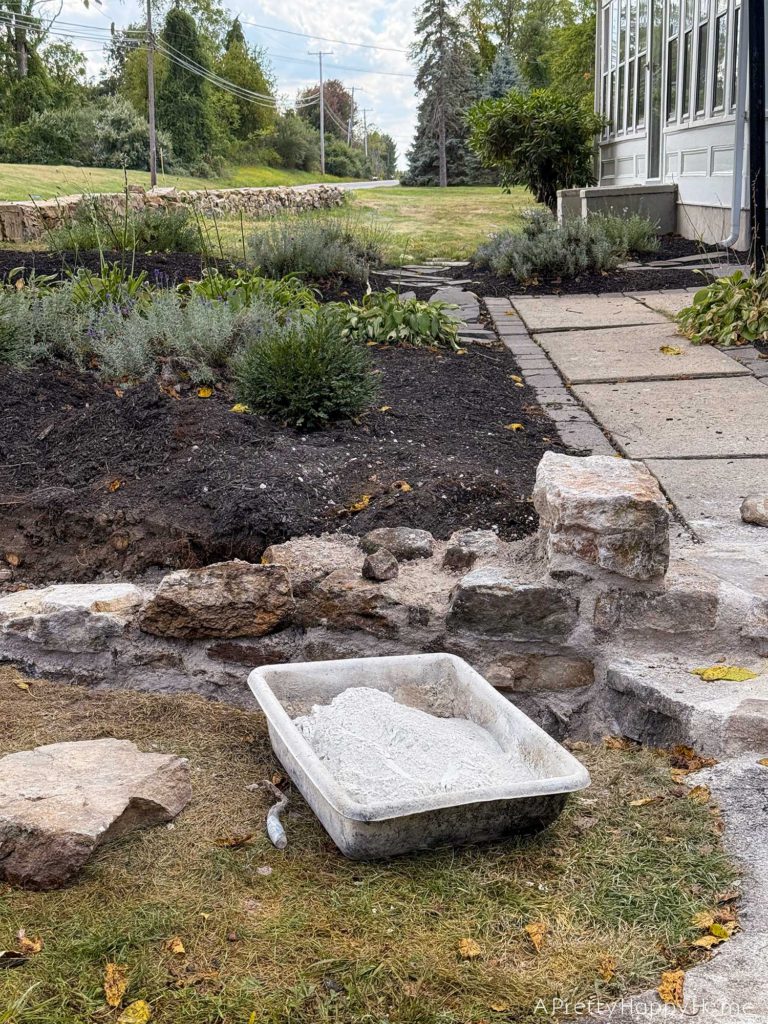
I’m mixing up 50 pounds of sand at a time with the corresponding ratio of NHL5 lime and water to build this section of wall, which is about 20 feet long. The end of this wall that is closest to the sidewalk will be 24 inches higher than the sidewalk when complete.
Of course, the entire wall is taller than that.
Not including the base that already existed, I’m building it between 48 and 60 inches tall on this end. The other end of the wall will be taller. Lucky me.
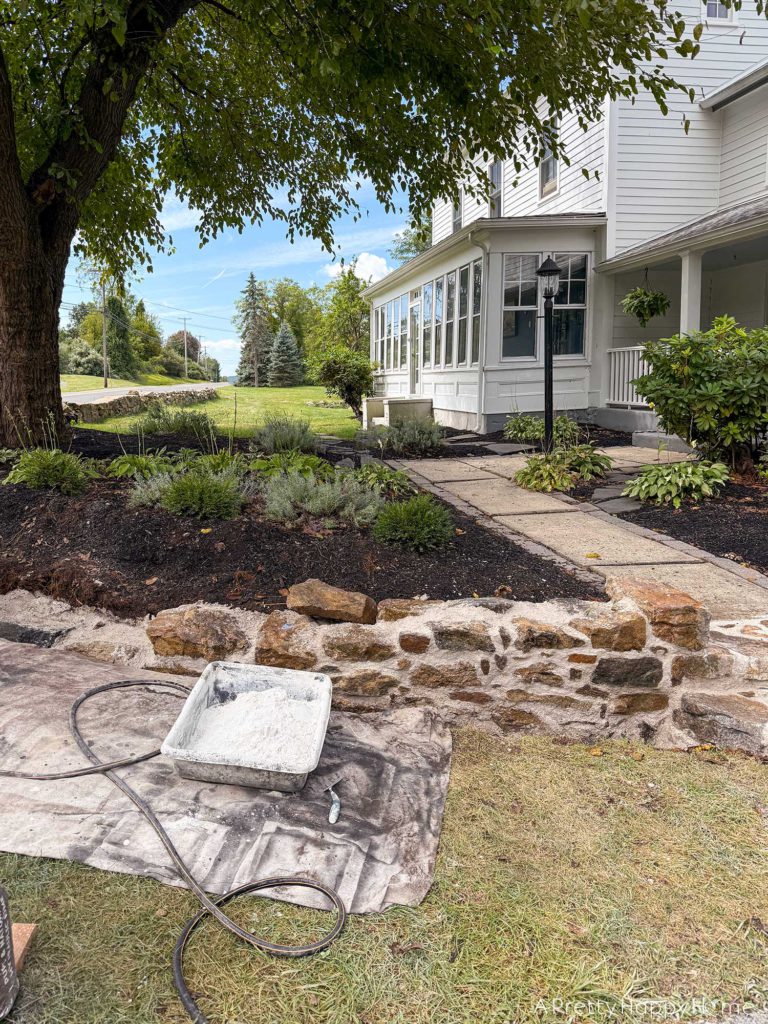
The tricky bit is that the wall is one continuous curve because we’re fancy like that.
Kidding. That’s how the original wall was constructed, and we are keeping the curve intact.
As you can see, I’m building this wall without guides. Don’t try this at home, folks. This isn’t proper. Results may vary.
I could maybe string up some lines to help me, but they would just be in the way. A plumb bob is only slightly helpful because the rock faces are uneven. I’m mainly relying on the shape of the hand-dug trench, a level, a tape measure, and my middle-aged eyes to keep the wall from looking too wonky.
What could go wrong?!?
I’m also using a historic masonry technique to build this wall.
Most stone walls and columns in these modern times are built using cinderblocks as a base. Then, a stone facade is mortared onto the cinderblocks with dimension stone to make it look like the wall or column is solid stone. Dimension stone has been cut, drilled, or trimmed to specific sizes and dimensions. Most importantly, it has flat backs and pretty consistent depths to make the install easier.
There is nothing wrong with this technique. It is super strong. Plus, I dream of using stone like this because it would simplify the process greatly.
However, this technique isn’t historically accurate to the age of our house.
To maintain the character of our 250-year-old home, we try to balance modern conveniences with historic features.
For instance, indoors, we have original floorboards, but we also have electrical outlets and wifi.
Outside, our roof has modern asphalt shingles, but our low fieldstone walls were likely original.
It’s all about the balance.
Rebuilding the fieldstone walls the way they would have been built in the 18th and 19th centuries is the least we can do to help this old gal maintain the character that makes her special.
Besides, we already own this rock, and it can’t stay in our driveway forever. Might as well put it back into a new wall.
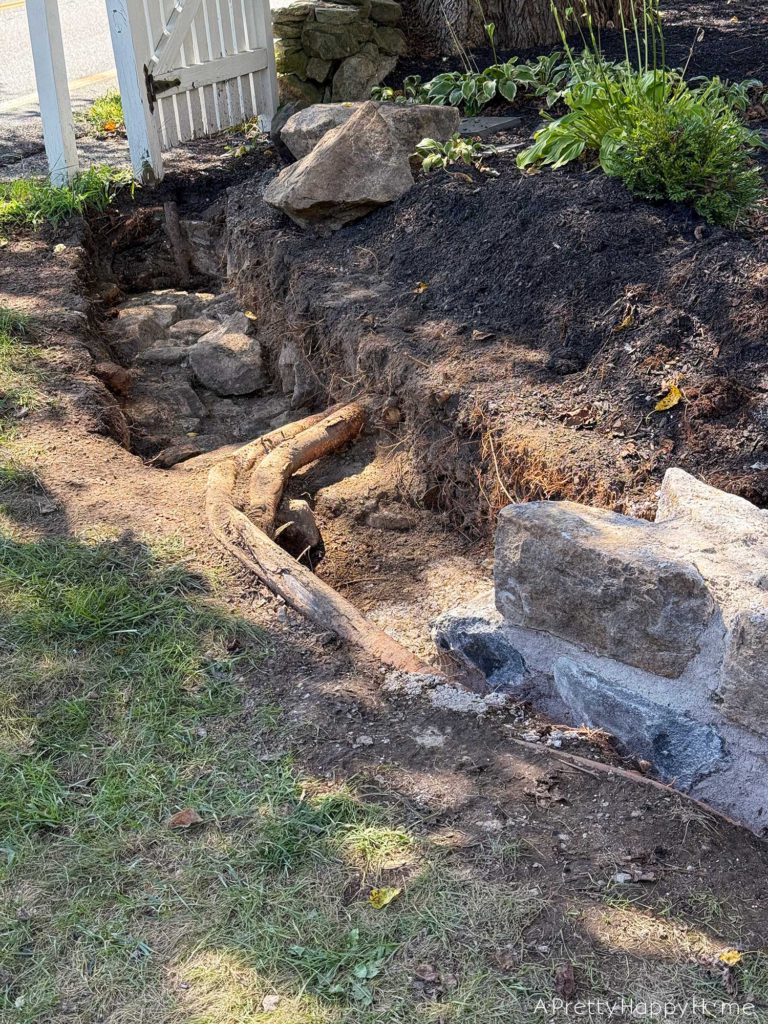
There weren’t enough variables in this project, so we are also working around a few million, or so it seems, tree roots.
Our research says you have to be careful about cutting roots close to the tree trunk and roots greater than 2 inches in diameter. There are a couple of roots that we plan to leave in place for now because we don’t want to traumatize this elm tree. The only ones allowed to be traumatized by this project are us.
It’s obvious where the roots are, so I will build the wall in such a way that facilitates us coming back later to deal with them.
Is anyone taking bets yet on how long it is going to take us to finish this wall? Do you think the tree is safe? What do you think of how the wall looks so far?
Comments really do make my day. You can comment on this blog post, email me here, or reach out via direct message on Instagram or Facebook.
Happy DIYing.
P.S. We have a combination of dry-stacked stone walls and mortared fieldstone walls on this property. There’s no way for us to know how the walls we are rebuilding originally looked. We’re using our best judgment to restore them in a style that fits the age of the home, and in a way that will last for decades if not a hundred years or more. Peace out.
P.P.S. I have “Stone Wall” highlights saved on Instagram if you want to see videos of the process.
Thank you for following along with our DIY adventures. I appreciate you! If you missed any of the posts in this series, you can catch up here:
Curved Fieldstone Wall: Part 1, The Plan
Curved Fieldstone Wall: Part 2, Demo Section 1
Curved Fieldstone Wall: Part 3: Progress Section 1
Curved Fieldstone Wall: Part 4: Reveal Section 1
Curved Fieldstone Wall: Part 5: Porch Wall