
Welcome back to our Curved Fieldstone Wall Series, where we attempt to rebuild the fieldstone walls in our front yard using historical masonry techniques. When we last left off, I had shared the progress on the second section of the wall and the potential problem with road salt. You can catch up on that here.
Now it’s time to share the plan for the mailbox and gate. Don’t worry. There are also progress pictures on the wall itself. I wouldn’t deprive you in that way.
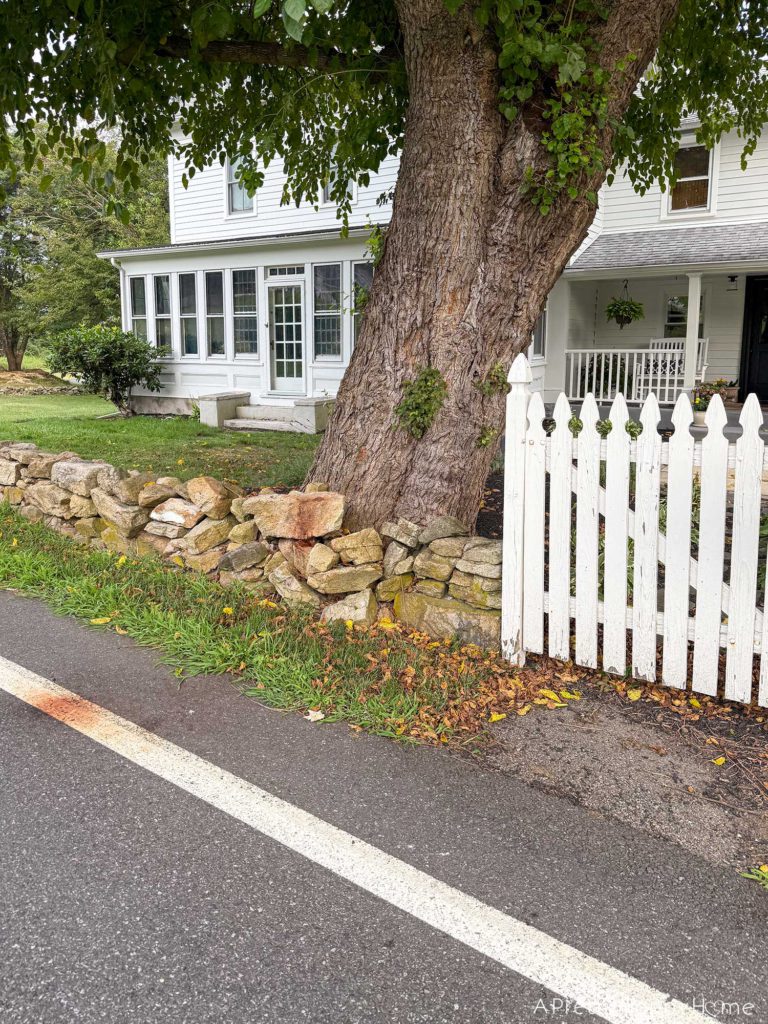
To put it delicately, the gate and mailbox have seen better days. They both have some rot and peeling paint. The gate requires a complicated lift and jiggle to get it to latch. The mailbox has been hit by the snowplow and doesn’t close properly. The only thing worse than collecting junk mail from the mailbox is collecting soggy junk mail.
We’re not exactly putting our best foot forward with these two items. Instead of curb appeal, we have curb appall.

The mailbox has been in this sorry state for at least two years. This is because, between you and me, I care very little about mailboxes.
I wish we didn’t have to have one, and I certainly don’t want to spend a bunch of time and money on something that will very likely be destroyed by a snowplow. It’s almost comical to me to see how many mailboxes in our area are held together with bungee cords and duct tape. People have just given up. Ha!
That said, I bought a new mailbox. One that’s on a metal pole. Maybe it will survive better than the wood ones? Who knows. For the price (less than $100), it wasn’t hideous on the eyes.
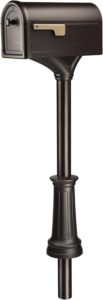

(image: Amazon)
We plan to move the mailbox to the other side of the gate, which would put it in front of the tree. Snowplows don’t usually take on trees, so fingers crossed for future good luck. This is all assuming, of course, that we can even get the mailbox in the ground in this spot with all of the tree roots. We’re the fools who will try even though we know the odds, or tree roots in this case, are stacked against us.
Now, I know you’re squirming in your seat, wanting to ask the logical question.
Why don’t we make a spot inside the curved fieldstone wall for the mailbox to notch into?
Mailboxes with stone or brick surrounds are popular in fancy U.S. neighborhoods. I’ve seen some gorgeous ones.
Trust me. We thought about it. If there’s one thing we excel at, it’s overthinking a situation. We discussed it ad nauseam. I even plotted the best way to construct it. It would have been tricky, but doable. We are moths to the flame for tricky but doable projects.
At the end of the day, it came down to historical integrity. The curved fieldstone wall we are rebuilding is very old. I can’t say it is as old as our house (circa 1780s), but I’d place easy money on it being built in the 1800s.

Of course, the wall we are building will be new, but we’re attempting historic reconstruction.
This means I want the wall to look like it’s always been here. We are reusing all the stone from the original wall and putting it back together with a historic masonry technique. We’re trying to honor the historical nature and character of our home, while putting our stamp on the situation.
If I slap a mailbox in the wall, that will be a SURE sign that it’s modern.

That said, the gate is not THAT old, so I don’t have the same qualms about replacing it with something that makes my heart go pitter-patter.
Handy Husband plans to build a new gate, and for the first time in our marriage, we had the same idea for how something should look. All those subliminal messages I’ve been sending to him must be working.
This gate from an Etsy seller in Missouri is the general idea. A scallop edge on top with a solid bottom to the gate. This gate is $450, which is probably fair considering the time involved for a custom build.
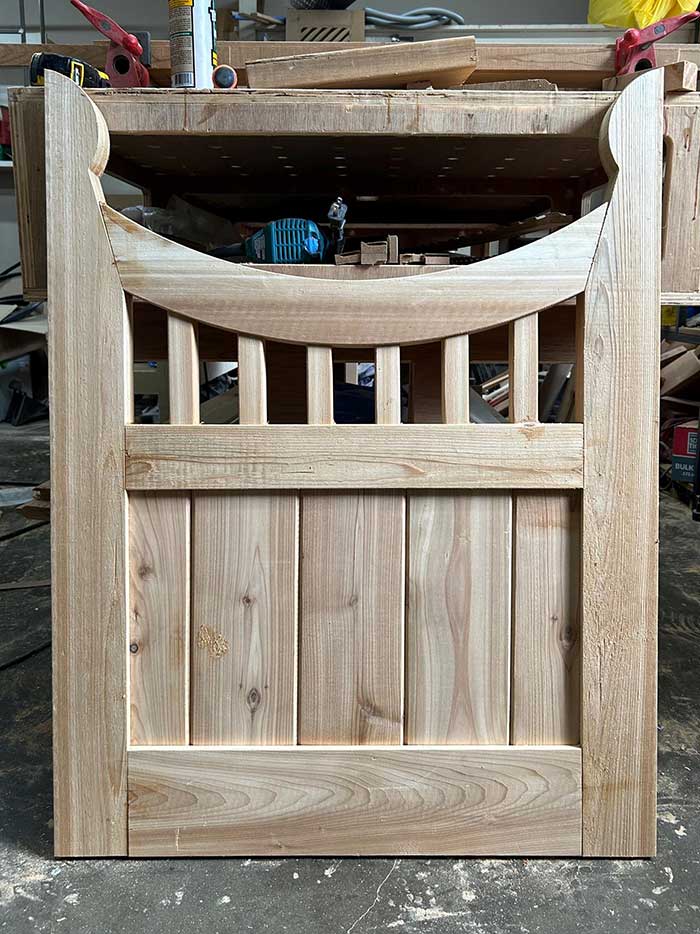

(image: BlakelyHome via Etsy)
The gate will continue to function the same. Scratch that. Hopefully, it closes without complication or fuss, but we plan to secure it to the wall itself instead of to wood posts.
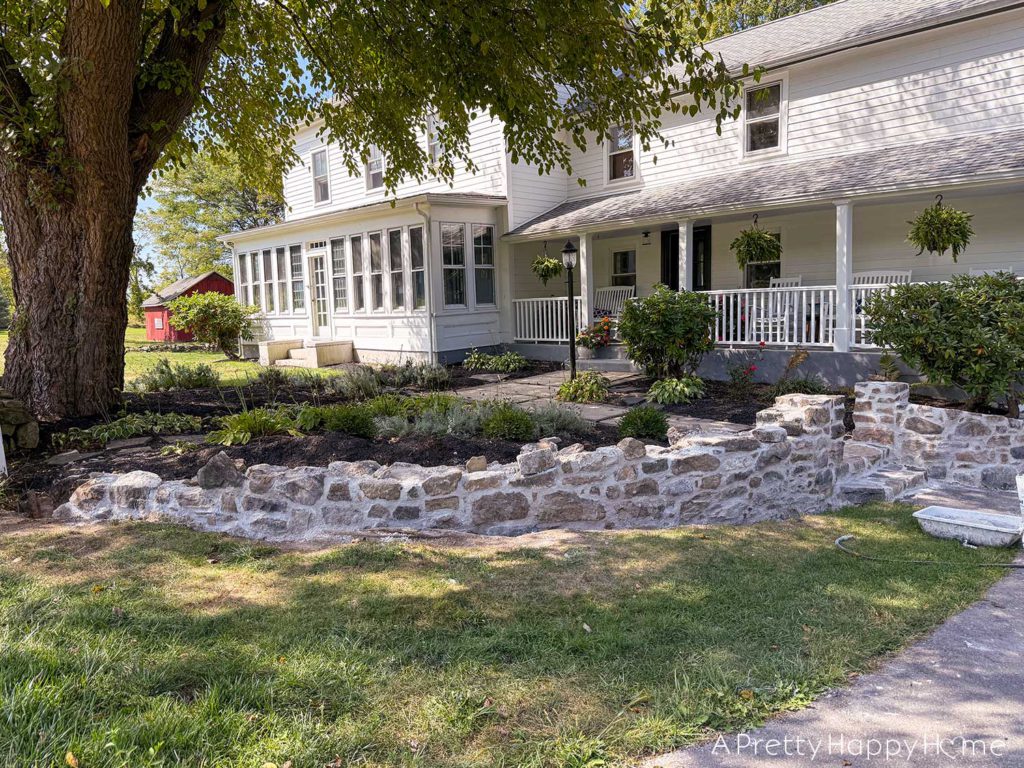
If you’re picturing this in your head, then you’ll know that means the wall itself has to change shape to support a gate.
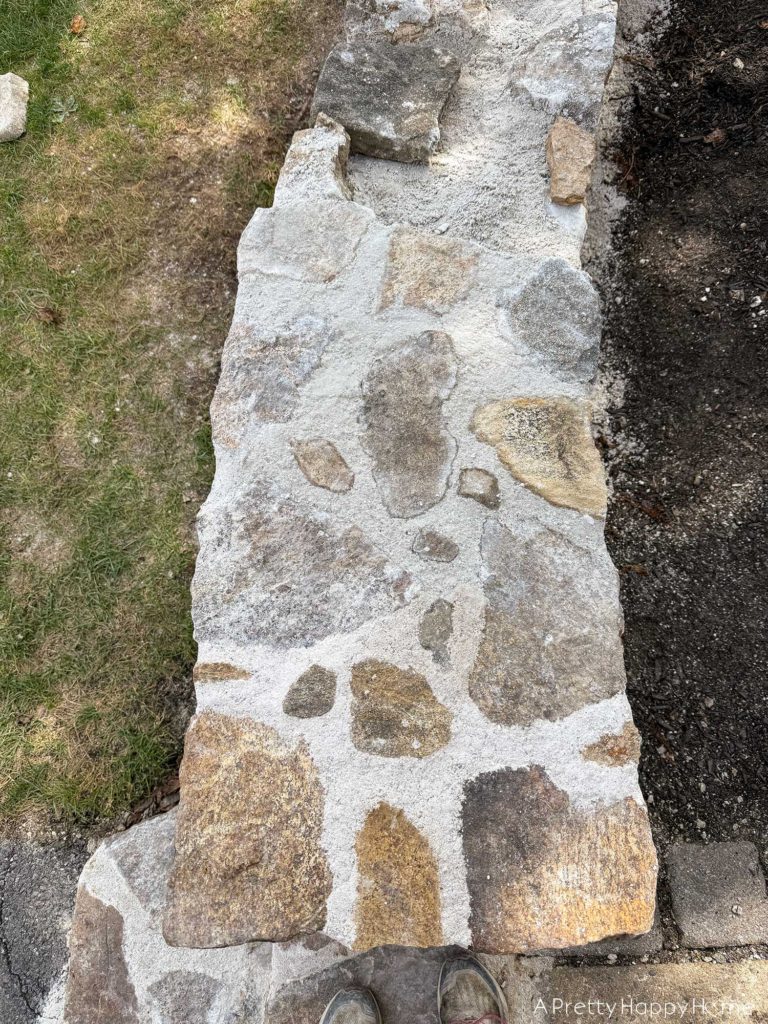
You can see in the photo below how low the original wall is compared to the gate.
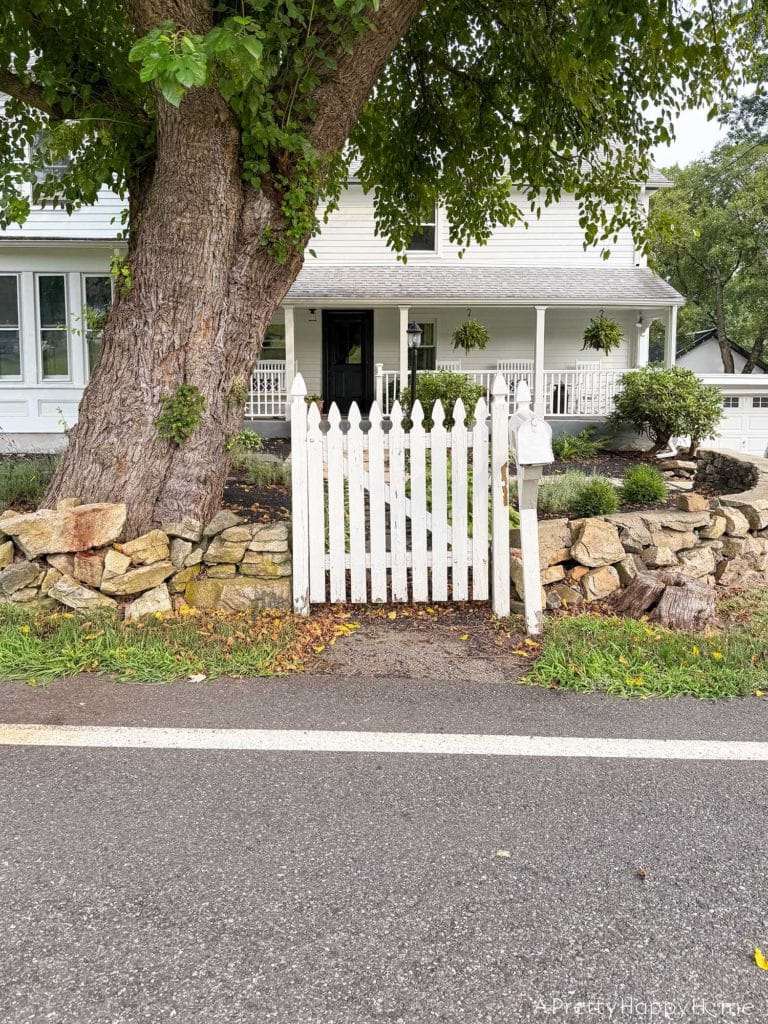
That’s right, folks. I’m going to build the wall so that it swoops up to the gate.
I’ve only built one previous swoop. That one didn’t kill me, so I figured I’d try my luck again.
The gate build will be a winter or spring project, so we will be gateless for a time. The gate is entirely for looks, and is only used by yours truly when I collect the junk mail from the aforementioned mailbox I don’t enjoy, so it’s not a security issue.
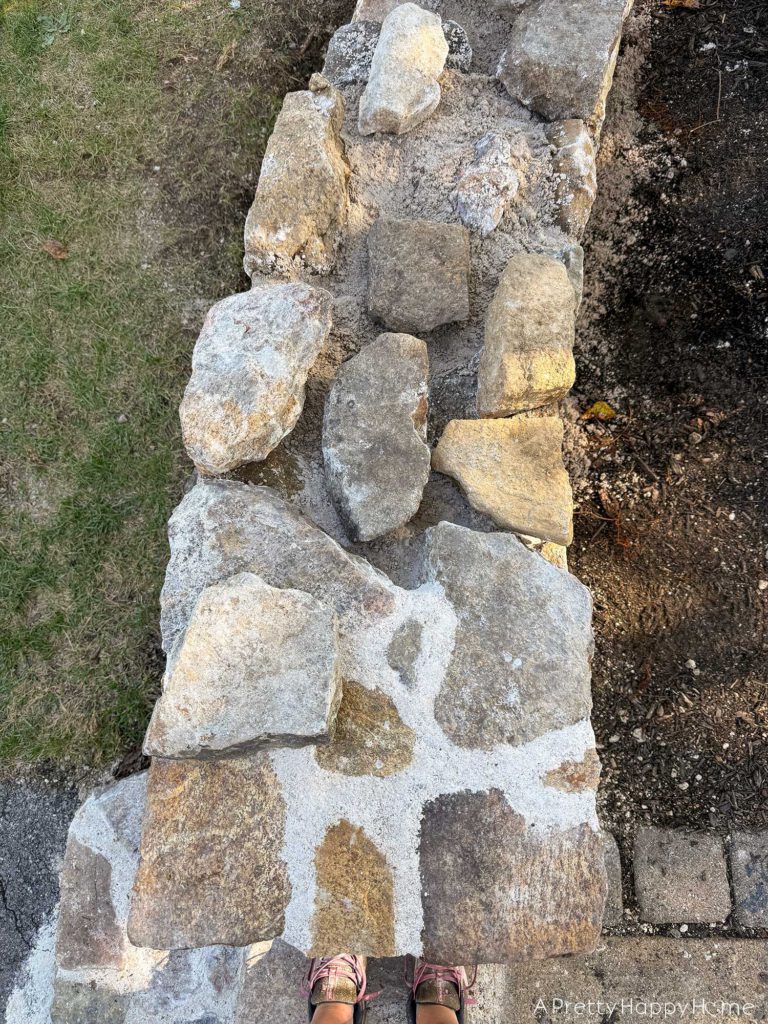
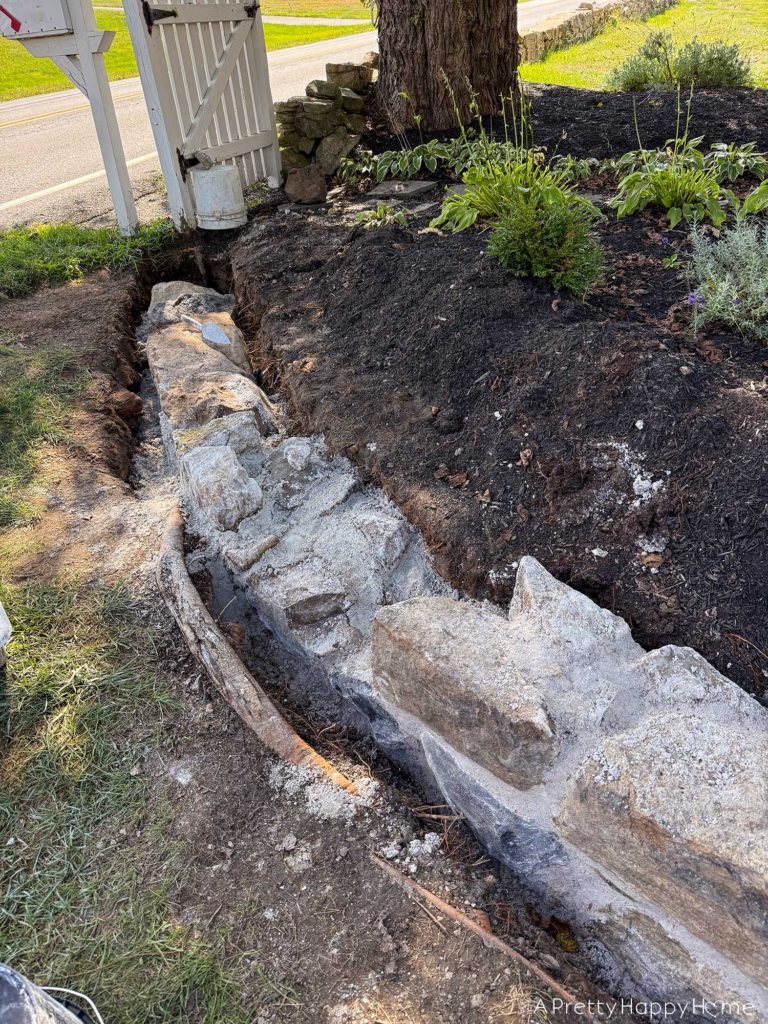
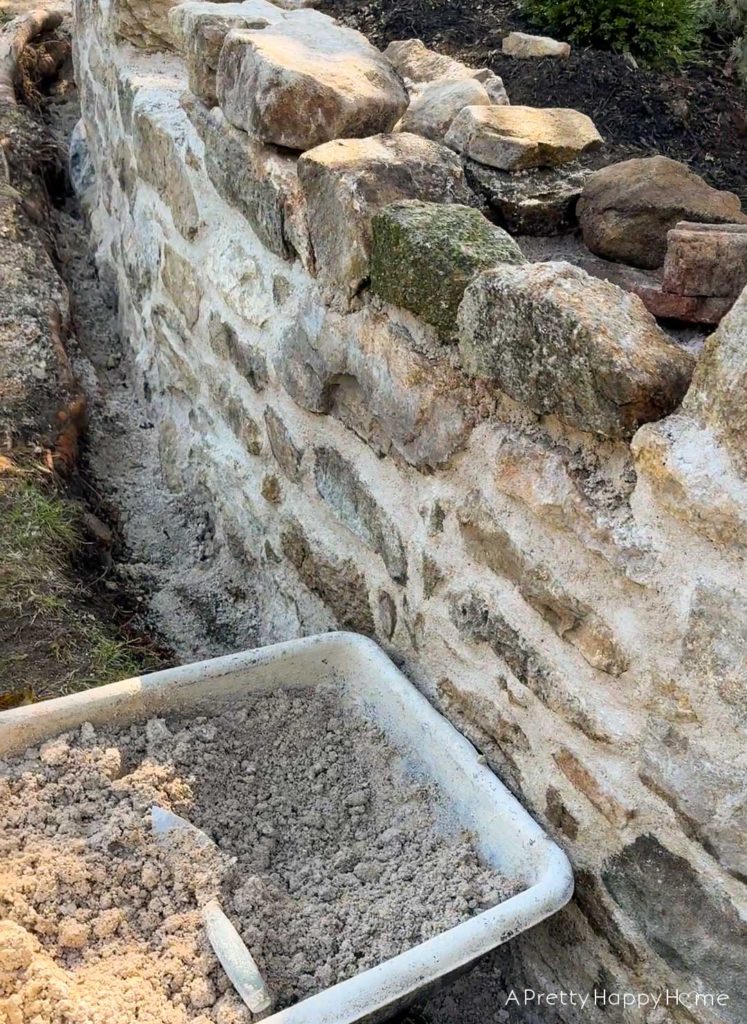
I’m working steadily to get the wall to the point where I can start the swoop.
I’m still not there.
Unsurprisingly, I have once again underestimated how much time a project will take.
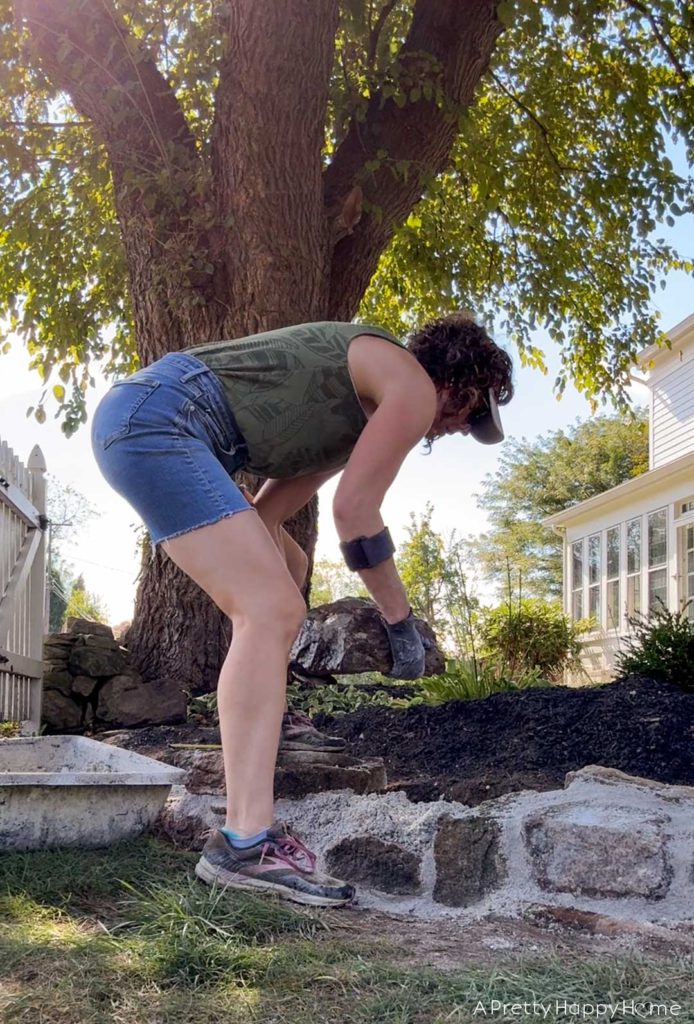
I’m the only one doing the building, and I spend almost every day working on it for 3 or 4 hours. It would go faster if I spent 8 hours a day on it, but then I wouldn’t have time to do the work that pays for the wall materials. Then there would be no wall. It’s not really a conundrum. It’s reality.
Besides, doesn’t slow and steady win the race get the wall built?
It’s a mantra that sounds nice at least. Ha!

Thanks for continuing to cheer me on through this project.
You’d be surprised (or maybe you wouldn’t because you have a high emotional IQ) at how much it helps.
Tell me, how do you feel about mailboxes? Are they a necessary evil? Is yours held together with hopes, prayers, and bungee cords? Comments really do make my day. You can comment on this blog post, email me here, or reach out via direct message on Instagram or Facebook.
Happy DIYing.
Thank you for following along with our DIY adventures. I appreciate you! If you missed any of the posts in this series, you can catch up here:
Curved Fieldstone Wall: Part 1, The Plan
Curved Fieldstone Wall: Part 2, Demo Section 1
Curved Fieldstone Wall: Part 3: Progress Section 1
Curved Fieldstone Wall: Part 4: Reveal Section 1
Curved Fieldstone Wall: Part 5: Porch Wall
Curved Fieldstone Wall: Part 6, Demo Section 2
Curved Fieldstone Wall: Part 7, The Stairs
Curved Fieldstone Wall: Part 8, Progress Section 2
Curved Fieldstone Wall: Part 9, The Salt Problem