
DIY Weighted Cord Holder Using Fabric and Rice
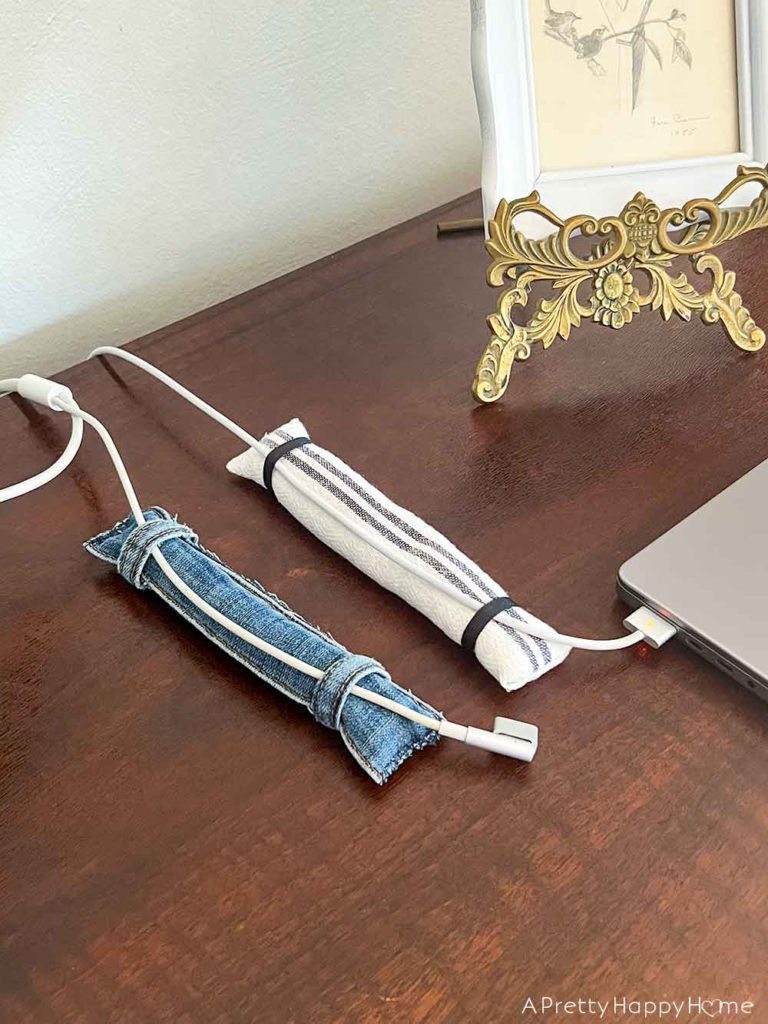
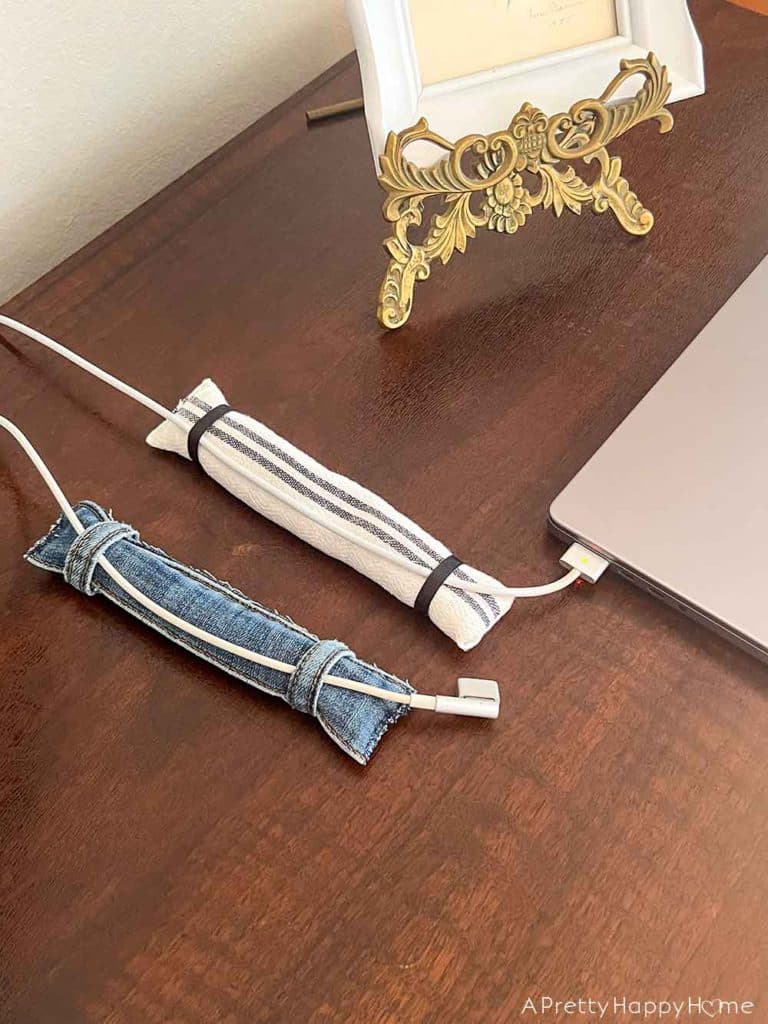
Hold onto your charging cords! Today we will solve the pesky problem of how to keep your charging cord or charging cable from falling off your desk. How? With a DIY Weighted Cord Holder.
If you can sew a button on a shirt, you can do this project. If you have a sewing machine, you can probably do this project in the time it takes to read this blog post. (Try not to brag.)
Basically, we are going to make a small, narrow bean bag to hold your charging cord or cable in place on your desk. Except, instead of beans our Weighted Cord Holder is going to hold rice. Now that I think about it, dried beans would probably work too.
Materials Needed To Make a Weighted Cord Holder:
the fabric of your choice
fabric ribbon of some sort
needle and thread (or a sewing machine)
uncooked rice (I probably didn’t need to specify the uncooked part, but better to be safe than sorry.)
funnel (helpful but not necessary)
On Fabric Choice For a Weighted Cord Holder:
You need so little fabric for this project that it is the perfect craft for repurposing fabric you already own.
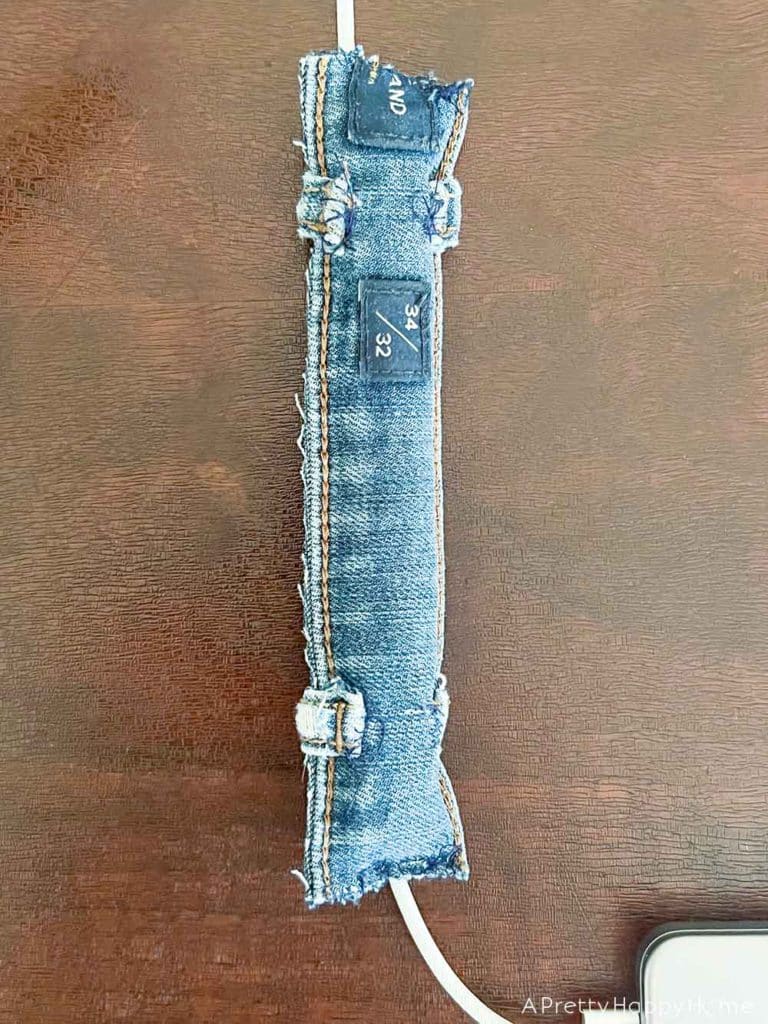
I made one Weighted Cord Holder using the waistband of an old pair of jeans that could not be salvaged. I also made another one using an old tea towel. This would also be a good way to use up fabric scraps from other sewing projects.
What If You Don’t Have a Sewing Machine?
I don’t have a sewing machine either. If I can make one of these with a needle and thread, so can you. The item you’re making is so small that it really won’t take you more than 5 – 10 minutes to hand stitch it. (I’m ballparking that number, by the way. Don’t start timing it or anything! Ha!)
Alternatively, you could make this Weighted Cord Holder using fabric glue like Liquid Stitch. Just make sure and let the seams fully dry in between each step.
How To Make a Weighted Cord Holder:
(Please grant me some grace with these explanations as I’m not a seamstress. I’m really talking to the people like me who don’t sew frequently or at all.)
Step 1: Cut your fabric to size.
You’re aiming for the finished dimensions of your Weighted Cord Holder to be approximately 7″ long x 1.5″ wide.
If you’re using a sewing machine, then you’ll probably cut two rectangles, allowing extra room for your seams.
If you’re like me and are hand-stitching this or using fabric glue, you’ll want to minimize your seams. You need a starting fabric rectangle that is roughly 7.5″ by 4.25″.
I realize it isn’t super helpful to use the words roughly or approximately in a tutorial if you’re an exacting kind of person. I’m not and I fully admit that I winged it when making my first one of these Weighted Cord Holders.
It ended up being heavy enough to hold my laptop charging cord in place, so I did not experiment to see how small I could go. If you want to, please be my guest. Your weighted cord holder just needs to be heavy enough to hold your cord in place.
Step 2: Stitch together all but one side of your rectangle.
Stitch together all but one side of your cord holder. Leave one end open because you need to fill it with rice!
For the non-sewing people using this tutorial, it’s usually best to turn your fabric inside out to stitch the sides together.
If you’re using one rectangle that is roughly 7.5″ by 4.25″, then you’ll stitch together the two long sides first so that you’ve made what looks like a tube. Then you’ll stitch together the ends on one side of your tube/rectangle.
If you’re using the waistband of a pair of jeans to make your weighted cord holder and you’ve cut the waistband out carefully, then the sides are already stitched for you. That’s right, you just worked smarter, not harder! You’ll only have to close up the ends. Start with stitching only one end closed and then move to Step 3.
Step 3: Add two loops to the cord holder.
Now it’s time to add two loops to hold your charging cord in place on top of the Weighted Cord Holder. Attach your loops approximately 1 inch from each end of the cord holder.
PLEASE NOTE: I actually did this step AFTER I added the rice, but if you’re using a sewing machine, you probably want to do it now.
If you’re fed up with the sewing process, you could always use a rubberband or an elastic hair tie in lieu of sewing loops to the cord holder.
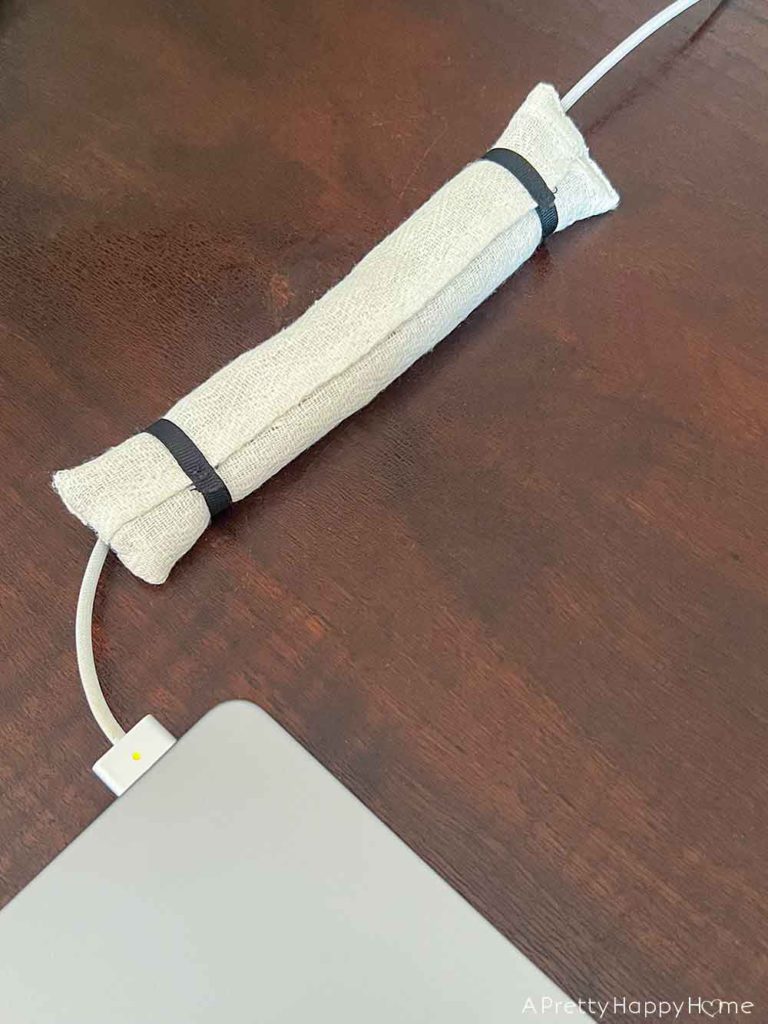
Regardless of whether you are using fabric ribbon or belt loops from the jeans for the loops on your cord holder, the important thing is to allow a little wiggle room to get your charging cable underneath the loops but not so much that the cord can slip through the loops. This uncertainty is why I added my loops after adding the rice to the cord holder.
Please note that if you are using belt loops for this part, they won’t stretch all the way around your Weighted Cord Holder. See the below picture for reference.
If you’re using fabric ribbon, you can loop it all the way around and secure it along the back seam like this:
Step 4: Fill your cord holder with rice.
Now that your cord holder is sealed up on all but one side, it’s time to make it weighted.
Carefully pour dried rice into your cord holder leaving enough room to be able to stitch the last end closed without rice falling out. I found it helpful to use a funnel for this step.
As I was typing this up, I thought you could add a little dried lavender to your rice mix and make this cord holder scented too!
Step 5: Stitch the remaining end of the cord holder closed.
Once you’ve stitched the final end of the Weighted Cord Holder closed, make sure to check that it is holding all the rice securely in place. The last thing we need is rice ending up everywhere!
Now, it’s ready to use!
Phew! I feel like I bumbled my way through that tutorial. This is what happens when you know enough to get the job done in a down-and-dirty way but not enough to be anything close to a professional.
Regardless, I hope this DIY Weighted Cord Holder changes your life as it has mine. I no longer have to pick my laptop charging cord up off the ground 20 times a day and that makes me so happy!
Are charging cords a pain point in your life too? How do you manage them? I’d love to know. You can always comment on this blog post, email me here, or reach out via Instagram or Facebook.
P.S. I know there are adhesive cord holders or cord clips (like these) you can buy that attach to the back of furniture but they don’t work for every scenario. I also think these cord clips for small appliances like the blender and mixer are a brilliant idea to keep appliance cords wrapped up.
Thanks for being here today. Here are some other posts you might enjoy!
How To Hide Cords On a Standing Desk
Repairing Nicks and Scratches in Linoleum or Vinyl Flooring
Plastic Birkenstock Repair Hack If You’ve Stretched Out The Toe Post
How To Repair a T-Shirt Hole With Fabric Glue
*affiliate links in this blog post*





4 Comments
Donna via Funky Junk Interiors
It was as much fun watching you make these on Instagram as it is to read about them in the post! No more magical disappearing cords for you! Although I do admit I enjoyed watching the cords race off into never never land while filming. Welcome to my life. Very clever indeed!
annisa
LOL! I know…those cords are FAST when they want to slide off the desk. Thanks again for featuring the idea.
Zefi Famelis
I love this idea!!! You can bet I’ll be making some cause I’m sick of cords falling off the desk!
Saw it on the Funky Junk page.
annisa
Hurray! Glad you can use the idea. Thank you for letting me know…The Funky Junk page is the best!