Make A Magnetic Bulletin Board With Sheet Metal
I prefer to test out our DIY creations before I share them on the blog and the magnetic bulletin board we made with sheet metal is no exception.
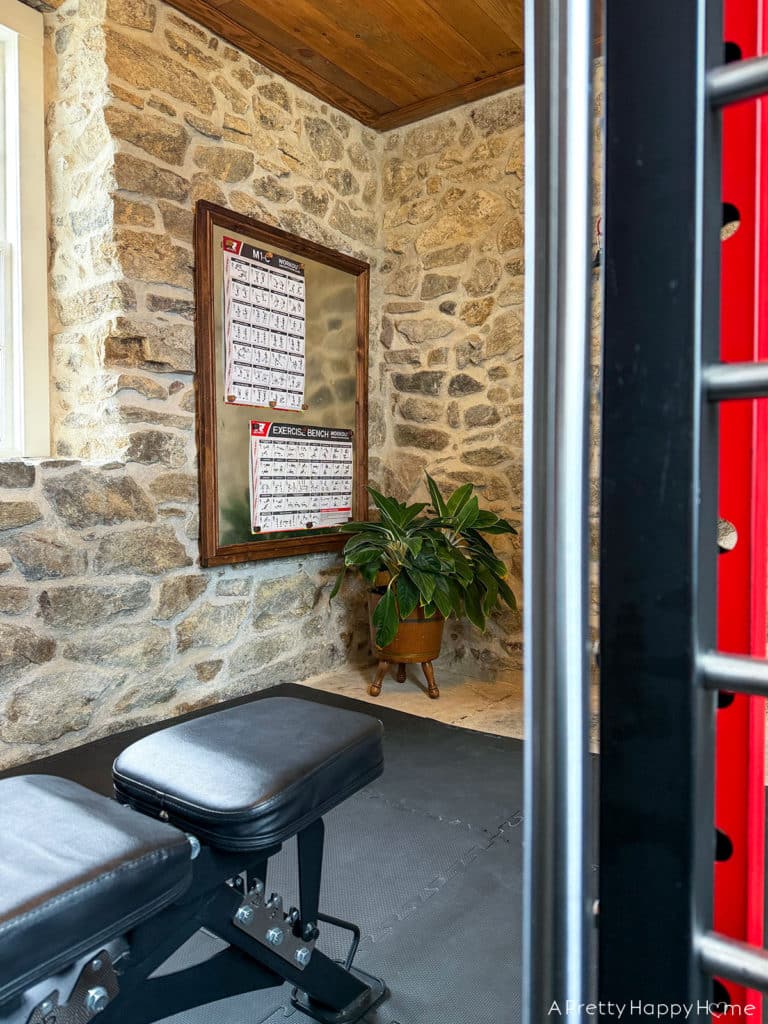
It is the second bulletin board we made for our Carriage House Gym and we have put this magnetic bulletin board through its paces to see how it will hold up.
If it can survive being hung in a well-used gym with no heating or cooling and some moisture issues (humidity, not sweat – but a little of that too), it can survive your house or business.
Why did we make magnetic bulletin board instead of a cork board?
First, they are really attractive.
(See what I did there?)
Second, we DID install a cork board in our gym at first. It was a $3 thrift store find that we customized with a new frame. I was very delighted with how it turned out.
Unfortunately, in about two weeks, the cork board started to grow mold. I should have known that would happen. Cork is an organic substance and will act as a petri dish in humid environments.
If you’ve ever lived in a humid area where you need to run a dehumidifier in your basement, you’ll know what I’m talking about. If you don’t know what fresh misery I’m describing, be glad this has not been your lived experience.
A magnetic cork board made with sheet metal is easy to clean and can handle extreme environments better than a bulletin board made of cork. No mold has grown on this surface, thank goodness.
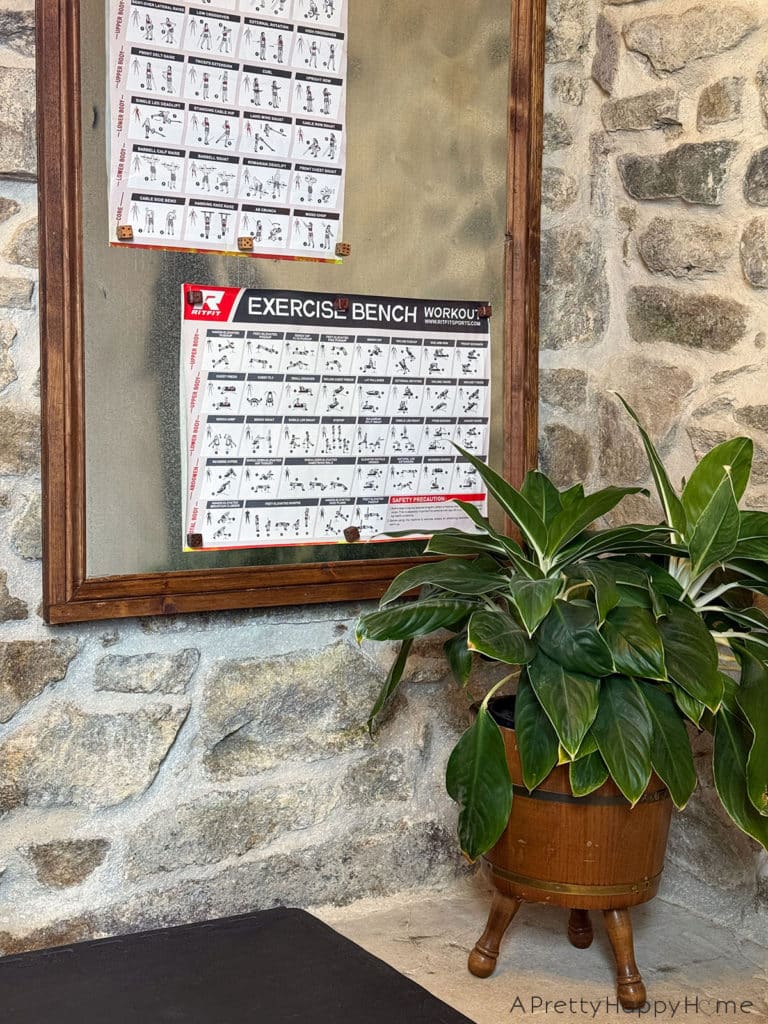
Third, you can have so much fun making or selecting magnets to add personality to your bulletin board. I like to think of magnets as sprinkles on top of your cookie. It’s a little detail that adds pizazz.
Last, look how reflective the sheet metal is! So cool, right? It’s almost like having a mirror in this space.
What you need to make a magnetic bulletin board with sheet metal:
Keep in mind the finished dimensions of our board are 3′ x 4′.
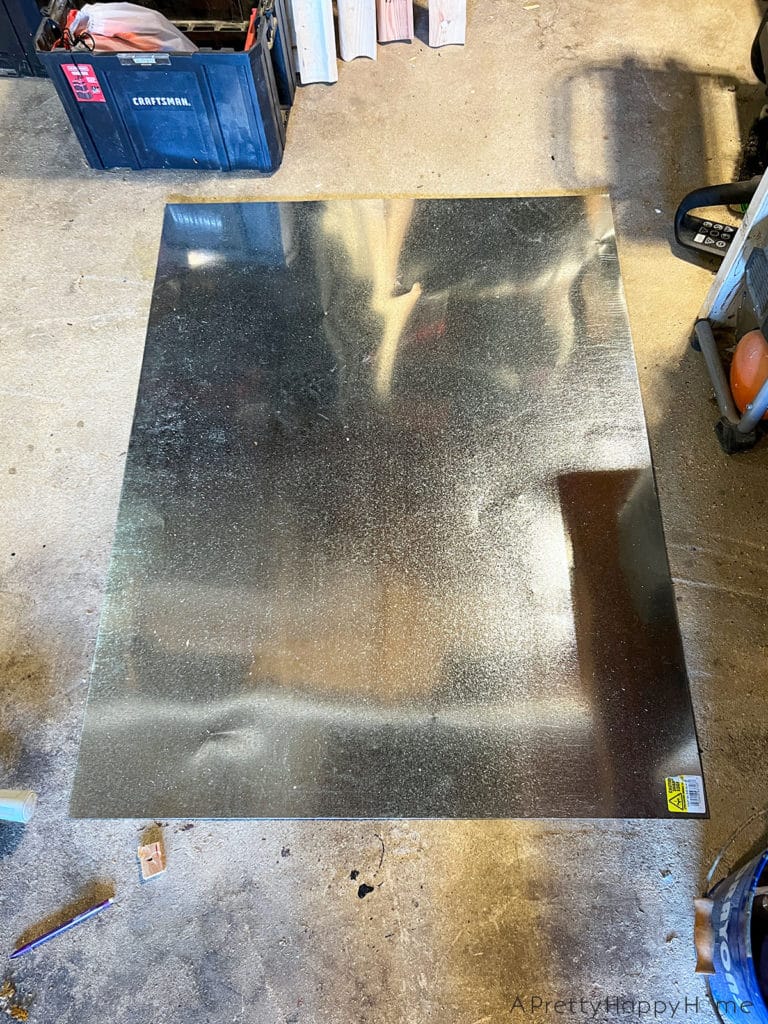
Sheet Metal – ours is 3′ x 4′, but you can get them in different sizes from your home improvement store. Sheet metal in this size may be called “flat sheet ducting” and be in the aisle with all of the other ducting supplies. When we bought our sheet it cost less than $30.
Plywood – same dimensions as your sheet metal. We used 5/8″ plywood because that’s what we had on hand, but 1/4″ would work too.
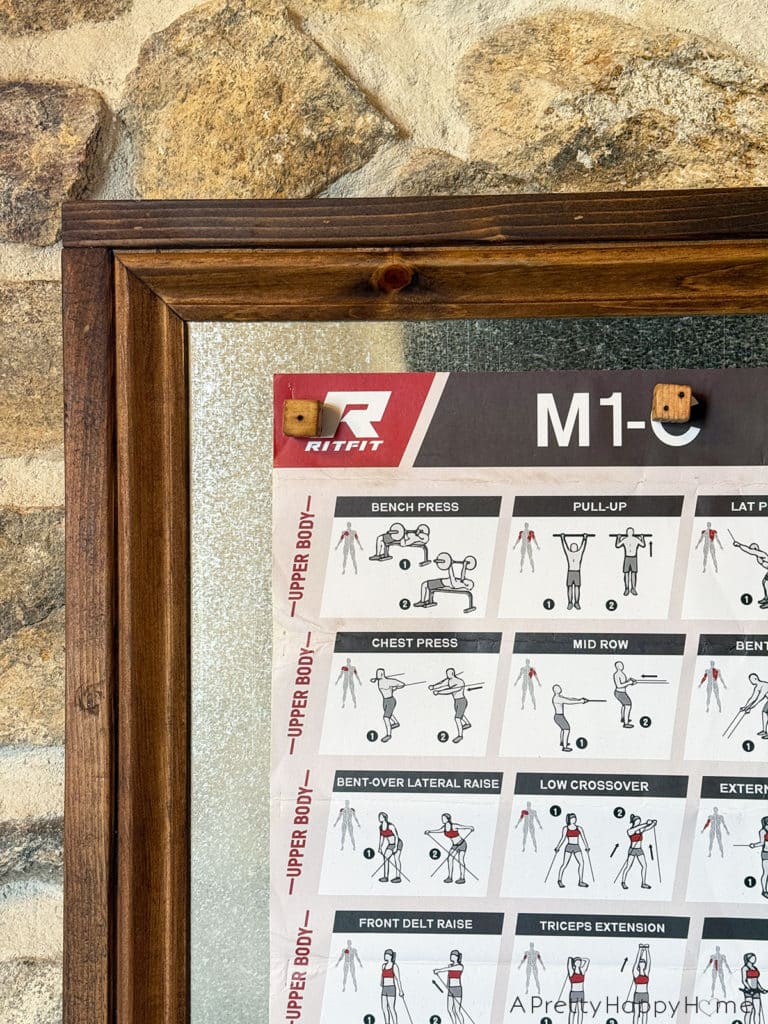
Wood Trim – enough to make a frame around your bulletin board. We stacked two different types of trim together to give our frame more substance.
Nails – We used a nail gun, but you could do it with a hammer and finish nails.
Optional: Glue – something that will work on metal and wood like e6000.
Optional: Stain or paint to finish your wood trim.
Optional: Edge banding if a raw plywood edge bothers you.
Picture hanger: We used a sawtooth picture hanger screwed into the back of the frame.
How to make a magnetic bulletin board with sheet metal:
The big picture is you are simply sandwiching the sheet metal in-between your trim/frame and the plywood.
As long as you are buying precut sheet metal, you don’t have to cut any metal, just wood.
Step 1: Cut your plywood to the same size as the sheet metal.
We used 5/8-inch plywood because that’s what we had on hand. It doesn’t need to be that thick.
In our case, we were using a 3′ x 4′ piece of sheet metal, so that’s the dimensions we cut our plywood to.
Step 2: Cut and dry fit your trim pieces.
Make sure the trim lines up and looks the way you want to because once you start securing it, it’s hard to make adjustments.
You can stain or paint the trim now or later.
Step 3: Secure the sheet metal to the plywood.
We secured the sheet metal to the plywood using nails. Only nail around the outer edges where your nail holes will be covered by trim. This is why it’s important to cut your trim first or at least know what size it will be. You can’t fix holes in sheet metal.
If you’re worried about any movement to the sheet metal, you can glue it down before nailing. We did not glue ours down and it has been fine.
Step 4: Secure trim to sheet metal.
We glued the trim to the sheet metal using e6000 glue.
Then, for good measure, we did add a few nails to secure the outer layer of trim too. Remember, we had two layers of trim. This means that the sheet metal is definitely not going to move since we did not glue it.
However, it did mean that I had to fill a few nail holes.
Step 5: Add your picture hanger and hang.
We secured a large sawtooth picture hanger on the back of the bulletin board in order to hang it. The picture hanger is screwed into the plywood backing and not nailed as nails can pull out on these heavier pieces.
Whatever type of hanger you use, just make sure that it is rated to handle the weight of your bulletin board.
As for the magnets, did you notice what I used?
Wood dice!
I made wood-burned dice a few years ago. You can read about those here. In typical “me” fashion, I got really into it, so I had plenty of dice on hand to transform into magnets. It took all of two minutes to glue small magnets on the back of the dice using that e6000 glue again and I had custom magnets for our magnetic bulletin board.
While we did not want to make two bulletin boards for our gym and we certainly did not want to toss a moldy cork board, I think it worked out for the best.
The sheet metal lends an industrial vibe that works really well in this gym space.
What do you think of our magnetic bulletin board? Have you ever had to install a dehumidifier in your house to prevent your basement from turning into a real life petri dish? Tell me every gross detail. I really do love talking with you. You can always comment on this blog post, email me here, or reach out via Instagram or Facebook.
Happy DIYing.
P.S. The window in the first photo in this blog post looks blown out by the camera and the sunlight. It was not. It was actually iced over when I took these pictures. I was not exaggerating about this space not having any climate control. It could also use double-paned windows. Both are on the list of things to figure out, but it has not stopped us from using this space three times a week.
P.P.S. We’ve been using our RitFit Smith Machine for weightlifting for four months now. I have nothing but good things to say about this set up for beginners like us. The safety features the equipment offers gives us added peace of mind.
It’s not the first time we’ve used sheet metal on a bulletin board. You can read more about those projects here and thanks for hanging out with me today! I hope you picked up an idea or two.
Cork board and Sheet Metal Map – This is still hanging in our son’s room.
Magnetic Chalkboard – We made this before my blogging days, but you can paint sheet metal with chalkboard paint. I can’t even remember if I primed it, but it has not scratched once in nearly 15 years. You can see the chalkboard in this post about our laundry room and pantry.
If you want to catch up on how we built our home gym, you can read about our Plan To Make a Gym in a 250-year-old stone carriage house, the Messy Middle of making the gym, and our Home Gym Reveal.
*affiliate links in this blog post*


