Curved Fieldstone Wall: Part 6, Demo Section 2
I’m back with part 6 of our Curved Fieldstone Wall Series. This time we’re discussing demo of the second wall section we’re working on.
Here’s the thing about our DIY projects.
They never go according to plan.
Why do we bother planning? I don’t rightly know.

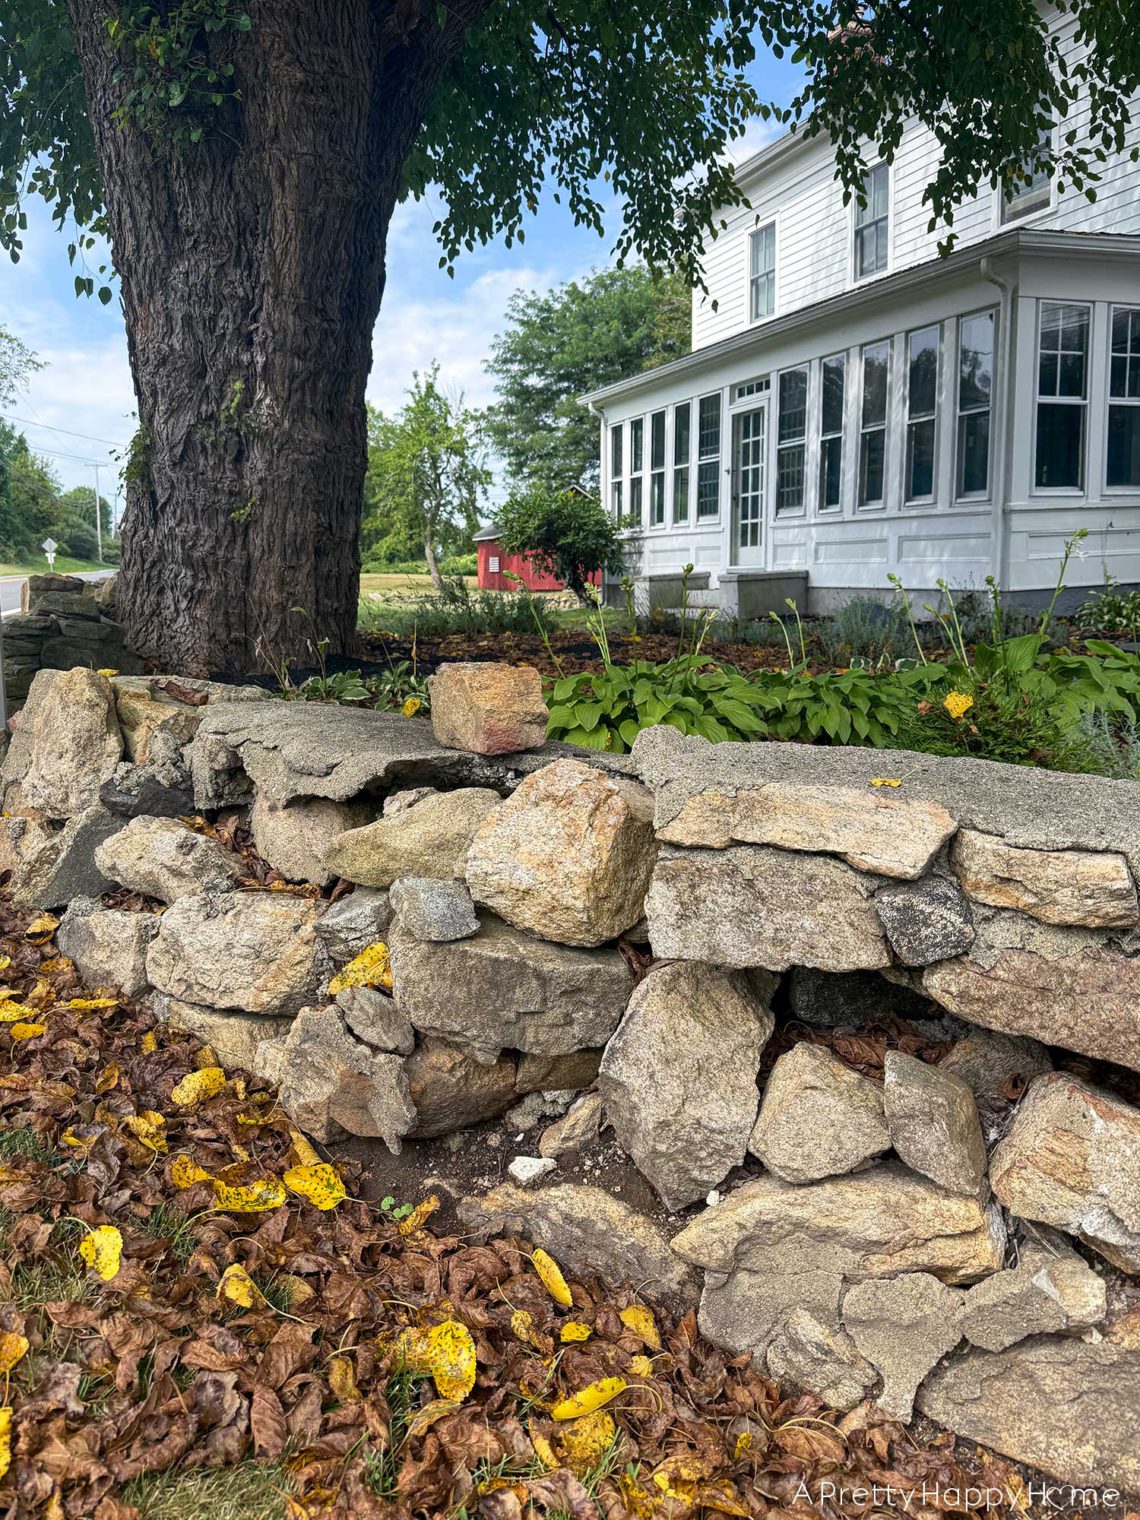
We expected the demolition of the second wall section to go as quickly as the first section. While the second wall section is twice as long as the first, it was built the same way. In addition, a quarter of it had already demoed itself for us. THAT’S the kind of effort we like to see from inanimate objects.
I guess the rest of the wall wasn’t trying hard enough to be terrible because it was H-E-Double-Hockey-Sticks to dismantle.
Before even starting, we had to remove a tree stump from in front of the wall. Have you ever dug up a tree stump? It’s usually an arduous affair.
If it’s not, that’s a sure sign that you should feel wary of what’s to come. In our case, extremely wary.
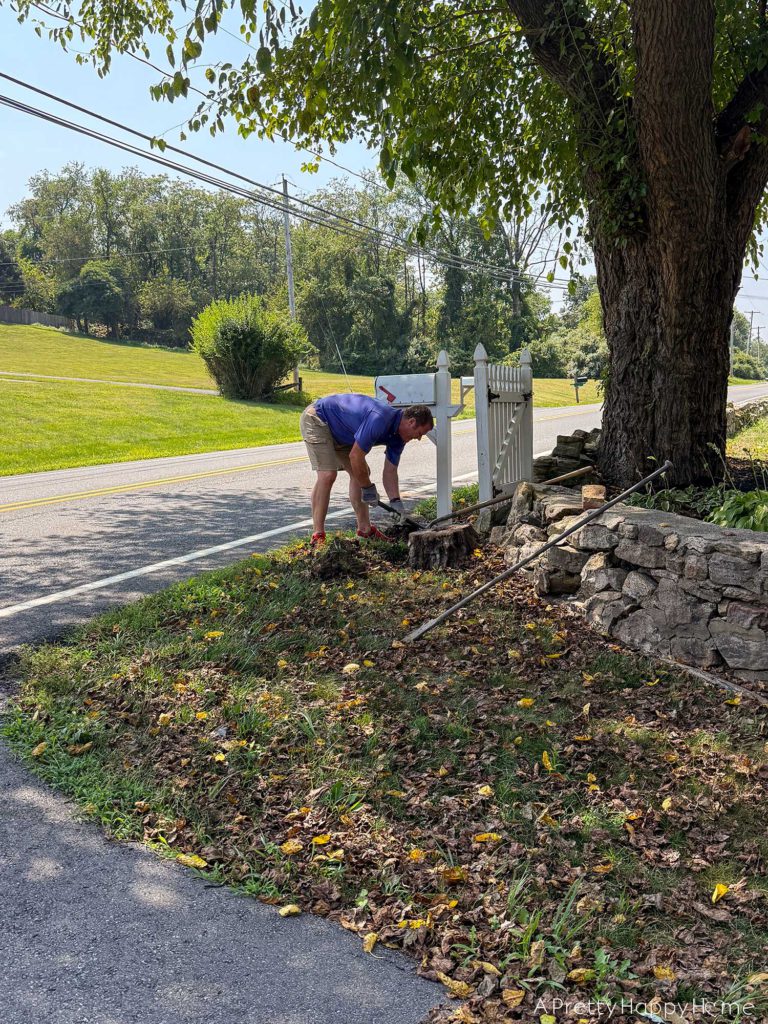
What was to come was more work than we expected.
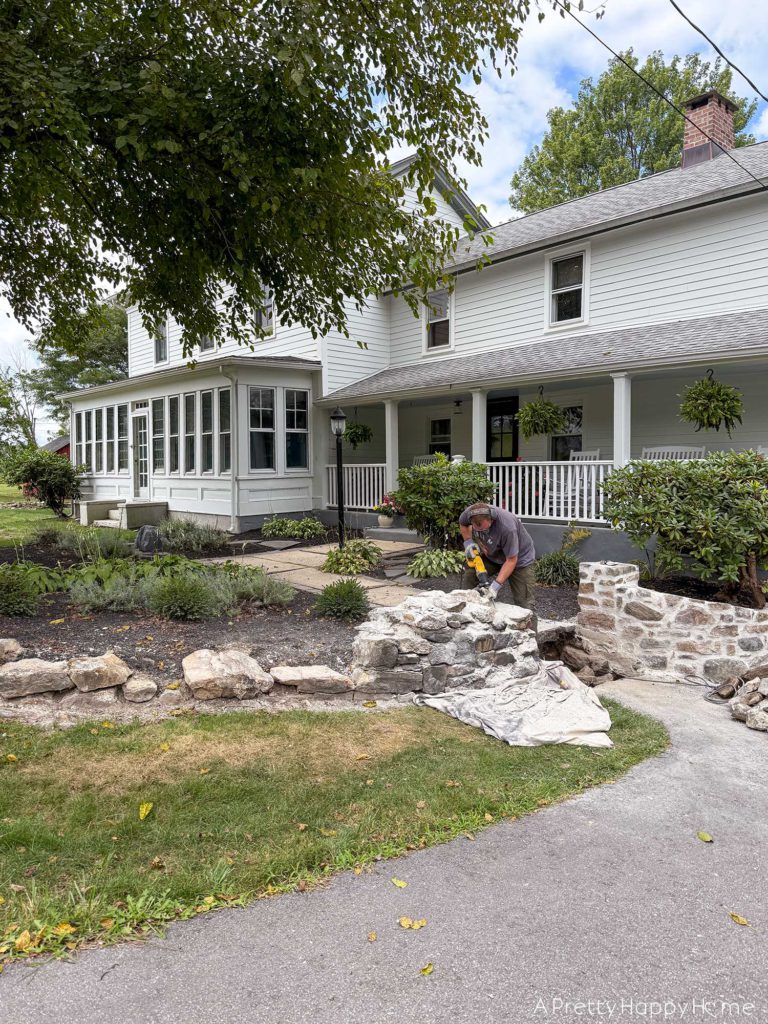
It took Handy Husband 3 hours to jackhammer apart the first wall section. We lost count, but estimate he has easily 25 – 30 hours into the second section, which is about 20 feet long.
Do you know how hard it is to listen to that amount of jackhammering? If you don’t, you could ask our neighbors. I’m sure they’d be able to describe it in graphic detail.
I am so, so sorry.
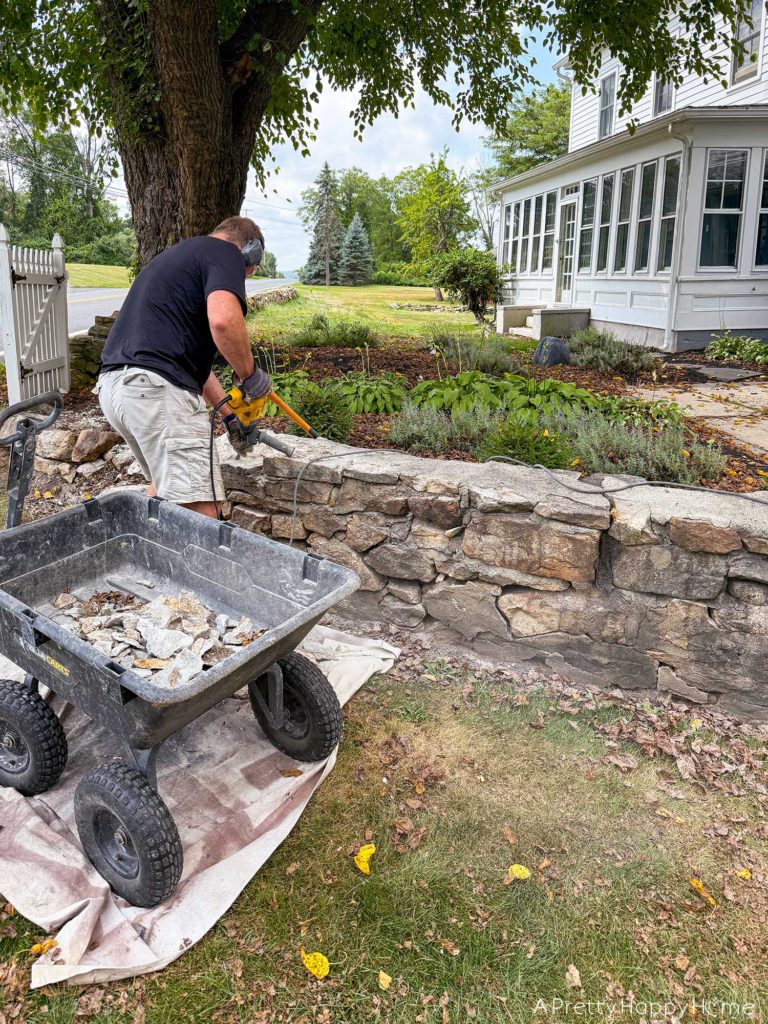
The reason this wall was so difficult to take down was mainly that the concrete used to hold the wall together was mixed very stiffly with minimal water. Stiff concrete equals strong concrete. Whoever mixed this concrete did an excellent job. It would be commendable if we didn’t wish this was the one time they had underachieved.
Not only does it take time to break apart concrete that strong, but then Handy Husband had to jackhammer the concrete off of every single rock in the wall – hundreds of them – so that they could be reused.
It’s a good thing Handy Husband has a stubborn streak because it’s advantageous when we’re faced with particularly difficult tasks. He DOES. NOT. QUIT.
More than once in our relationship, we’ve discussed the pioneers who ventured out on the Oregon Trail. Some people spend a lot of time thinking about the Roman Empire. Handy Husband has, apparently, spent a significant amount of time thinking about the Oregon Trail.
He can describe, with great thoroughness, sincerity, and the utmost seriousness, how he would have survived the horrific conditions of the trail or blazed the trail himself. His assessment of my fortitude as it relates to the Oregon Trail is not as generous. Hahahahahaha.
He’s not wrong.
I won’t even go camping.
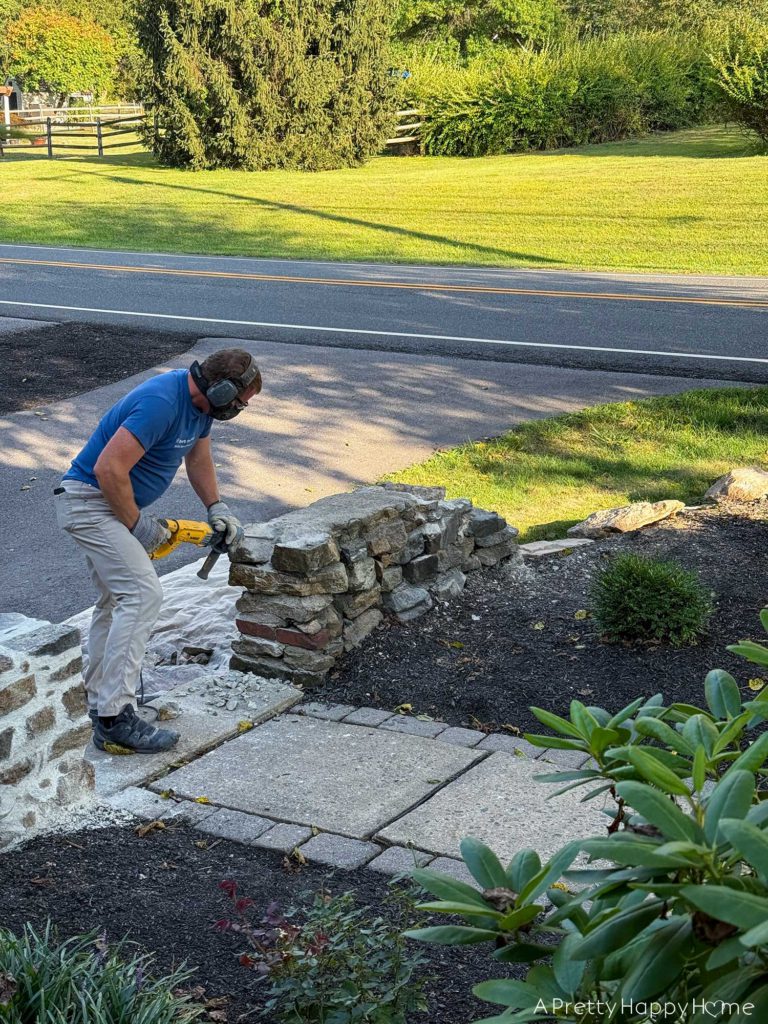
I will run with great ideas, though, and Handy Husband had the fantastic idea of also removing the concrete steps up to our sidewalk.
This wasn’t in our original project scope, but he had a lot of time to think about it while jackhammering on the wall.
The concrete steps WERE a little hokey, and we decided it would look better to build them out of stone to match the walls.
Do you know how nervous I was to have him swinging a sledgehammer right next to the wall I just built? The wall that isn’t fully cured?!?! I held my breath the entire time.
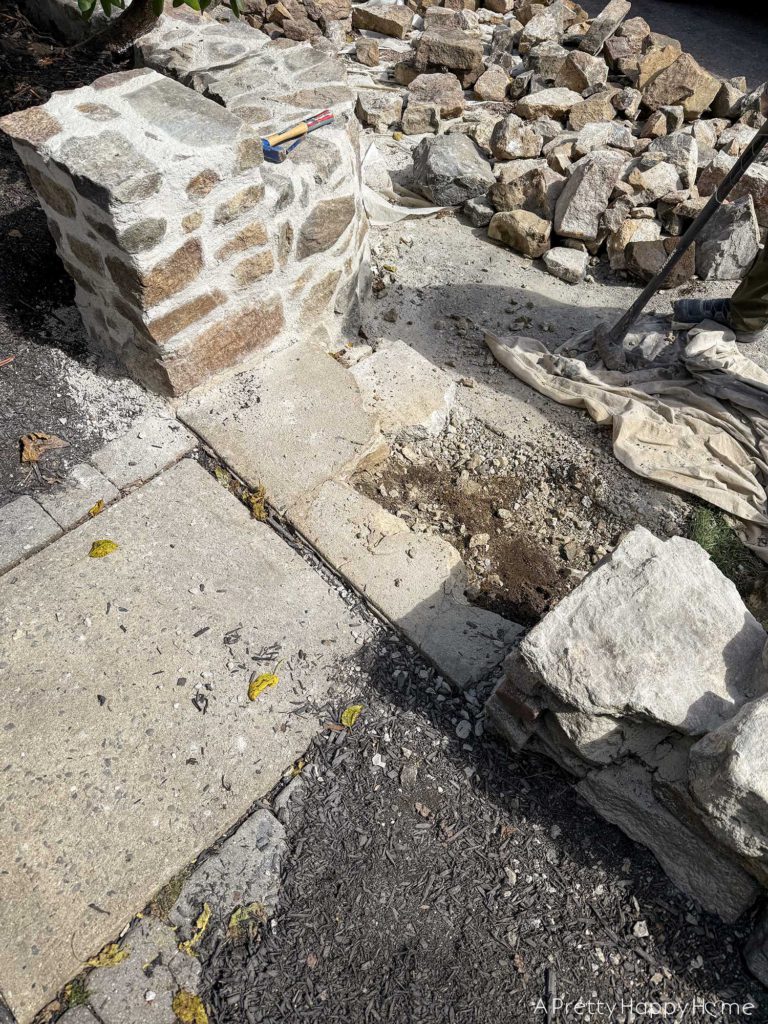
What we found under the concrete steps was – surprise, surprise – HUGE rocks.
Pictures distort scale.
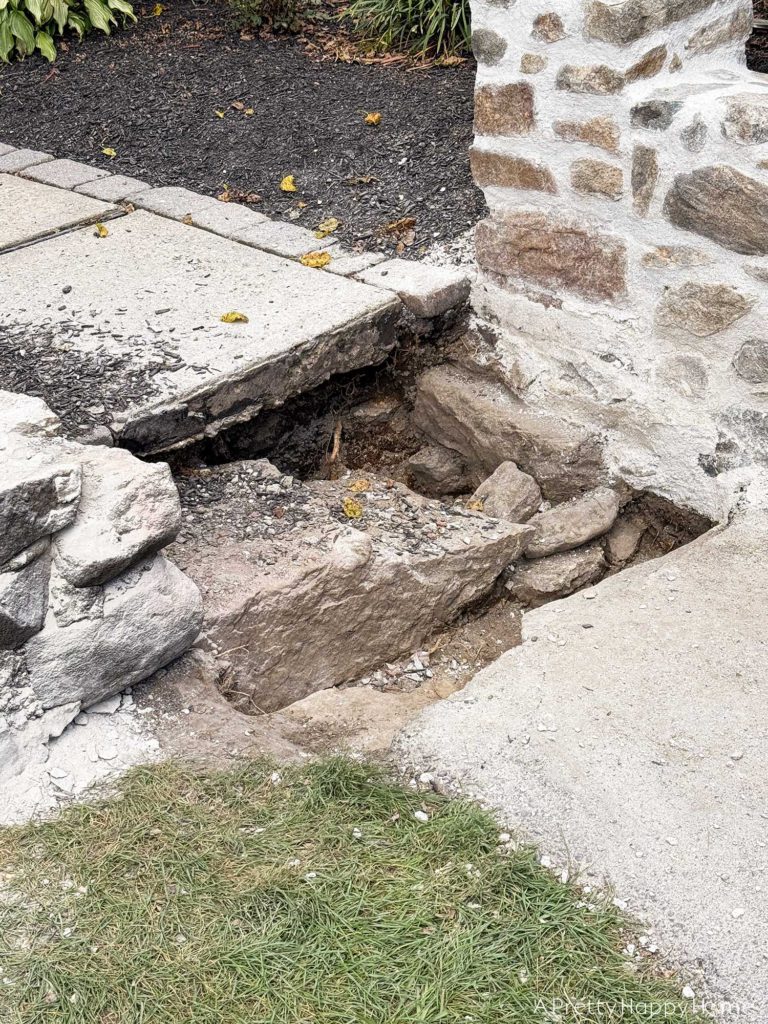
The sidewalk is 44 inches wide. The big stone you see is roughly 60 inches wide and 16 inches deep. Part of it broke off when he was taking out the concrete.
There is no way on God’s green earth that we are moving that stone with our bare hands. We could pull it out with our truck or lawn tractor, but then what? What would we do with it?
The best course of action was just to leave it in place.
If we had to guess, this was used as a stepping stone. 200 – 250 years ago, the soil of the flowerbeds wouldn’t have been built up as high. There are probably more of these rocks under the sidewalk.
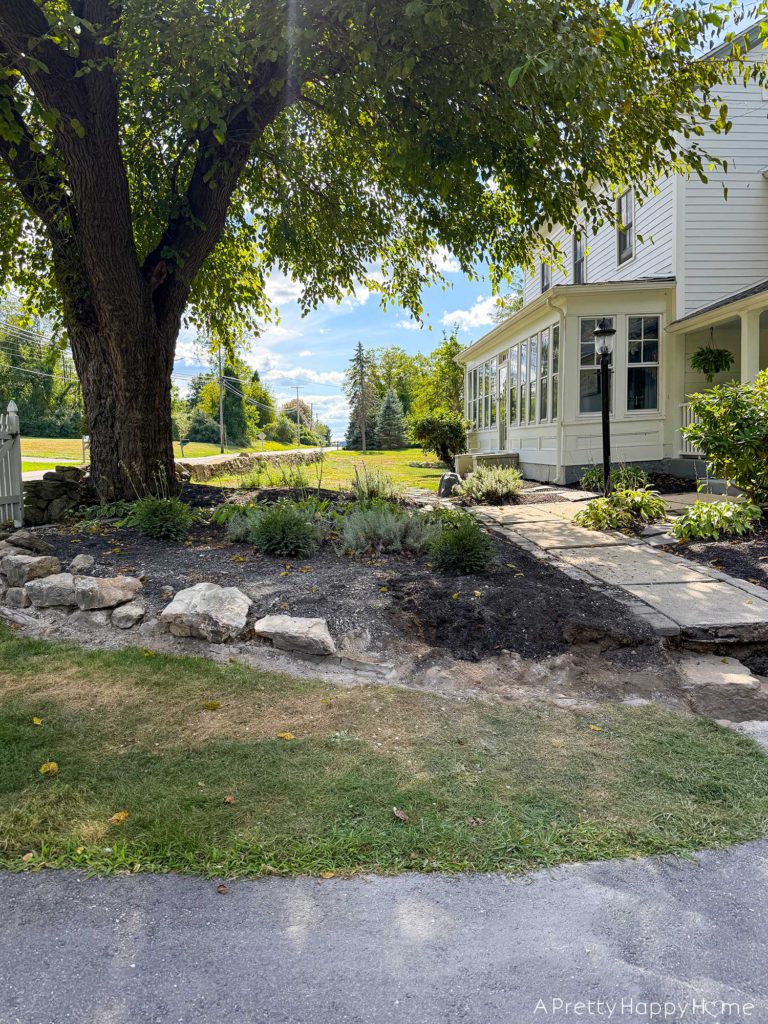
I was not sad to see the concrete steps go, but the wall is a different story.
We’ve removed or taken down plenty of things from this property, such as junk and overgrowth. Every time, it has been an instant, “YES, that’s better.”
Seeing this wall come down has been the opposite. I know it has to come down to be rebuilt, but it looks wrong not to have it here. I guess that’s how I know we are meant to rebuild it.
What do you think of the demo process? Does our house look weird now without the wall? Have you ever been the annoying neighbor? Tell me everything.
Comments really do make my day. You can comment on this blog post, email me here, or reach out via direct message on Instagram or Facebook.
Happy DIYing.
P.S. Demo was taking FOREVER, so I wrote this blog post before we technically finished prepping the area to be rebuilt. After the wall was knocked down, we still had to dig a trench so that the new wall would sit below the surface level of the soil. You can see the trenching process saved on Instagram story highlights called “Stone Wall 1 or Stone Wall 2.”
Thank you for following along with our DIY adventures. I appreciate you! If you missed any of the posts in this series, you can catch up here:
Curved Fieldstone Wall: Part 1, The Plan
Curved Fieldstone Wall: Part 2, Demo Section 1
Curved Fieldstone Wall: Part 3: Progress Section 1
Curved Fieldstone Wall: Part 4: Reveal Section 1
Curved Fieldstone Wall: Part 5: Porch Wall


You May Also Like

Under-A-Table Pull-Out Trash Cabinet

4 Places To Use Brush-On Hammered Copper Paint
