Over-the-Door Basketball Hoop with Wood Backboard
I love my kids.
I don’t love all the kid stuff.
It is rarely aesthetically pleasing, but I can fix that – this one time.
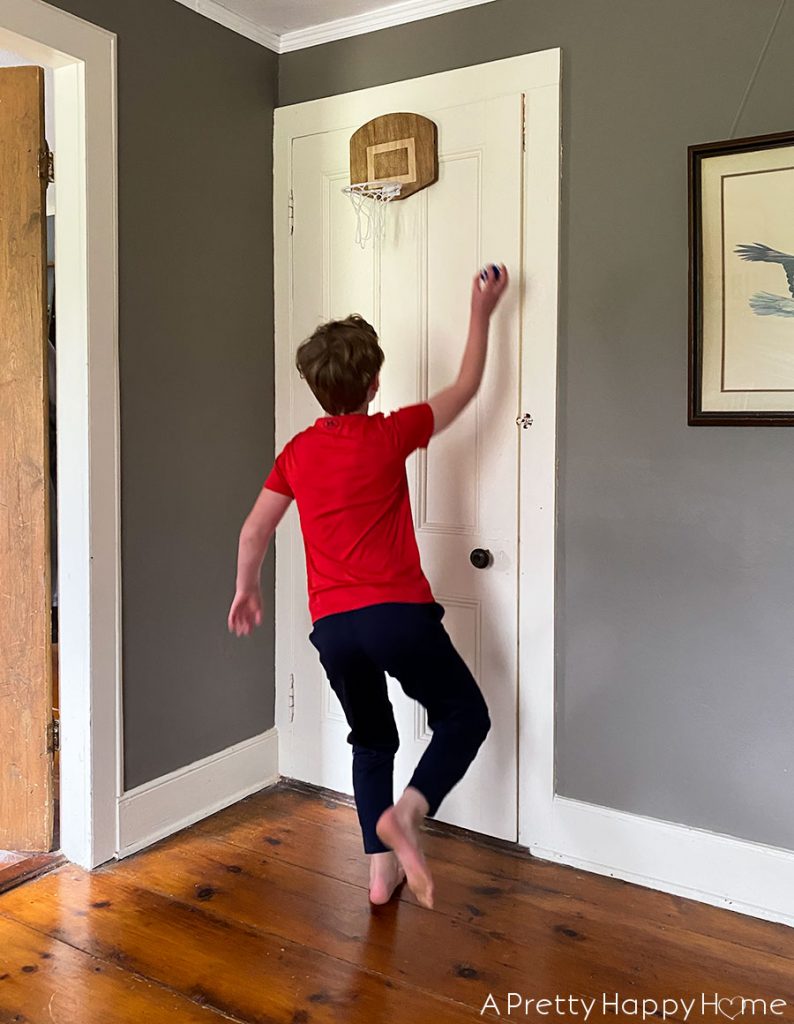
My son has an over-the-door basketball hoop that is fun to use, but not super easy on the eyes.
For the record, I have no one but myself to blame for this eyesore. I’m the one who purchased the over-the-door basketball hoop for him.
The things we do for our kids.
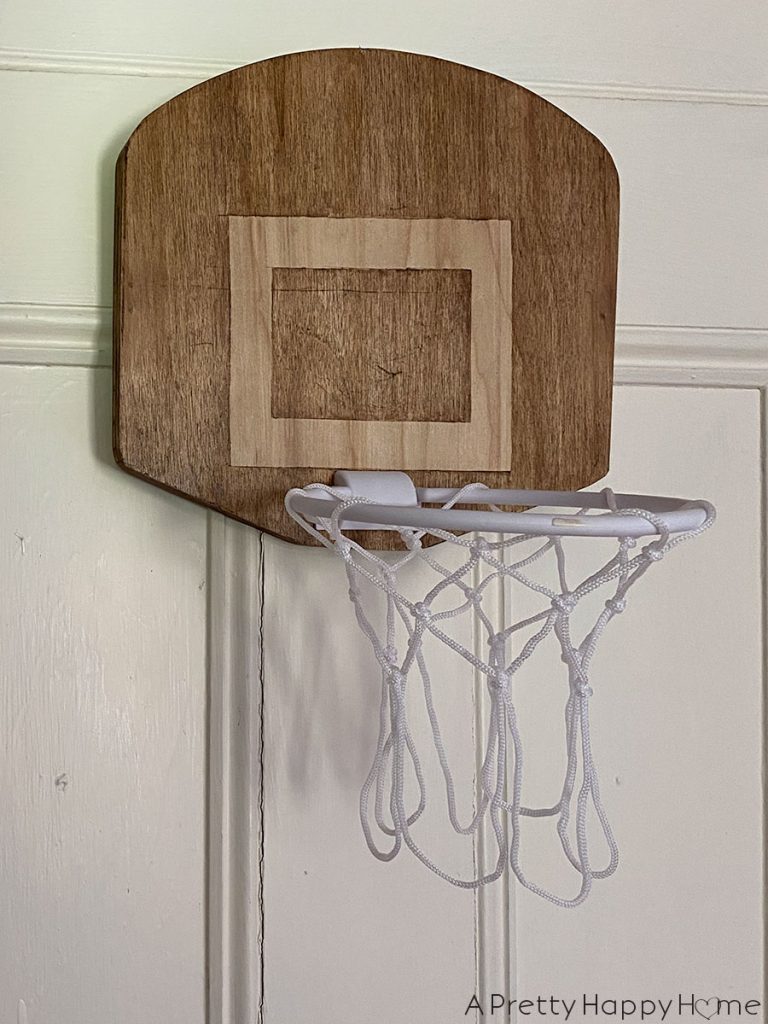
Here’s how we took an over-the-door basketball hoop and gave it the full court press a makeover with a wood backboard.
It’s a total SLAM DUNK!
Here is the step-by-step tutorial.
Wood Backboard Step 1:
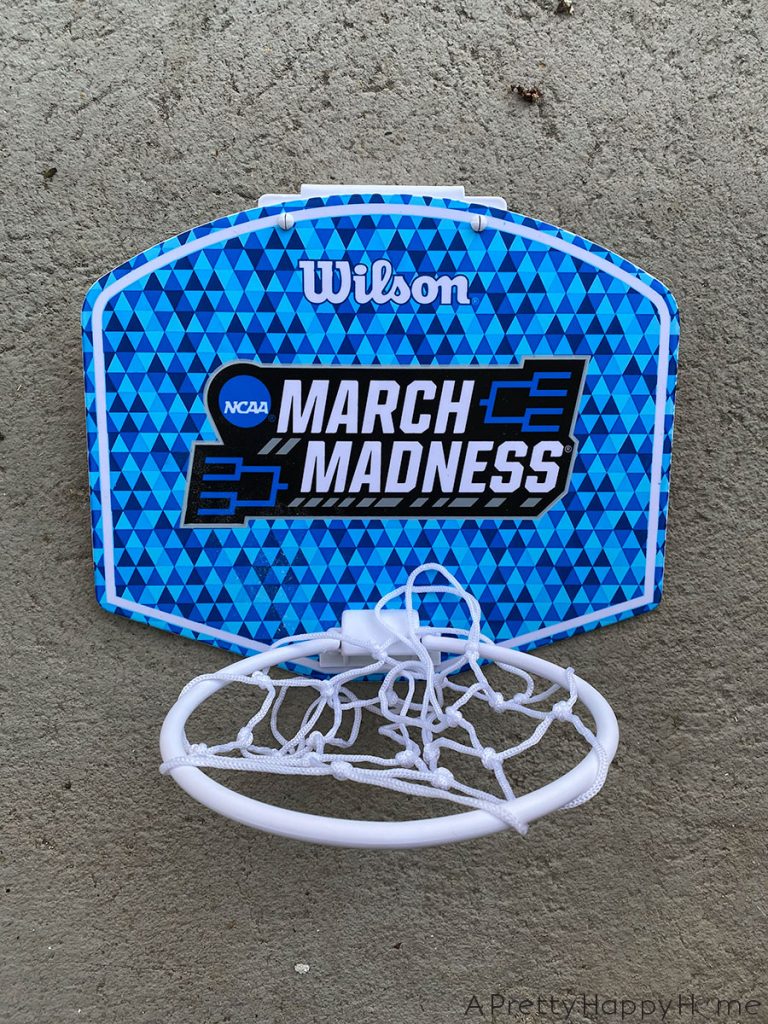
Use an over-the-door basketball hoop that has a detachable backboard.
You need to be able to unscrew and reattach the door hook and rim to the new backboard you are going to create.
Wood Backboard Step 2:
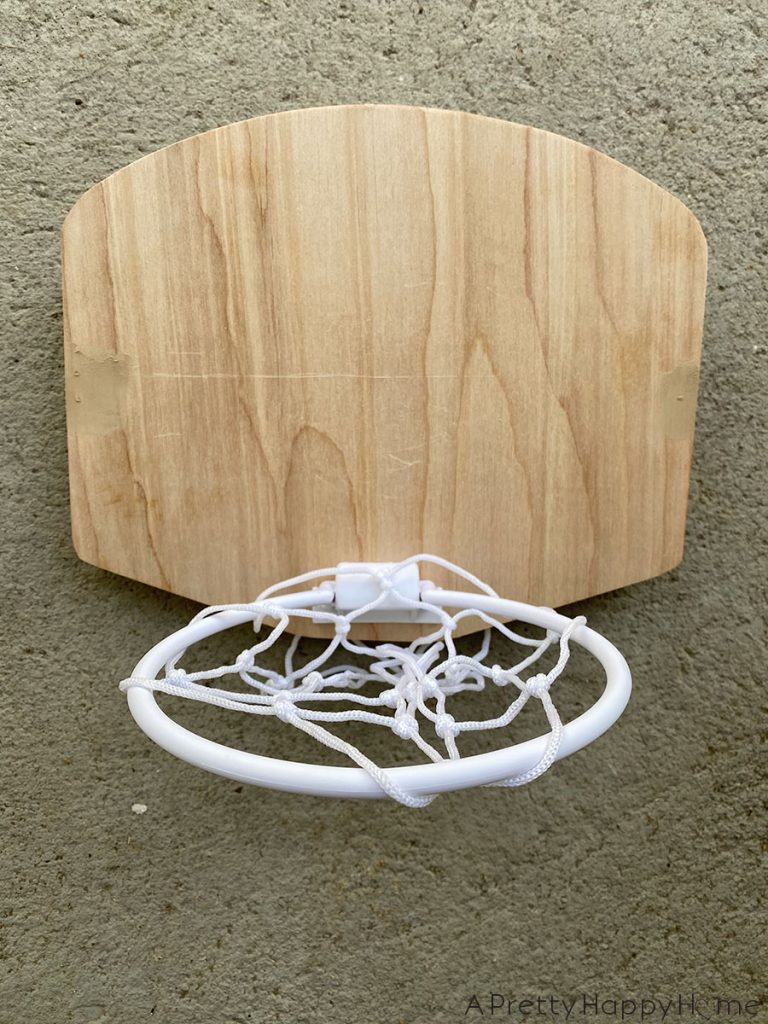
Use the old backboard as a template to cut a new backboard out of wood. If needed, sand the backboard smooth.
Since your power tools are out, you may want to use this opportunity to at least pre-drill the holes where the over-the-door hardware and rim will reattach. However, depending on how you are finishing the backboard you may not want to reattach everything until you are all done.
Wood Backboard Step 3:
Here’s the fun part! Pick your backboard design. There are a million different ways you could choose to finish the backboard. Paint it. Stain it. Make it your team colors.
I chose to stain the backboard a warm honey color, but leave the rectangle or shooter’s square a natural wood color.
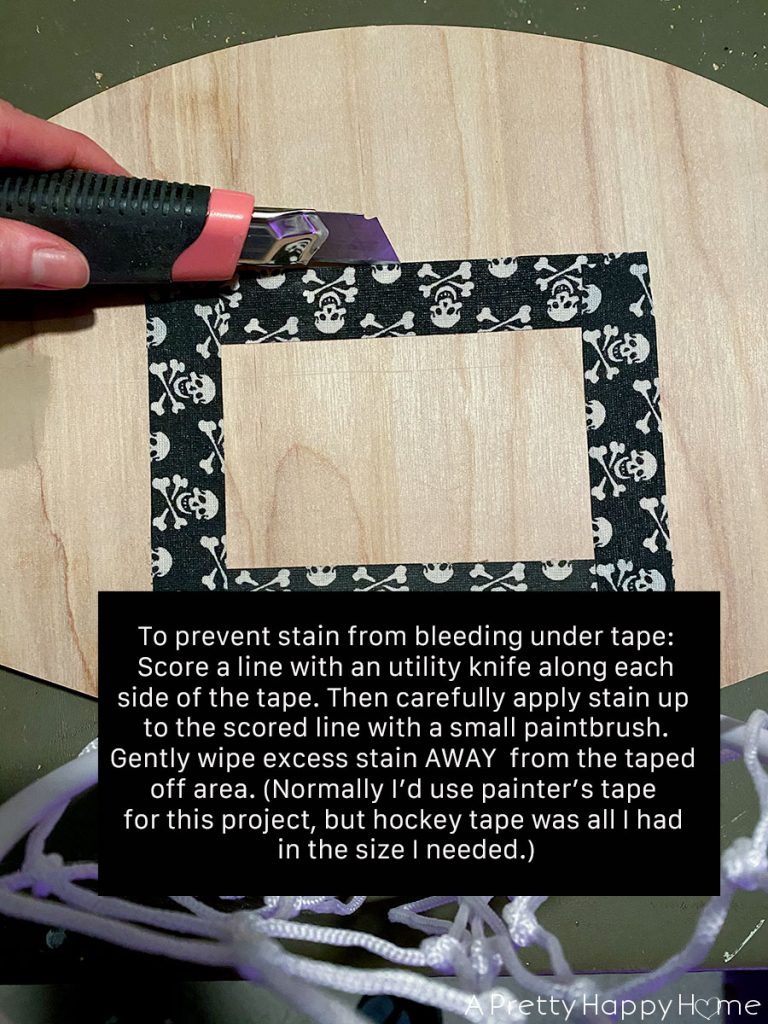
In order to prevent the stain from bleeding through to the rectangle that I wanted to keep natural, I taped off the rectangle. Normally, I’d use painter’s tape for this, but I didn’t have any on hand in the correct width, so I used hockey stick tape. Hence, the skull and crossbones! It worked though.
Then I used a utility knife to score around the taped off area. This creates a little ditch, of sorts, to stop the stain from running into the taped off area. It’s not foolproof, but it’s the best technique I’ve come up with.
Very carefully use a small paintbrush to “paint” a small amount of stain right up to the scored line. Wipe excess away with a cloth or paper towel. Be careful to wipe away from the tape. Then stain the rest of the backboard as you normally would.
I used two coats of stain and kept the tape on until I was done applying the second coat of stain.
Wood Backboard Step 4:
Reattach hardware and rim to backboard, hang over the door, and start playing!
Simple as that.
My son is 9 years old and he doesn’t have strong feelings on decorating.
This project was ALL for me since I walk by this basketball hoop, which is hanging on the door to our attic, multiple times a day.
What my son really cares about is having someone to shoot hoops with in the house. I’m that someone and this is one game I am happy to play over and over…until he starts regularly beating me.
P.S. If you just wanted to paint your backboard, you could do that without having to cut a wood backboard. Just make sure you use paint or primer that adheres to plastic.
If you want an over-the-door basketball hoop to use as-is or to modify, here are some under $30 options including the one we have. Just make sure you understand the size of the backboard and rim before you make your purchase. Also, I know the Wilson backboard (the 2nd one in this list) has a detachable rim and door hanger, but double check the others if you decide to go that route.
SKLZ Pro Mini Basketball Hoop with Ball, Standard (18 x 12 Inches)
Wilson Mini Basketball Hoop Kit
Spalding NBA Jam Over-The-Door Mini Basketball Hoop
*affiliate links in this post*
Here are some other posts that will have you cheering from the bleachers!
Basketball Drills for 4 – 6 year olds


