
Taking Apart a Piano is Hard
Taking apart a piano is hard.
Really hard.
Can you believe that me, of all people, even uttered those words “taking apart a piano”?
It sounds blasphemous.
I assure you I have not abandoned my decades-long love of the piano.
Nor did I take apart my baby piano. Heaven forbid!
I took apart a piano to which I have no emotional attachment. Because that makes it better?
Here’s what happened…
Please note this is not a tutorial. There are plenty of those on the internet. This is more of a cautionary tale should you decide to embark on this journey.
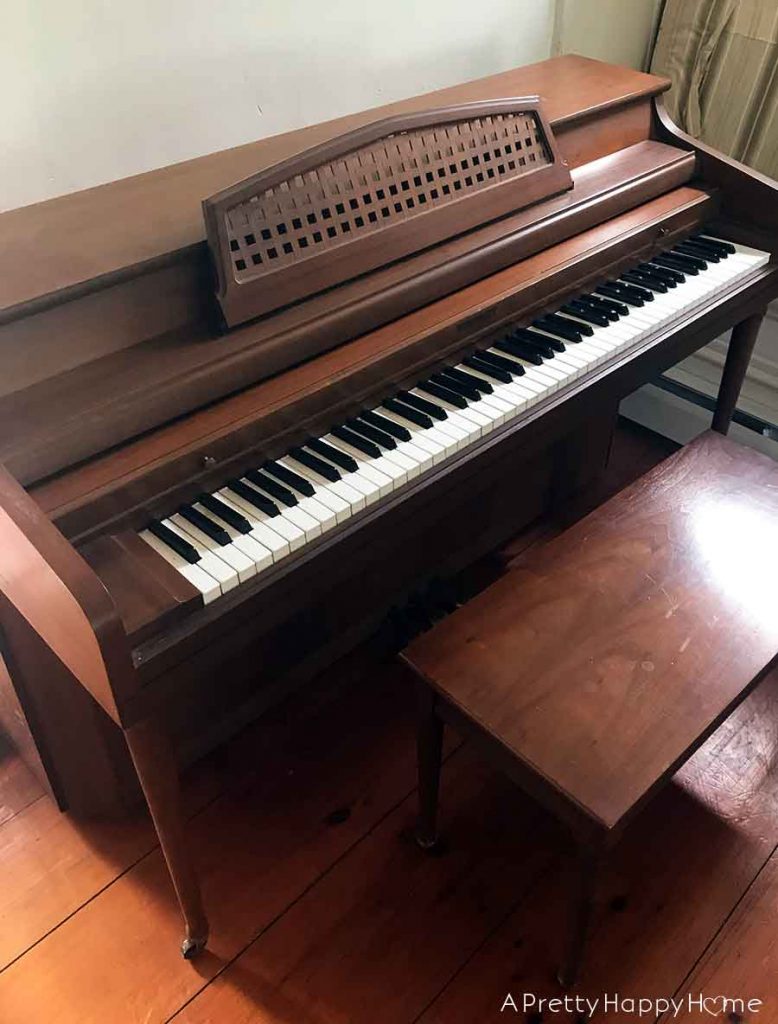
A piano was left in our house when we moved in. No problem. I could get rid of it.
Wrong.
I couldn’t get rid of it. I could not give it away for free. I tried. For weeks and weeks, I tried.
I’d even talk to people on the phone (which I am loathe to do) and schedule a time for them to come and get the piano and then they’d call me back and cancel. Or never show. It was maddening.
Handy Husband wanted me to give someone money to come and take it away.
If time is money, that would have been cheaper.
But I had a better plan.
Better is a subjective and loosely thrown around adjective in this scenario.
I watched some YouTube videos, which is how any good plan starts. I was convinced, after watching these videos, that taking apart a piano wouldn’t be a big deal. Then I would have all of these piano parts I could repurpose. Take that, all you people who didn’t want my free piano!
There was one piano part in particular that I knew would make a really cool art piece – the harp. That’s the cast iron part inside a piano that the strings attach to. It is also one reason why pianos are so dang heavy.
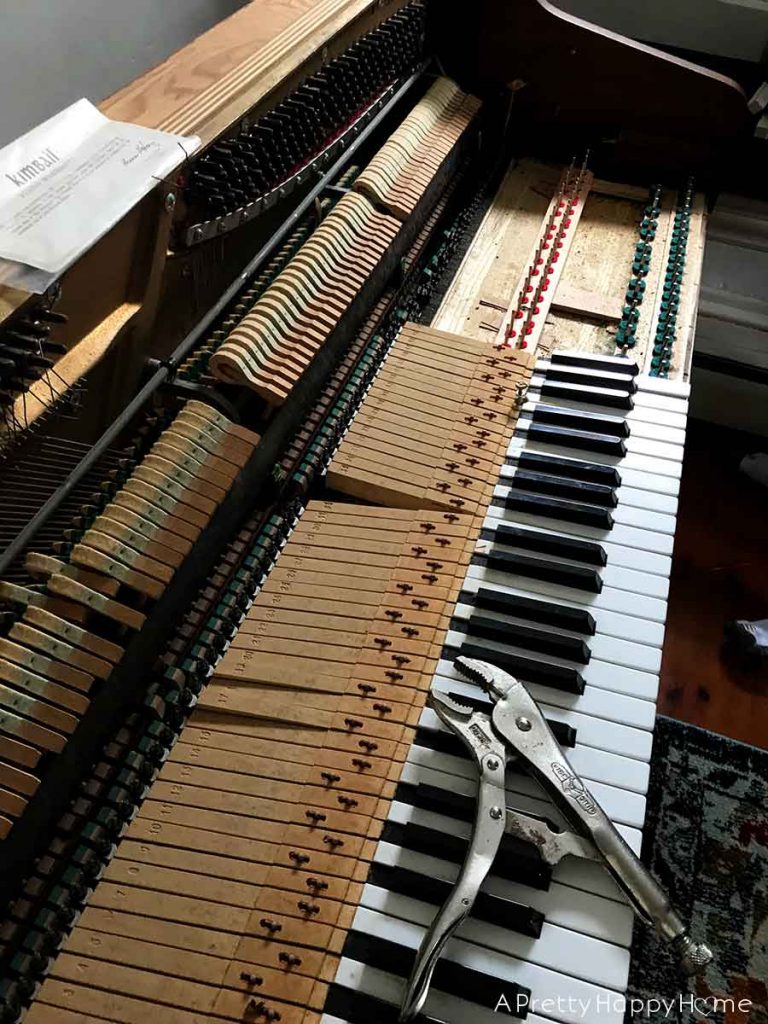
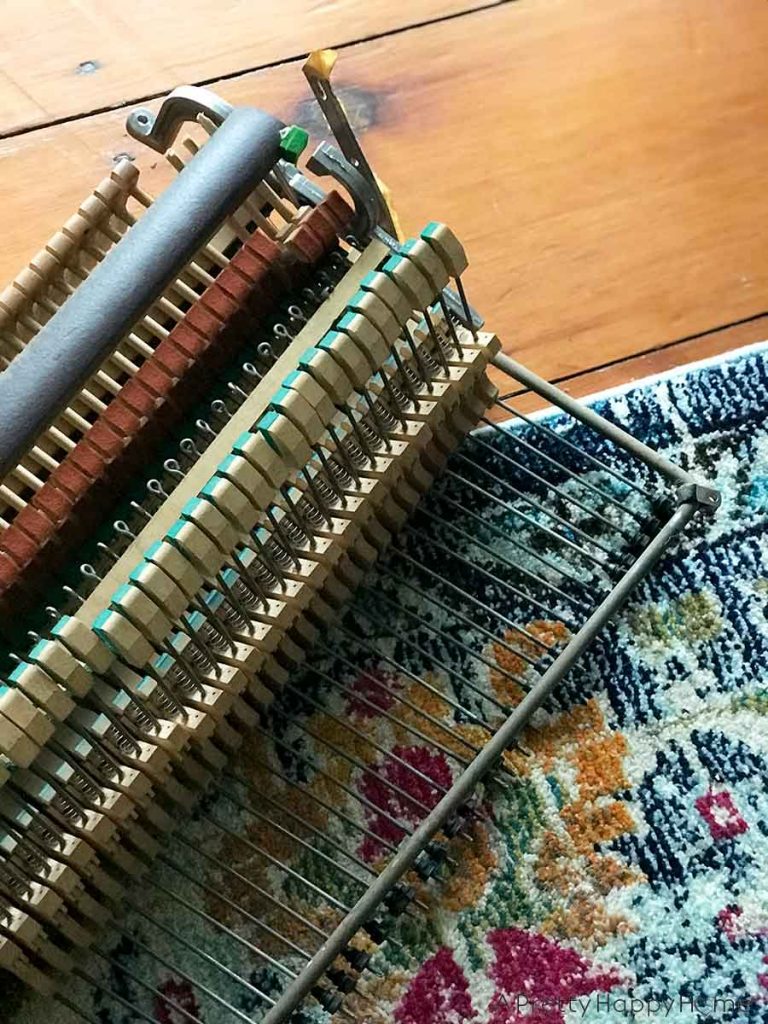
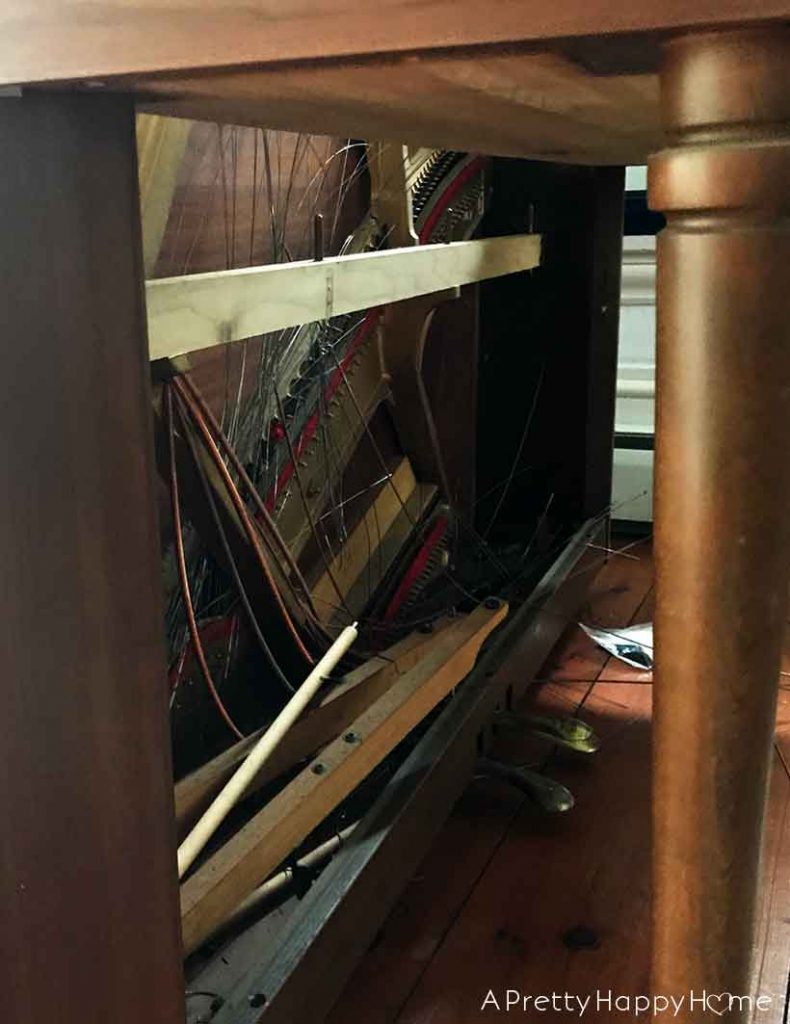
Handy Husband and a friend started unscrewing all the parts and pieces of the piano. It was laborious, but they were able to take off the keys, the action, the fallboard, the music rack, the shelf, the lower panel, some of the wires, the pedals, etc.
The piano was still heavy as heck, but the two of them did manage to get the piano out to the garage. It was finally out of my hair house! They were the heroes of the day!
Unfortunately, at this part in Operation Take Apart The Piano, the piano harp was still stuck in the piano. The guys ran into trouble with the screws holding the plate to the pin block. The screws were mammoth-sized.
We didn’t have a screwdriver or even a bit for our battery-powered screwdriver that was large enough to handle these screws. All pianos are a little different, but you guys would probably be more prepared than we were for this situation.
To compound the frustration, our local Home Depot didn’t have the bit we needed. There was probably a lot of people taking apart pianos on the same day.
So we did what any resourceful Amazon Prime member does – we ordered one (this bit).
That stalled the project.
Eventually we got around to finishing up Operation Take Apart The Piano.
Except we couldn’t because (repeat after me) taking apart a piano is hard!
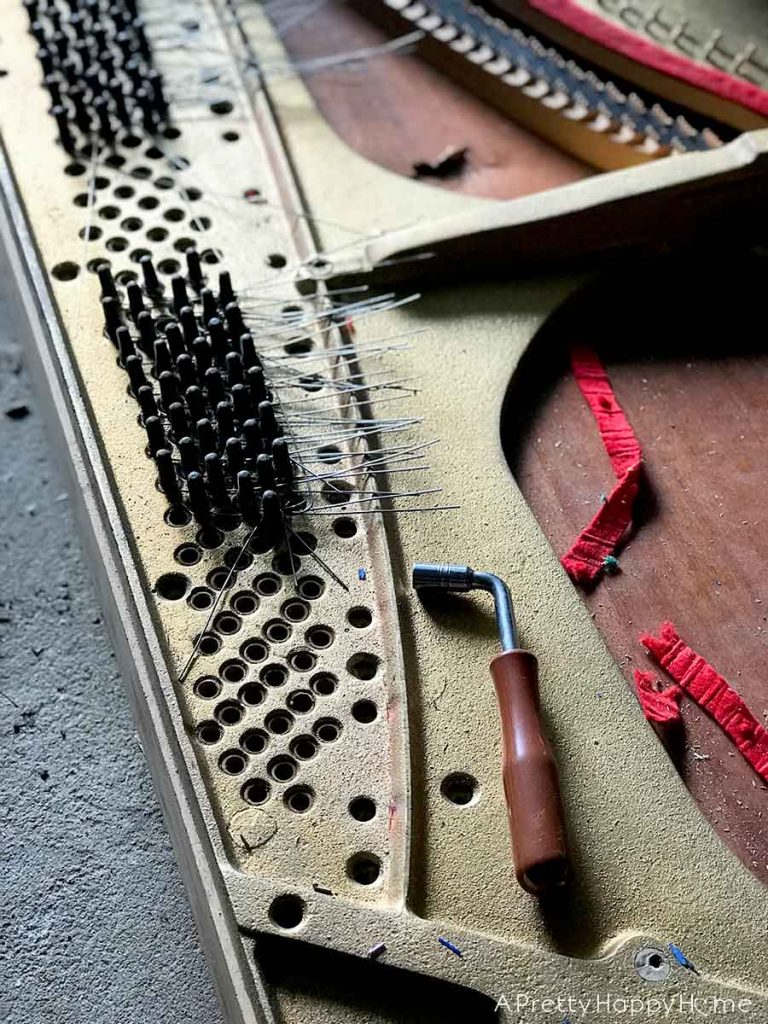
The piano harp was still attached to the pin block with over 200 tuning pins.
Two hundred.
Let that number sink in.
Most pianos have around 220 tuning pins, even though there are only 88 piano keys.
The closest way I can describe these tuning pins is that they are hell on earth like 2-inch long lag bolts with a square head. Some people have managed to get them out with a wrench, but we weren’t having any luck with that method. We did have luck inventing some new swear words though. Holy Nutterbutter!
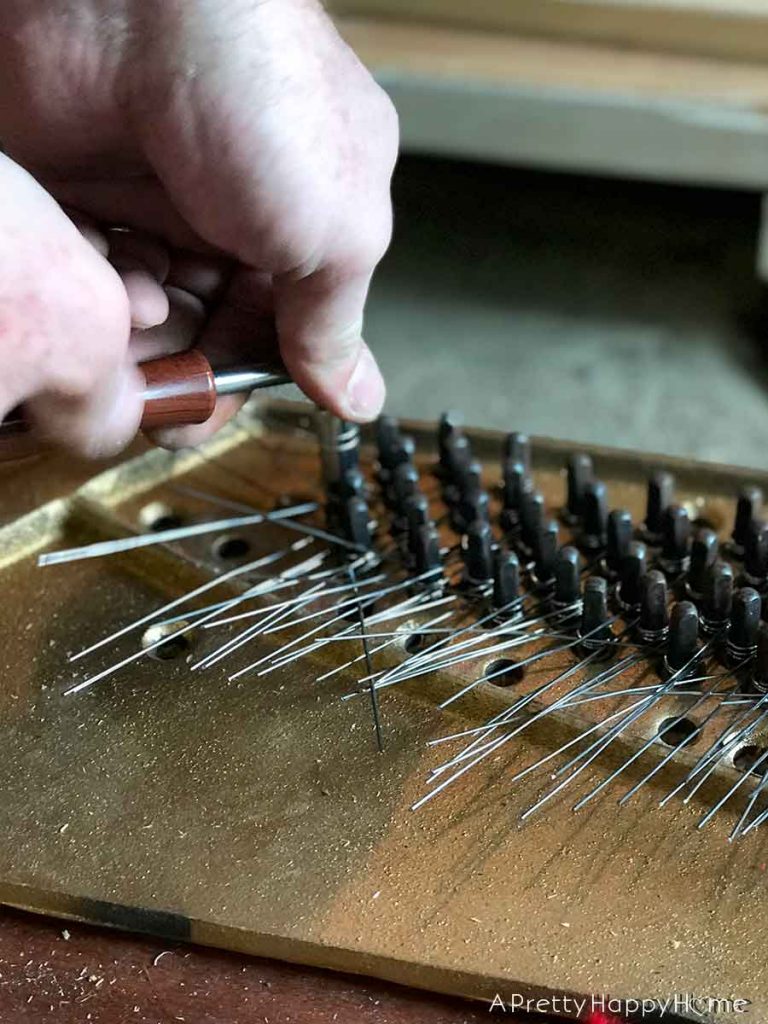
I returned to the fallback mantra of an Amazon Prime member and ordered a $6 piano tuning hammer, which doesn’t look like a hammer at all. Removing the pins with the tuning hammer was a slow process because there were 220 of them and it took some muscle to remove them.
I spent 20 minutes on it at a time and Handy Husband helped too, so over the course of several days we managed to remove all the pins.
Fun fact! There was so much friction between the hammer and the pin that once we removed one it was burning hot to the touch!
Also, be careful of the piano wires. Depending on how short you trim the wires, they can cut your hand while you are removing the pins. Blood was shed for this project.
Once the pins were out, the harp easily (if you are strong) lifted off the pin block and we called this project good enough DONE.
Pianos are made with gorgeous hardwoods, so we salvaged most of the wood for other projects. Of course, I saved the legs and the bench. Right now I only have plans for the harp and the pedals. I don’t want to turn my house into a piano-themed bonanza.
Was this project worth all the time, sweat, blood, and the $18 we spent on a screwdriver bit and a tuning hammer? ABSOLUTELY. I am so happy we tackled it. I wish it was a little easier, but I’ve heard perseverance is an admirable trait.
I’m going to create some amazing things for my home with these piano parts. Plus, we did learn that taking apart a piano is hard. Knowledge gained is never time wasted, right?
Yeah…let’s go with that.
If you want to know about the parts of an upright piano, this website has a helpful diagram.
If you want to know an easy way to tell if your piano keys are ivory or plastic, this website was super helpful. The keys from this piano were plastic.
If you need a piano tuning hammer, this one was cheap and worked great for removing the pins.
If you liked my rug that was in one of the above photos it is made by Safavieh. I found it on Amazon
.
Do-re-mi! Here are some other music-related posts you might enjoy!
Maybe the Recorder Isn’t Such a Bad Instrument
Read This Before Hiring a Piano Moving or Storage Company
How to Dust a Piano With a Glossy Finish So That It Doesn’t Streak
*affiliate links in this post*



5 Comments
Sandy Smith
You are amazing. I would have paid someone to come and get the piano. However now you know what makes a piano work and you have some part to prove I. Looking forward to what you do with the harp and all the wood from the piano.
annisa
My piano tuner just told me “that can be dangerous to take apart a piano.” He’s completely correct. But, I’m still glad we did it!
Bo
Use a pneumatic lug nut wrench to get the tuning pins out. A quarter inch socket turned backwards can be put into a screw drive bit and that goes into another socket. Then use adapters as needed.
Lis
Congrats on this project. Thinking of doing the same. Overall, how many hours/days did it take you?
annisa
Hi! If you have all the tools ready to go (we did not) and you’re pretty handy, you could take one apart in 2 – 3 hours. It also kind of depends if you’re trying to save any of the parts without damage…that could slow you down. Hope that helps. Good luck!