7 Tips for Refinishing a Door With Deep Scratches
Today I’m going to share 7 tips for refinishing a door with deep scratches. I can only assume deep scratches in a wood door come from years and years of a dog scratching at the door.
My number one and most helpful tip for refinishing a door with deep scratches is for the love of your sanity, DON’T DO IT!
Just pretend those scratches aren’t there.
Or get a new door.
Better yet, just move. It would be easier.
I’m joking. Partially.
I truly do believe it is worth the effort to save all the old doors, so let’s get down to my actual door refinishing tips because that’s probably why you are here. Heaven knows it’s not for my comedic talents.
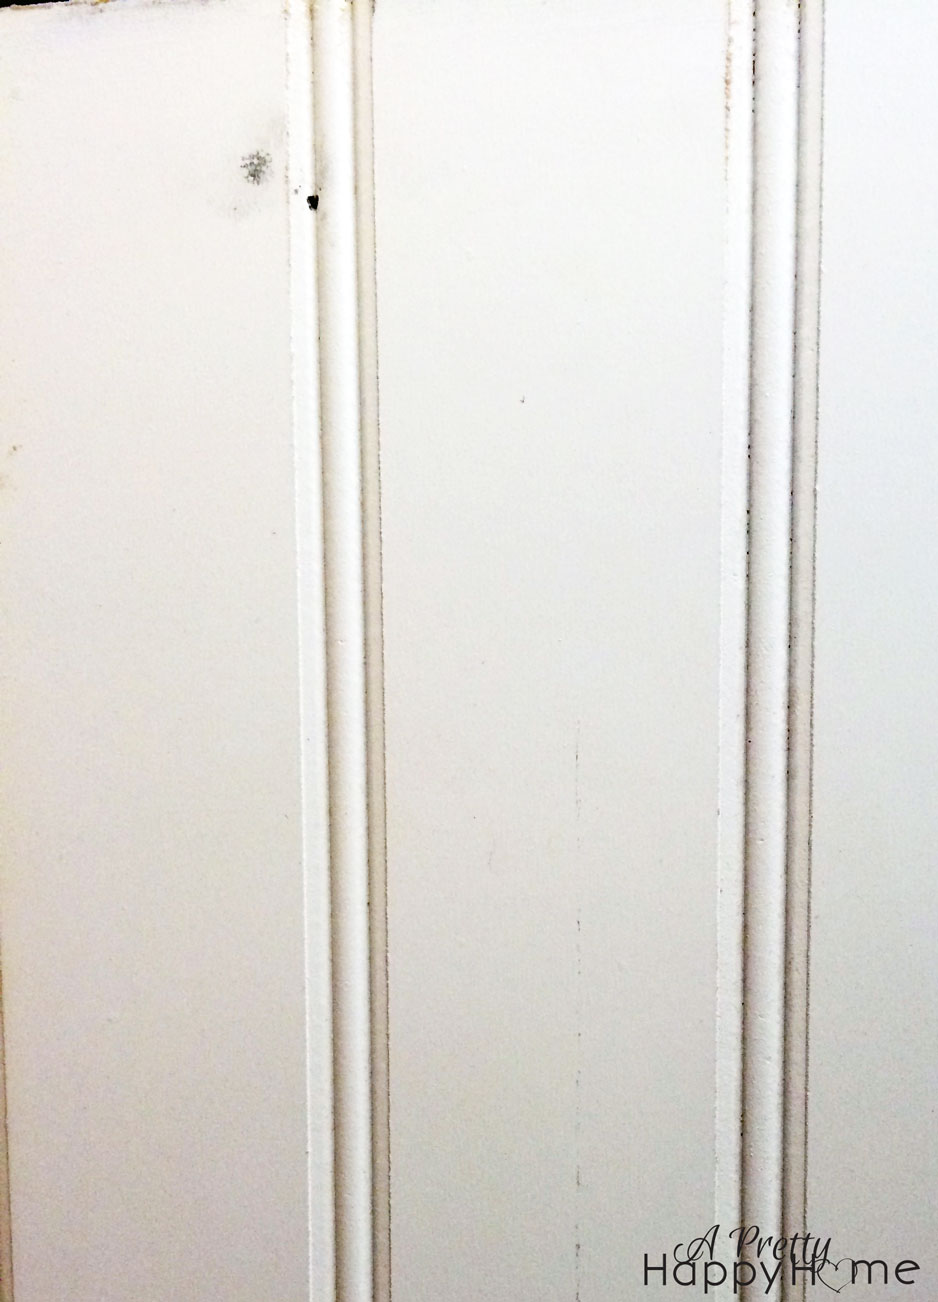
Tip #1: Assess the location and severity of the damage.
You need to know what you’re working with in order to make a plan on how to fix it.
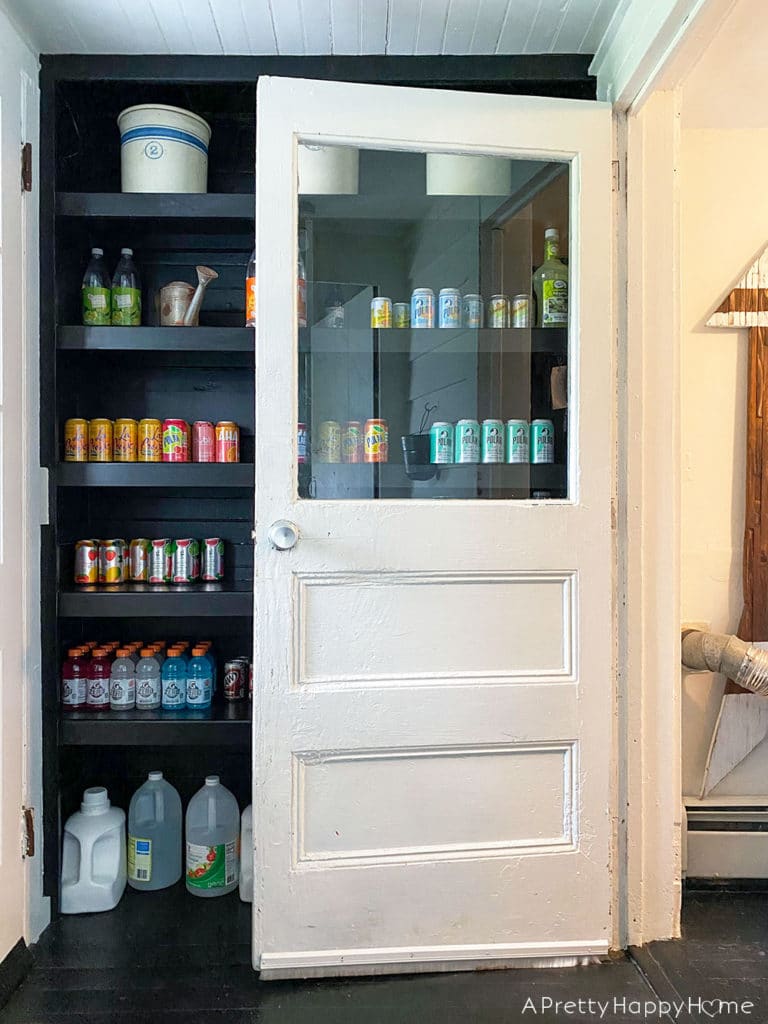
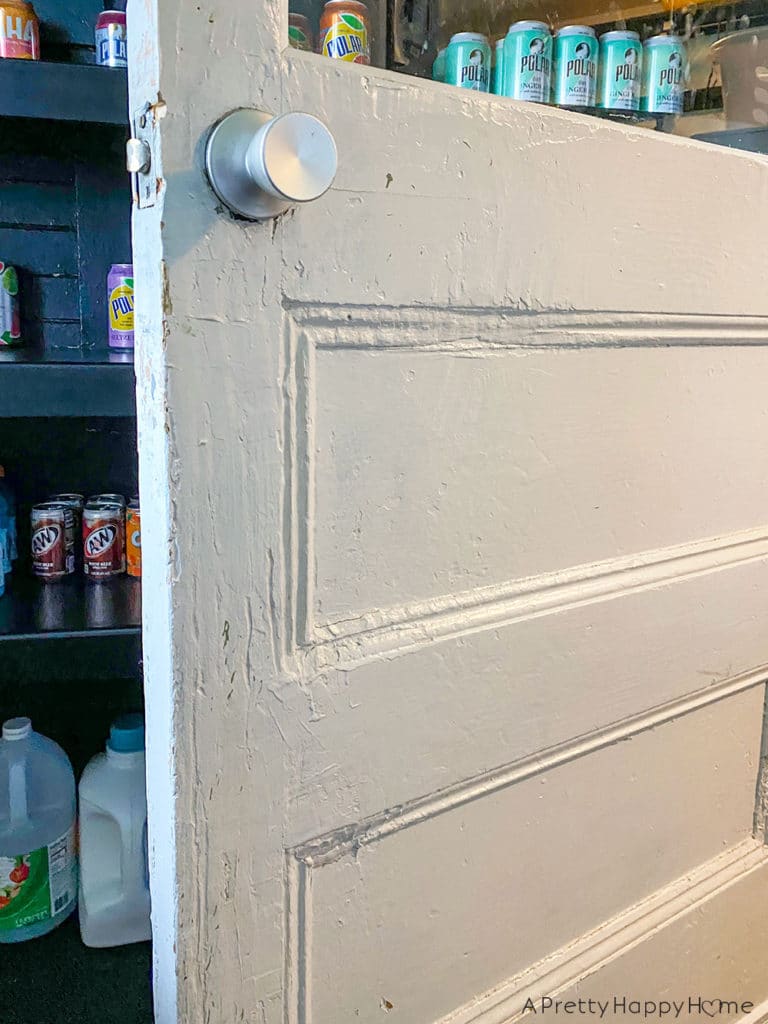
The wood door we were working on had normal wear and tear from decades of use, but was primarily damaged with deep scratches along the door stile and some of the panel trim.
If you have a stained door, it will be easier to see what’s going on with the door damage.
If your door is painted, it’s going to be harder to see what’s hiding underneath the surface of the paint without removing the paint.
That leads me to the next tip.
Tip #2: Try to determine if any previous scratch repairs have been made to the door.
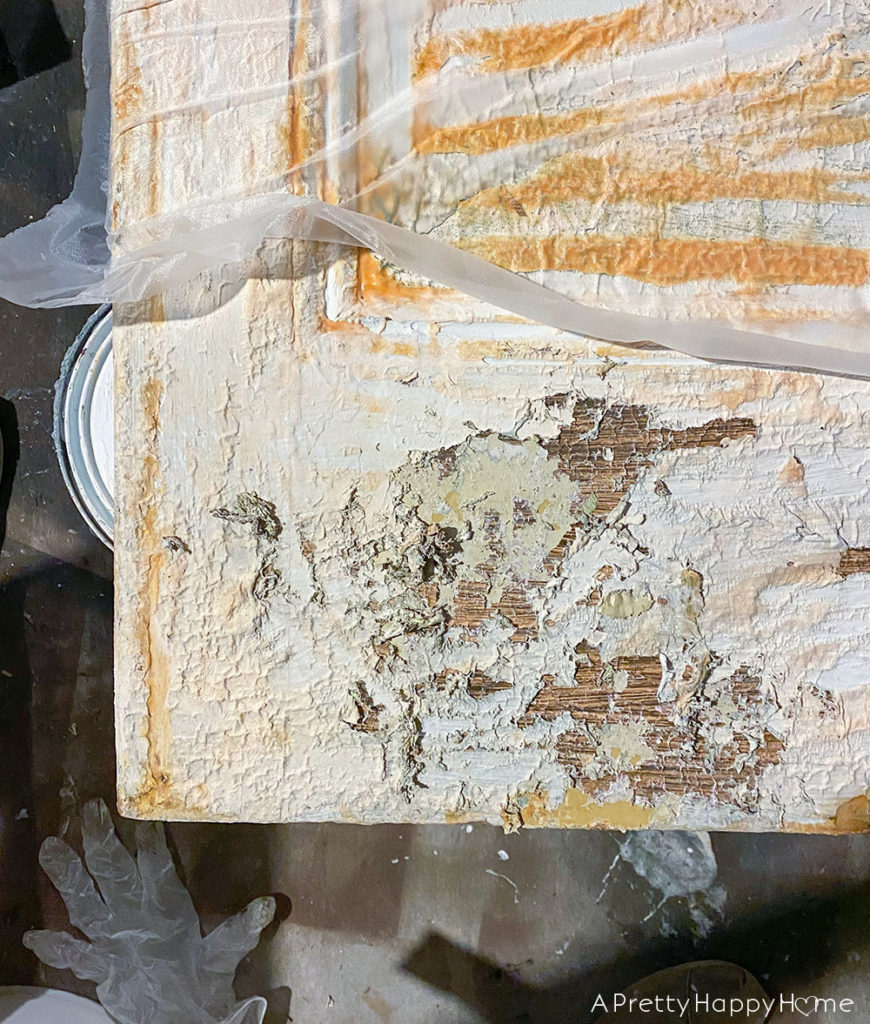
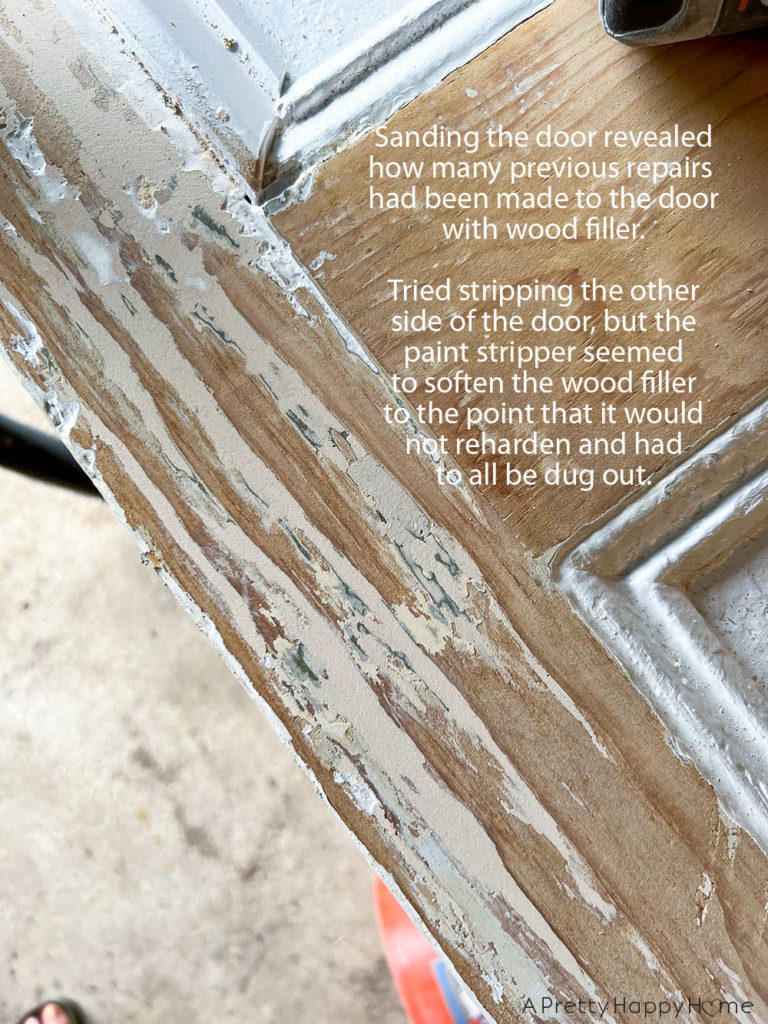
The visible scratches on the door I was refinishing were just the tip of the iceberg. There was more damage that was not visible under the paint. The door had been HEAVILY patched with wood filler of some sort over the years.
I didn’t realize how deep the scratches really were and how much filler had been used until I applied paint stripper to the door. Remember, I’m not a woodworking expert. I’m a DIYer who is learning as I go.
What I think happened next was that the paint stripper chemically altered the state of the wood filler and started to break it down. Basically, the wood filler became gummy and wouldn’t dry back out even after days of sitting in a warm, dry place. I Googled the heck out of this and couldn’t find much information, so I’m sharing my experience as a cautionary tale.
This means that all of that old wood filler had to be scraped out of the gouges in the door. It was pretty tedious work.
It would have been less time-consuming to remove the door stile and add a new one. If you have the skills to do this, it’s something worth considering if your door is in really bad shape.
Tip #3: Consider sanding vs. paint stripping
Because of all the trouble the paint stripper caused on the front side of the door, I skipped the paint stripper on the back side of the door and went straight to sanding.
I knew then that if I encountered more wood filler it wouldn’t be a problem to sand it.
Every door and situation is going to be different though. As usual, always check to make sure you aren’t dealing with lead-based paint before working on a door refinishing project.
Tip #4: Decide how you want to fix deep scratches on your door.
There aren’t a lot of options for fixing deep scratches on a door. You can fill them, cover them, or replace the damaged section.
Alternatively, if the scratches aren’t THAT deep, you could just try sanding them out.
For this particular door, if we sanded away the scratches there would not be a door left. Ha!
We opted to fill in the deep scratches with wood filler. We used a wood filler that hardens strong enough that it can be screwed into. The key was to slowly build up the damaged areas with the wood filler so that it had time properly dry and cure.
You could also try covering deep scratches. For instance, if the scratches are on the very bottom of the door, they could be covered with a kick plate.
You could also remove and replace the damaged section of the door, but that requires a fair amount of woodworking experience.
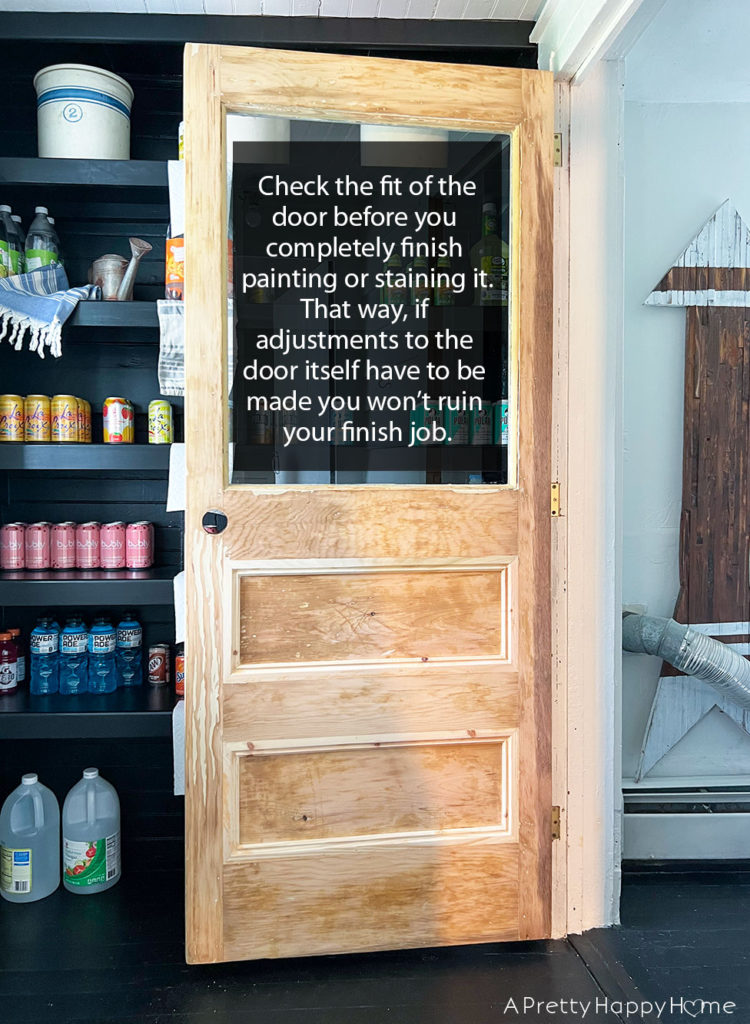
Tip #5: Remember adjustments might need to be made after you rehang the door.
We live in an old house with old doors. Every time we remove and rehang an old door it never goes back on the same way. Adjustments always have to be made to make the door swing correctly.
This is true if you are switching out hinges, your door swells when it is humid, or if you suddenly removed 400 layers of old paint. But who’s counting?
I’m telling you this because you’re going to be doing a lot of work to the door you are refinishing. Before you make it perfect with paint or stain, you might want to reinstall it and make sure that the door swings and closes the way you want it to.
It would be so disappointing to repaint the door only to find out that it needs to be sanded a little in a certain spot.
I ended up painting this door in place because I was too impatient to only paint one side at a time.
Tip #6: The hard part is knowing when to be finished.
You’ve spent hours stripping and sanding a door. You’ve fixed knicks and scratches. How do you know when you’re done?
That’s the hard part.
I guess the answer comes down to how much of a perfectionist you are and how much “character” you’re willing to tolerate in your refinished door.
My perfectionist streak does not run very deep. I want to do a good job and be proud of what I’ve accomplished, but I don’t need any door in my very, very old house to look brand new.
Frankly, I’m not even sure I have the skills yet to make that happen. I am getting better though.
Your threshold might be different and that’s okay.
Tip #7: Remember this will be worth it in the end.
Even the most straightforward door refinishing project takes time. If you can go into it with that mindset it will help when the work seems endlessly tedious.
A good playlist or podcast helps too.
I skew toward wanting to save all the old things. Part of the charm of older houses is their unique architectural details. If you can bring something old in your house back to life, do it. It’s good for the planet. It’s probably easier on your wallet. It’s also oh, so satisfying.

I hope these somewhat unconventional door refinishing tips help encourage you as you embark on your next project.
If you have tips for refinishing a door, I’d love to hear about it. You can always comment on this blog post (I have to approve it first before it appears), email me here, or reach out via Instagram or Facebook.
Happy refinishing!
Products used in this door refinishing project:
CitriStrip
Plastic wrap (For covering the Citristrip so it doesn’t dry out)
Lots of Sandpaper (80-grit, 120-grit, 220-grit)
Mineral Spirits
Steel Wool
DAP Plastic Wood Filler
Bin Primer
Behr Bit of Sugar Paint
Plastic Razorblade
*affiliate links in this blog post*
Thanks for being here today! I appreciate you. Here are some other posts you might enjoy.
How to Remove a Dog Door From a Wood Door and Fix the Damage


You May Also Like

Copper Toe Kick For Built-In Desks
Kitchen Refresh Part 5: Backsplash Dilemma