Modified Charging Station and a Fall Mini-Banner
We have a weird little desk area in our kitchen. Anyone else have one of these command centers? It’s been handy to have as a place to store keys and to charge our electronic devices. It’s also been, along with the whole kitchen, a great way to learn to “work with what you have” in terms of decorating and organization.
The cork board you see on the wall is from TJ Maxx. I found it in the clearance aisle for $19 and change. It was originally $39.99. I still think it was a bit of a rip-off considering that whatever was in the cork board area was completely missing. There were also some screws missing on the basket portion. So, in essence, it was a real winner! However, I really liked the size, functionality, color and chippy-nature of the frame, so I snatched it up.
I asked the hubby to cut me a piece of plywood to fill in the hole and then I covered that with cork board from the craft store.
As with so many homes, the outlets on this wall are in the most obnoxious places. So, I also asked the talented hubby to cut a hole in my newly found treasure. He doesn’t even shake his head anymore.
I needed that hole so that we could center my new charging station on the wall and hide the cords for charging the laptop and other devices. It works like a charm! When I want to charge the laptop, I can just thread the cord through the bottom. The iPad and phone cords stay tucked inside and the basket holds those devices nicely without us having to look at them all the time…much to the dismay of my children.
I’ve resisted the urge to hang up the kids’ homework and school reminders on that board. It goes against my get-rid-of-the-clutter nature. It there’s something really short term, like a bill I need to remember to take out to the mailbox in the morning, I use the magnets to hang it on the outside of the basket temporarily.
For the fall season, I decided to decorate my cork board with a banner made of patterned card stock.
These are just shapes that I cut out with a craft knife and threaded on some twine. As you can see, they don’t have perfect edges and the size varies a little. It worked for me though! 🙂
I also printed out some colorful letters to spell “happy fall” and cut those out with my craft knife too. A little bit of glue borrowed from my kids’ glue stick collection affixed them pretty well and I think they will be easy to remove too. *crossing fingers*
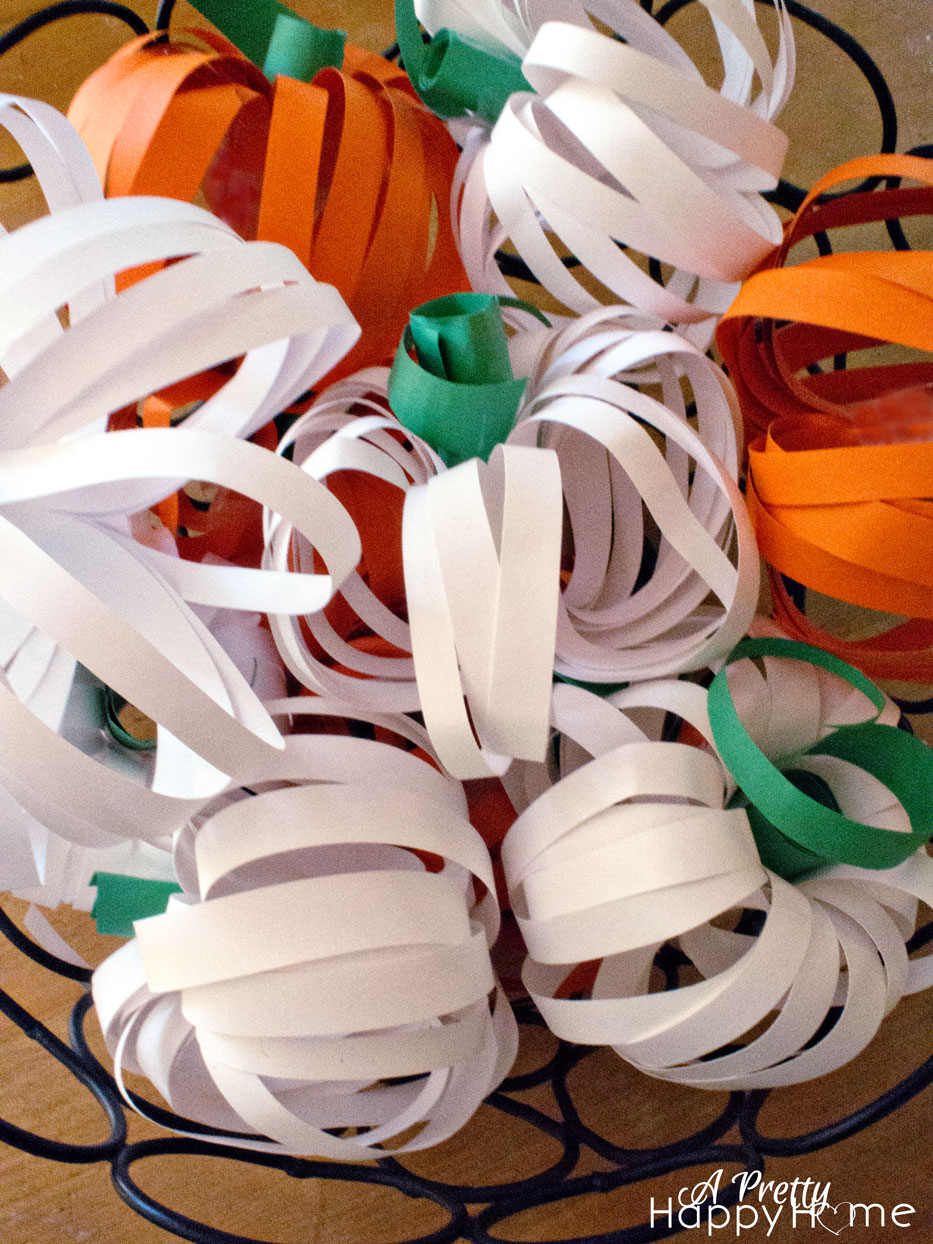
See that little mini-paper pumpkin below? I made a bunch of regular-sized paper pumpkins last year and thought I would try a mini version this year. It was a little tricky for my fingers, so I stopped at one.
I am still struggling with what to do with this very-brown-in-need-of-updating kitchen. At least this corner of the kitchen is functional and maybe the next time I take pictures of it I will notice that a drawer is cracked open. DOH!
On my to-do list is to find or build a stool that will actually fit UNDER the desk. Someday…
So, there you have it. That’s my version of low-key fall decorating our computer nook/charging station! In all honesty though, the thing that makes me the happiest is having a place out-of-sight, yet convenient to store and charge our devices.
Thanks for hanging out with me! If you have a few more minutes, I have a few more posts!
Nightstand Cord Hack – keep those cords hidden


You May Also Like

7 Ways To Decorate Wood Easter Eggs
March 25, 2024
DIY Embroidered Heart Sweatshirt for Valentine’s Day
January 18, 2023


