
No-Sew Way to Repair a T-Shirt Hole
June 30, 2015 Update: T-shirt repair using this method is still holding strong! This isn’t a shirt I wear everyday, but it has been washed and worn several times since this original post in February 2015. I hope you have the same results as I have had.
The other day I paused to straighten my shirt as I was running at the door and somehow one of my fingernails of steel punched a hole right through my shirt. AGH! I still have no idea how it happened. Especially since I’m not sporting particularly long or pointy fingernails at the moment.
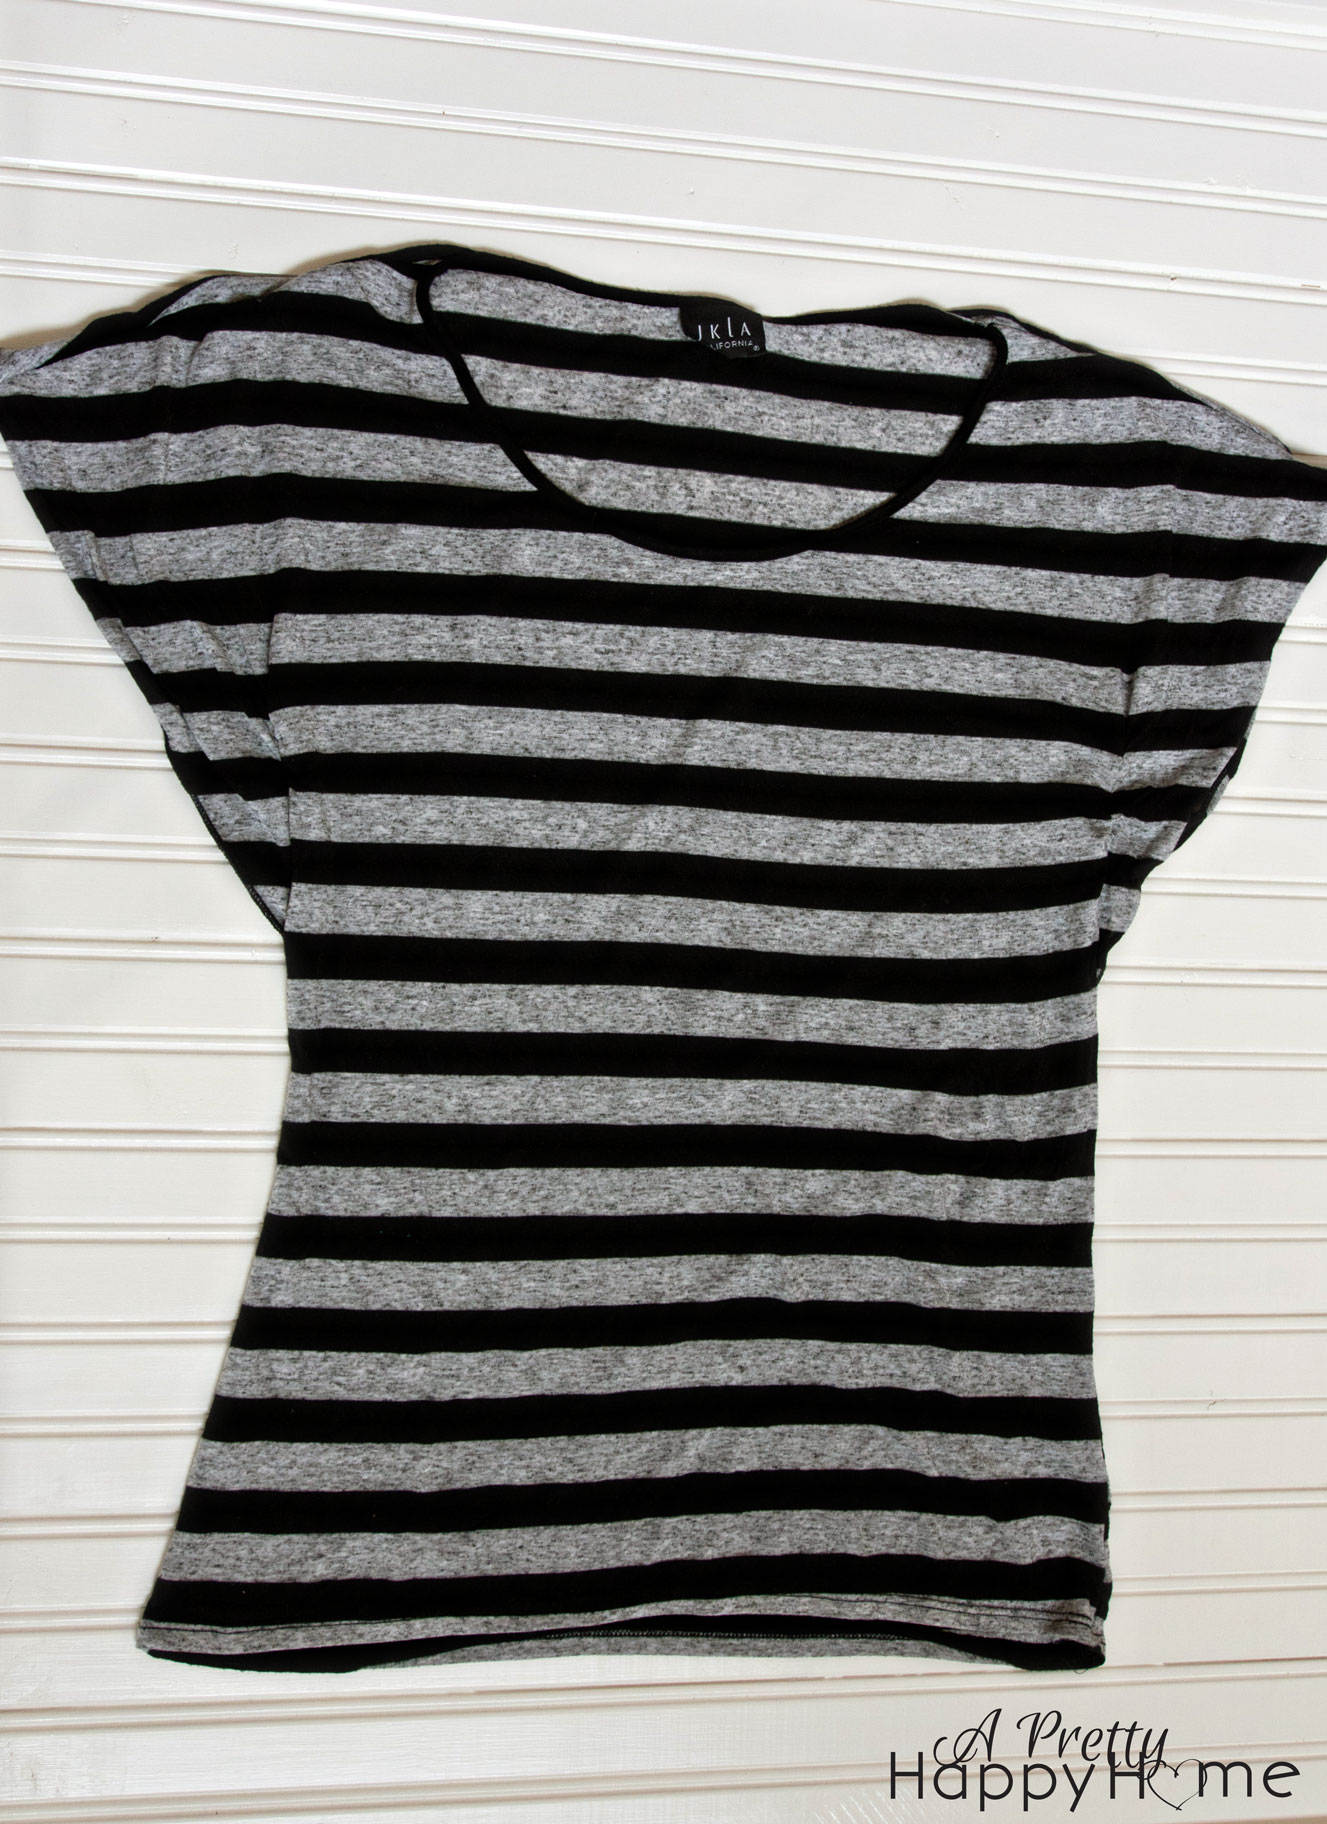
This is the shirt in question. A dressier version of a t-shirt because of that flare on the arms. It didn’t cost me a whole lot of money. It isn’t necessarily my favorite of all favorites. Still. It was the principle of the matter that a little, teeny tiny hole should not be the end of this story.
There are times when mending with a needle and thread or a sewing machine is the best course of action. Probably 97% of the time. Unless you are me and then that falls back to oh, say, 65.3% of the time. Sometimes though, mending with thread just draws more attention to the mend. In that instance, my friend Liquid Stitch![]() comes to the rescue and here’s how to fix a tear in a shirt without sewing.
comes to the rescue and here’s how to fix a tear in a shirt without sewing.
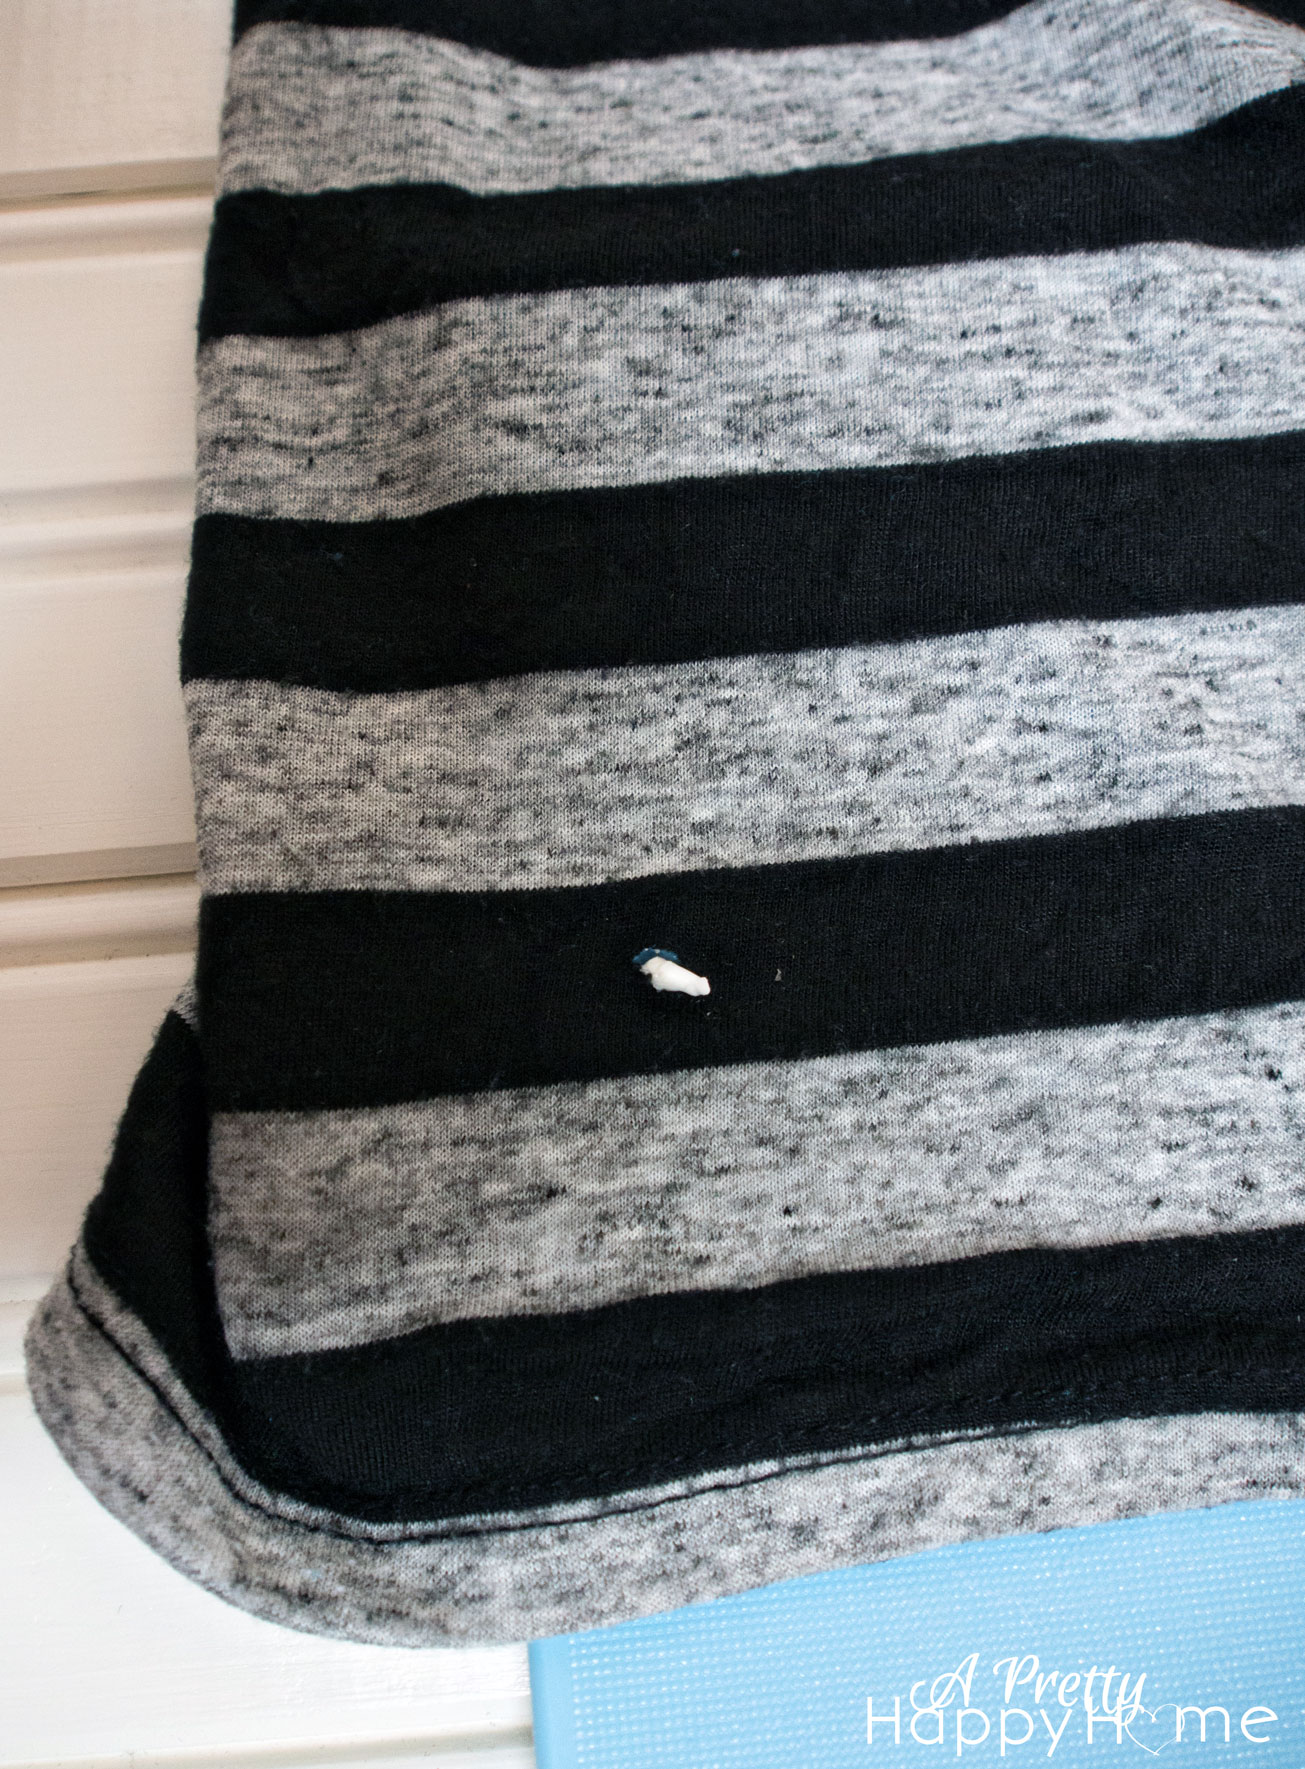
See that itty bitty hole?

You’ll want to make sure you turn your garment inside out and slide a cutting board or piece of cardboard between the garment layers. You don’t want to glue the front of your shirt to the back. That would be an entirely different tutorial.
Then dab a little bit of glue around the edges of hole and then using your fingers or tweezers you’ll want to close the gap in the fabric. You don’t want to overlap the top and bottom of the rip, you just want to fuse the top of the rip back to the bottom of the rip. I needed two hands for this part, so I apologize for the lack of dramatically graphic pictures showing this highly elaborate fusing process. *sarcasm alert*
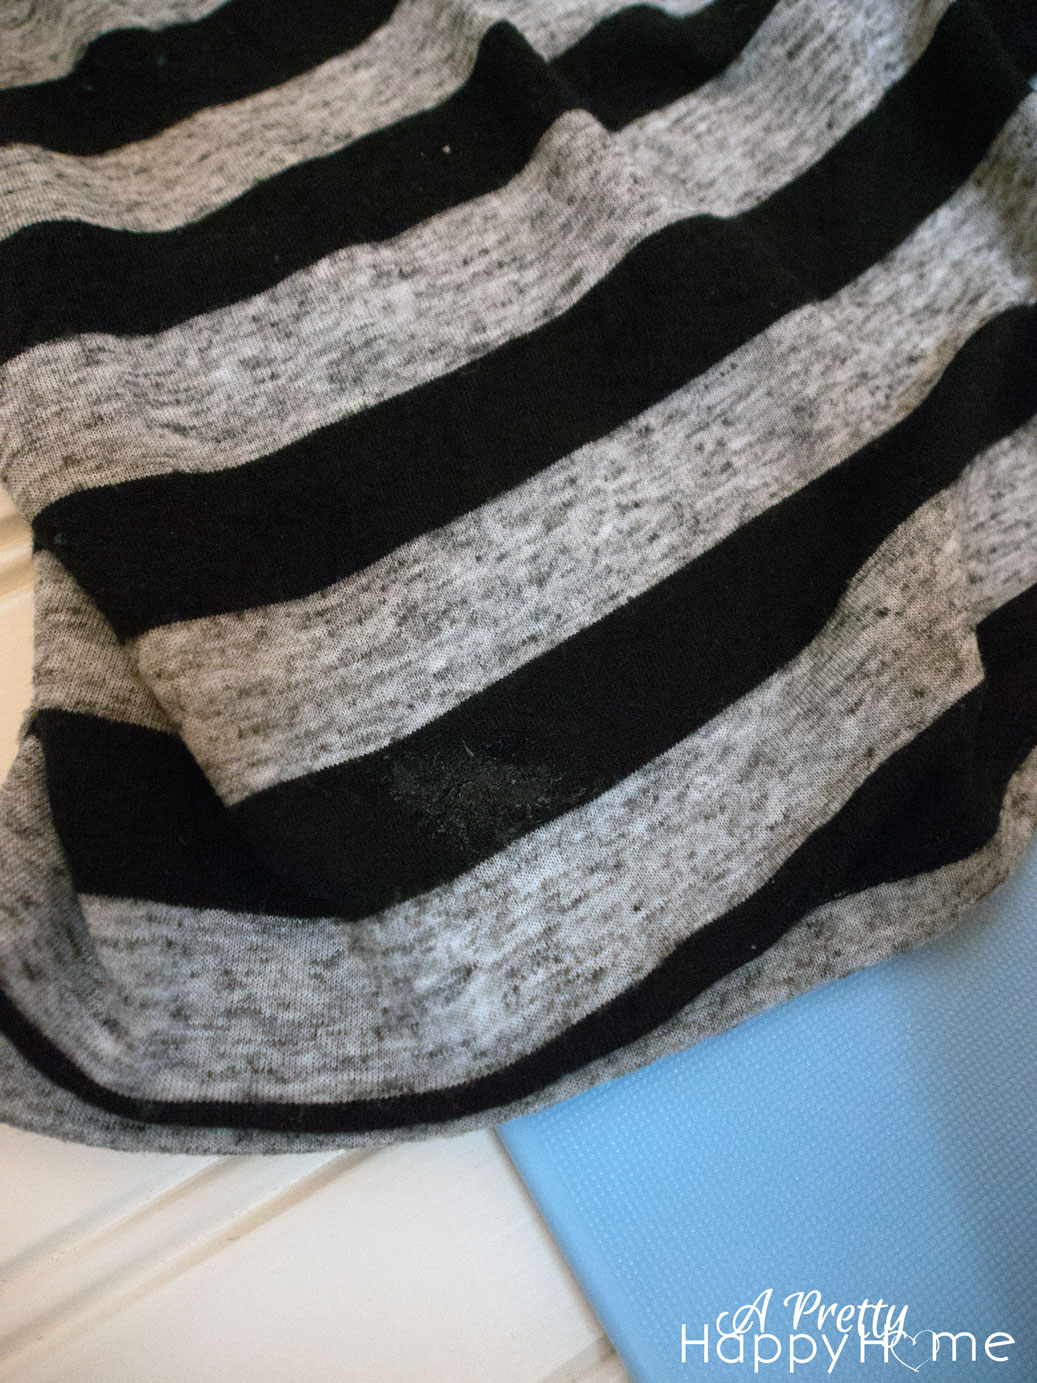
Now, when it dries, which is why you want to put the majority of the glue on the underside of the garment, there will be a little smudge of “dried glue area.” It’s more pronounced here because it was on black fabric. On white fabric, it will be much more discreet. I’ve found it’s slightly better after a washing.
If you have any areas that didn’t fuse together, you’ll need to add a little bit more glue to that area and repeat the process.
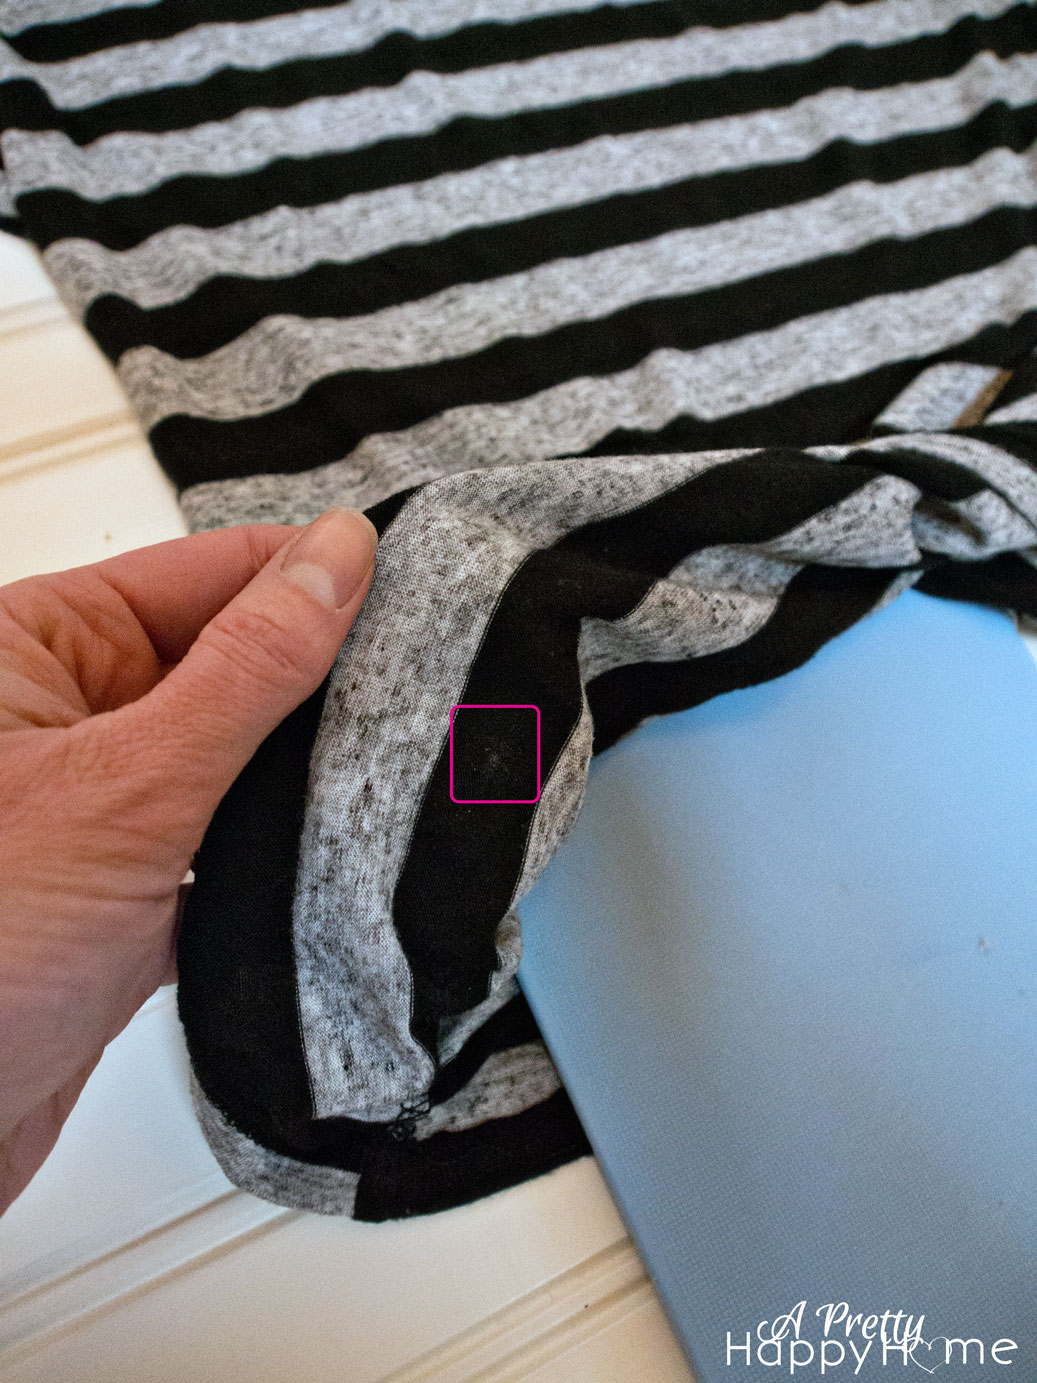
This is the reverse side. That little speck is all that you can see. When I wear the garment, it’s not going to be noticeable at all.
Is it perfect? No, of course not. A lot of the success of this technique is going to depend on how careful you were applying the glue, how big the rip was, etc. I’ve only ever done this with small rips in t-shirts. I’m not sure that it would work with jeans or a button-up shirt, for example.
 Now, how long does it last? Ah, the million dollar question. First of all, the shirt was already ruined, right? So, any additional use out of it is clearly a bonus at this point.
However, I’ve used Liquid Stitch![]() in this way a handful of times. On the last t-shirt rip that I fixed this way, well, I’m still wearing it and I’ve had that shirt for over 5 years. It’s survived countless washings and wearings so its a most washable fabric glue. Perhaps I’m the Liquid Stitch
in this way a handful of times. On the last t-shirt rip that I fixed this way, well, I’m still wearing it and I’ve had that shirt for over 5 years. It’s survived countless washings and wearings so its a most washable fabric glue. Perhaps I’m the Liquid Stitch![]() Whisperer, but I think they probably just have a great fabric glue.
Whisperer, but I think they probably just have a great fabric glue.
So, this is my happy tip for not letting a t-shirt rip get the last word! Let me know if you have any success trying it.
P.S. The Liquid Stitch![]() folks have no clue who I am. I just like their glue. Over and out.
folks have no clue who I am. I just like their glue. Over and out.
P.P.S. I found my Liquid Stitch![]() at my local craft/fabric store, but I’ve also linked to it on Amazon in this post. Over and out. Again.
at my local craft/fabric store, but I’ve also linked to it on Amazon in this post. Over and out. Again.


40 Comments
Jeannie
I can’t wait to get a hole in my T-shirt just so I can try this nifty mend! I love it, I’m going to have to keep a bottle on hand.
emmanuel
why would u want a hole anyway? weirdo..
Jenni
I get what she means! I think everyone has a hole in something! Dig for that hole girl, dig! HAHA……in the meantime I’m buying that glue :). Thank you
Pingback:
Mark Schroeder
If you have cats then don’t wear your favorite t-shirts to sleep unless you wanna wake up with lotsuv tiny little claw-holes in them.
annisa
Words to live by, my friend. Words to live by.
CSR
Or, for goodness’ sake, wear them on nail-clipping day. Like I did today, and now I’ve got four holes to repair.
Rachel
Ugh yes. I was giving my kitty a pet and she caught her back paw on my brand new yoga pants (only worn twice!!) and now I have 3 little holes to repair 🙁
annisa
I hope it helps! I haven’t tried this trick on yoga pants! There’s a lot of stretch in yoga pants, so let me know if it works. Might take a really patient hand while applying the glue.
Kathleen Flood
If you haven’t already repaired your pants try Aleen’s Flexible Stretchable Fabric Glue.
Shakey Greene
Gonna try this…just did an internet search on how to fix a small hole in a shirt…so THANK YOU!
annisa
I hope it helps!
Christian
Thanks so much, Annisa. Your article is greatpy appreciated.I have a 1970s vintage concert shirt that cost me a small fortune and I somehow got a hole in it smaller than the size of pencil lead. Waiting on my order of Liquid Stitch to try and fix it. You Rock 🙂
annisa
I hope it works well for you! You’ve got to preserve that shirt for sure!!
Marie Lee
This post saved my favorite t-shirts. Thanks for sharing 🙂
annisa
YAY!!!!
Dijon
Fixing the blemish In the black part is easy. The trick I use is a black sharpy permanent marker- very carefully tint your odd spot till its black as your shirt. Then let dry completely. After u can spray a little
White vinegar and that will help the color stay permanent although it may not be necessary but it doesn’t hurt to be double sure. Never tried other colors as it would be harder to match.
annisa
I haven’t tried this! Now I’m curious! 🙂
Becca
Thank you so much for this tip! I just put on my favorite T-shirt this morning, and noticed a small hole on the front. Since it’s my favorite and I had altered it to fit *perfectly,* I was not going to throw it out without ruining my entire day. Thanks to you, I neither have to dispose of it, and my day is no longer ruined!
annisa
Yay! I love to help someone avoid a ruined day! I’d love to see how you altered a t-shirt, by the way.
Kathleen Flood
Yesterday my daughter cut two holes in her “kitty cat dress” and was extremely sad after she realized what she’d done. The first was a tiny almost unnoticeable hole and the second is more of a v-shaped cut. I didn’t really want to sew it because my hand stitching stinks so I googled and came across your post. I remembered that I hand some small bottles of fabric glue from another project! It’s currently drying on the kitchen table but I used Aleen’s Flexible Stretchable and I applied tape to the front of the dress to hold the cut together and used a small brush to apply the glue. Hopefully I didn’t glue the tape to the dress but it was ruined any way. If this doesn’t work I guess I’ll iron a black patch over the cut and hope it blends in with the rest of the cheetah print! Thank you for the idea!
Megan
I have a very thin material shirt and I went to a friends and her new puppy clawed three big holes in my shirt. Do you think it will work with this?
annisa
Can the glue close the holes? Yes. Can you do it and make it look good? That’s the bigger question. The bigger the holes and the more prominent the area, the harder it will be to disguise because this isn’t a perfect fix. It takes a little finesse, but it’s a pretty darn good fix for small holes. It sounds like your shirt is already ruined, so it might be worth it to try. Wish I had a more definitive answer for you!
Vicki Wilkins
Can this also work on the “pesty” holes we get from the button on our jeans (rubbing against the counter tops from doing dishes LOL)
annisa
I think the best cure for that is not doing dishes! LOL! Honestly, I have not tried it with a thicker material like jeans. I have used fabric glue on hemming dress slacks and lighter weight curtains – even making pillow covers, but I have not tried it on jeans. I imagine it could bond the material, but since traditional denim doesn’t have a lot of “give” then it would pull apart fairly quickly. In this case, I think you’d be better off with a few discreet stitches with needle and thread.
Connie McDill
I have a purple “team” shirt. It has about a quarter-sized hole in a discreet area on the side toward the bottom. I’m going to use all your ideas… will put a lightbulb on the outside and put a few stitches in as though mending a sock. Then will use some fabric glue to fill in between the stitches. I have a purple Sharpie to then color the glue. I’m excited to see if it works. If not, at least it will have kept me busy and off fb for awhile (newly addicted).
annisa
That would be a tricky fabric to mend! Let me know if Sharpie works. The glue should dry clear. Good luck!! Sounds like you have it all under control!
Pingback:
Wolfy Sparks
I have an inch hole in my shirt because a stupid fucking dog! Will this work?! Theres also a smaller hole under and one above in the stomach area!
annisa
An inch is a big hole. The glue should be able to hold it together (you might have to do a little at a time, let it ry and then finish closing it off), but it’s going to be noticeable – especially on the stomach area. I hope your shirt was the only casualty and you didn’t get scratched too! Take care.
Vicki Lee Hollander
Just to check to be sure as I looked at both the liquid stitch original as well as the liquid stitch fabric mender and it doesn’t say on either tube if it dries clear. Do you like the original better than the fabric mender version?
annisa
Now I don’t know which one I originally used (that tube is long gone), but I just bought the original again. So, it’s a keeper for me. Mine has always dried clear. Test it on the inside of a hem just to double check though. That’s the safe bet. Let me know which one you like! xoxo, Annisa
spotmagicsolis
thanks! Will try it.
annisa
Good luck! I hope it helps in some way!
LastMallory
I have noticed you don’t monetize your website, don’t waste your traffic, you can earn extra bucks every month because
you’ve got hi quality content. If you want to know how
to make extra bucks, search for: Mertiso’s tips best adsense
alternative
jone
Cool
Pingback:
Pingback:
Pingback:
Pingback: