Blanket Ladder With DIY Brass Leg Tips
I recently discovered you can buy thin sheets of brass and now I want to cover EVERYTHING in brass. My first project was jazzing up a blanket ladder with DIY brass leg tips.
This DIY brass leg tips idea should be transferable to almost any blanket ladder style.
You don’t need to have rescued a rotting wood ladder covered in dirt and spiders from under a deck in a house you were renting as I did. I wouldn’t blame you if you did though!
Here’s how I made the brass leg tips for my blanket ladder:
The thin brass rolls I ordered come in different sizes. My roll is about 4 inches tall. It’s thin enough that you can bend and crimp it using your fingers. I promise there’s no need to have Herculean fingers for this task. Just regular finger strength will do.
As you can see below, I cut the brass strip to size with scissors and then crimped the brass sheet around my ladder leg using my fingers. You may want to wear gloves during this project as the brass is sharp when cut.

The next step is to secure the brass leg tip to your ladder.
You either need more than two hands for this part or a clamp to hold your brass tightly in place while you work to secure the leg tip.
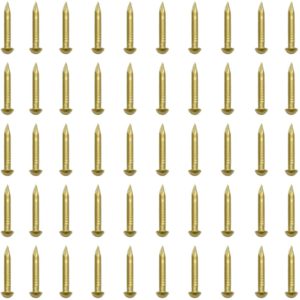
You might come up with a better way, but I used small gold nails to secure the brass to the ladder leg. The nails went through the brass easily enough but did want to bend when the nail reached the wood.
Thankfully, I was nailing the brass to the back of the ladder, so my nails and any I messed up won’t ever be seen. If you like the nail head look, you could nail the brass all the way around the ladder legs. It’s your project – do what makes you happy!
This is optional, but on the 2nd leg tip, I first secured it in place on all sides with a thin layer of heavy-duty adhesive and then added the nails on the back. My goal was to try to eliminate any slight wave in the brass which is caused by not getting the brass super tight to the ladder leg. I think it helped!

The last step is to trim any excess brass off the bottom of your ladder legs.
Most ladder legs are cut at a slight angle so that they can lean against a wall. This creates a dilemma on how to position your brass strip. While you can position your brass to be angled at the top and bottom of the leg tip, it was just easier for me to level it straight at the top and cut off the excess from the bottom using scissors.
Here’s how my blanket ladder started out.
Actually, this was after we cut the rotten wood off the bottom of the ladder. I didn’t mind the jagged wood edges and lived with them for a few years, but it was hard to level the ladder without a piece of rolled-up cardboard shoved under one leg.
Classy, I know.

Drum roll, please!
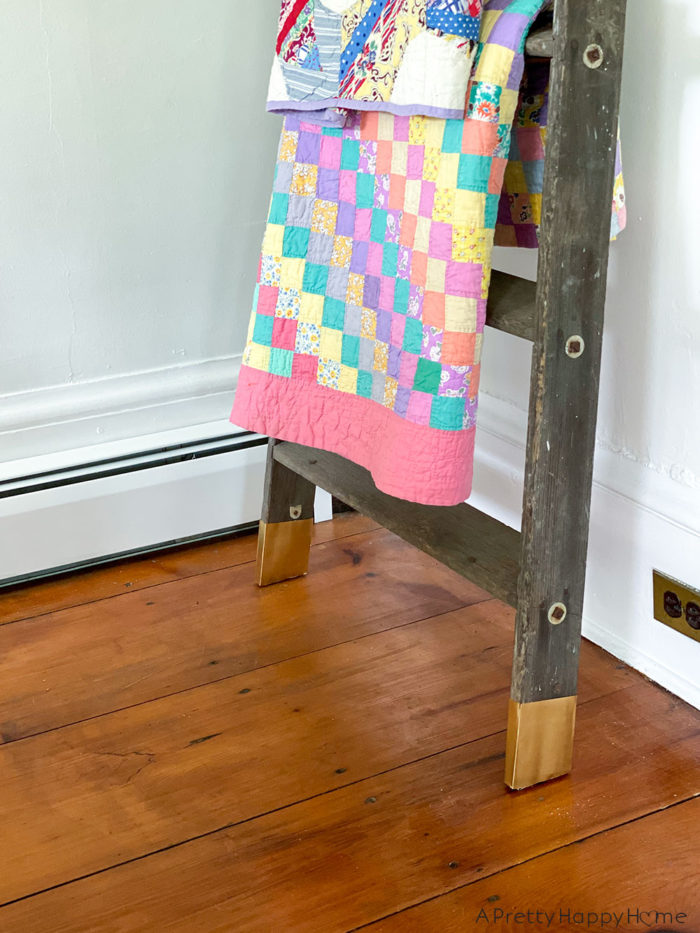
Here’s how my blanket ladder with DIY brass leg tips turned out!

My very rustic blanket ladder is now sporting a bit of glamorous shine and I love that juxtaposition.
The subtle detail of the brass leg tips still lets my vintage quilts be the star of the show, as they should be! The women who handmade these were incredibly talented.

Like many of my projects, these DIY brass legs tips were a one-and-done sort of thing.
It only took me 20 minutes to make them and while I’m so, so happy with how they turned out, I know I could have refined my installation technique with more practice.
So don’t be surprised if I find more excuses to practice my technique around here. This brass sheeting is so much fun to play with and inexpensive too!
If you’ve used or end up using brass sheeting for a home or craft project, please share with me what you create by commenting here or tagging me on Instagram or Facebook. We can be inspired together!
P.S. If your blanket ladder has round, tapered legs, I think this brass leg tip hack I used on a pair of wood stools would be much easier than trying to use today’s method.
Project Resources:
Brass Rolls, 1000mm x 100mm x 0.1mm: Amazon
It was around $15 for two rolls, so I felt like I got a big upgrade to my blanket ladder for not a lot of money. Plus, I have a lot of brass leftover!

E6000 Adhesive: Amazon
Brass Nails: Amazon
I couldn’t find the exact nails we had on hand, but I do like the look of these rounded nail heads. They would look cool if you wanted the nailhead look. The biggest thing is just to make sure they are the right size for your project.
*affiliate links in this blog post*
Thank you for being here today! I hope you picked up an idea or two for your own home. Here are some other posts you might enjoy.
Christmas Tree from a Safety Cone and Copper Sheeting
Wood Stool with a Hack for Creating Brass Leg Tips
USA-shaped Message Board from Sheet Metal
*affiliate links in this blog post*


You May Also Like

Leather Wrapped Basket Handle

9 Pumpkin Crafts to Make This Fall
