
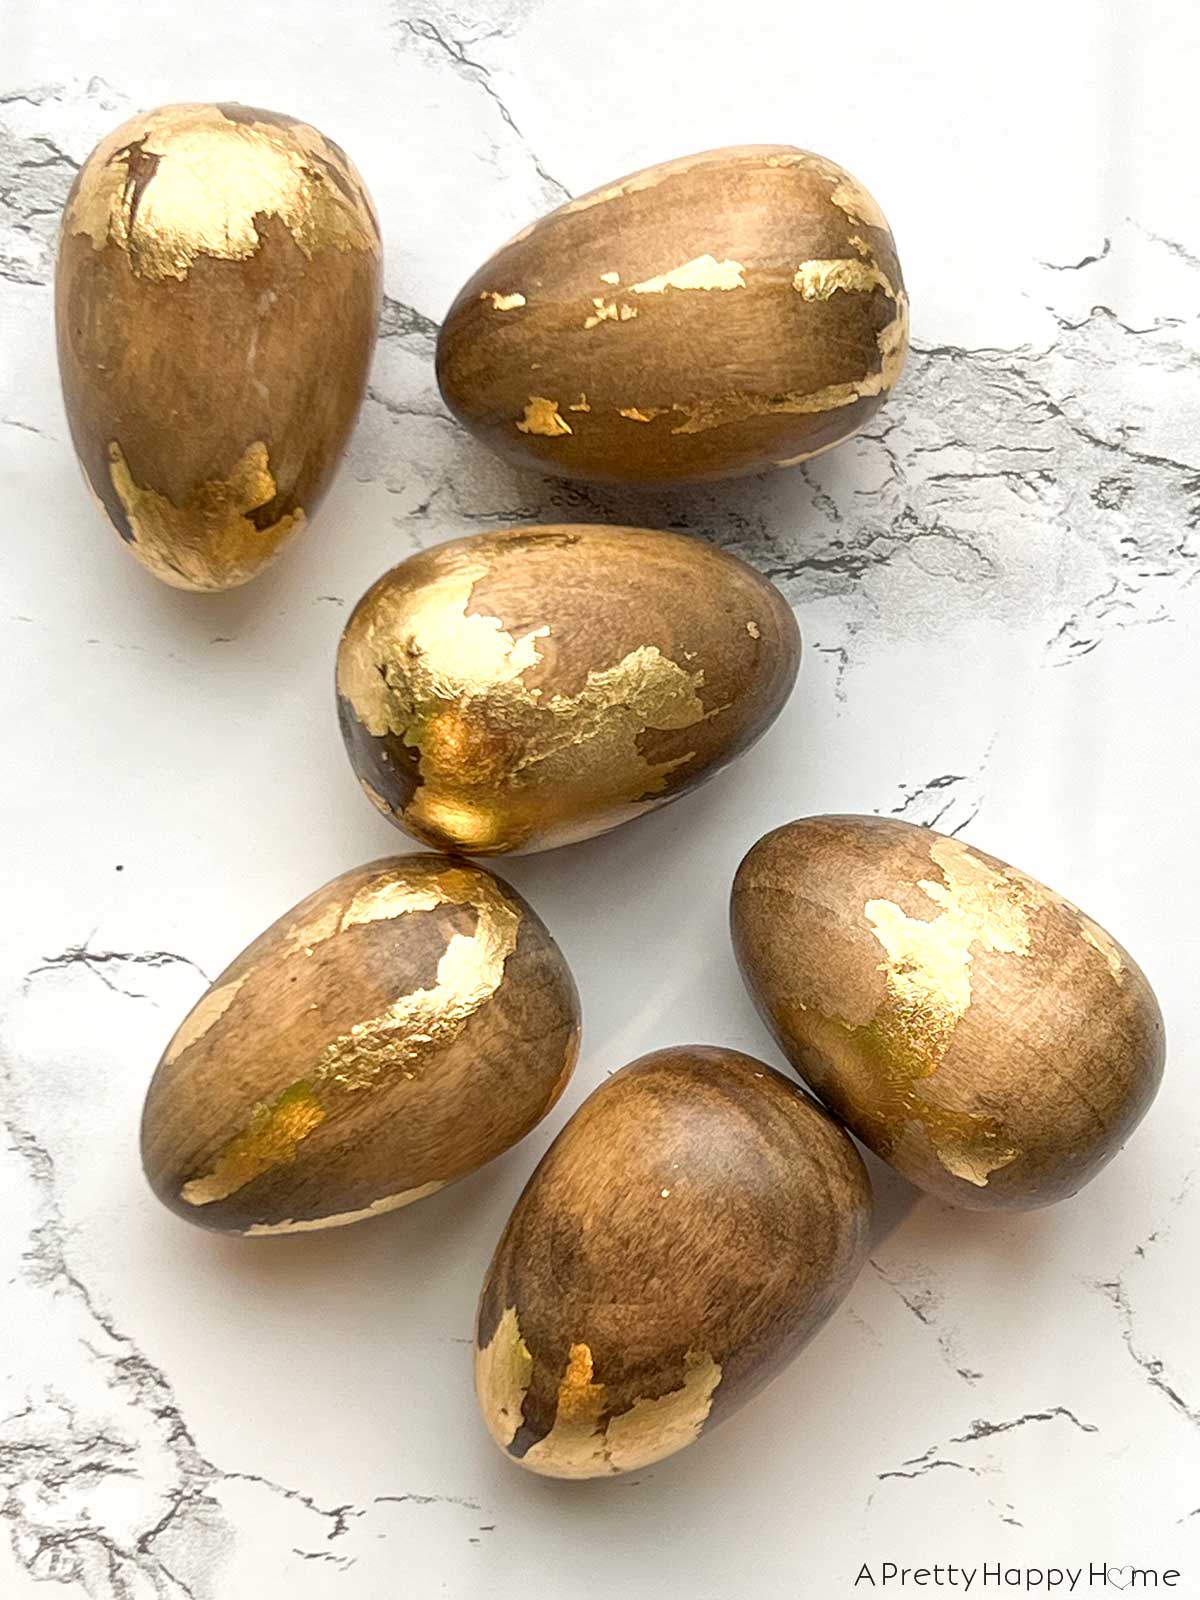
Gold Leaf Wood Easter Eggs
If you enjoy a little bit of bling, you’ll love these DIY Gold Leaf Wood Easter Eggs.
They are easier to make than they look and this idea is easily adaptable to plastic eggs if wood Easter eggs are not your thing.
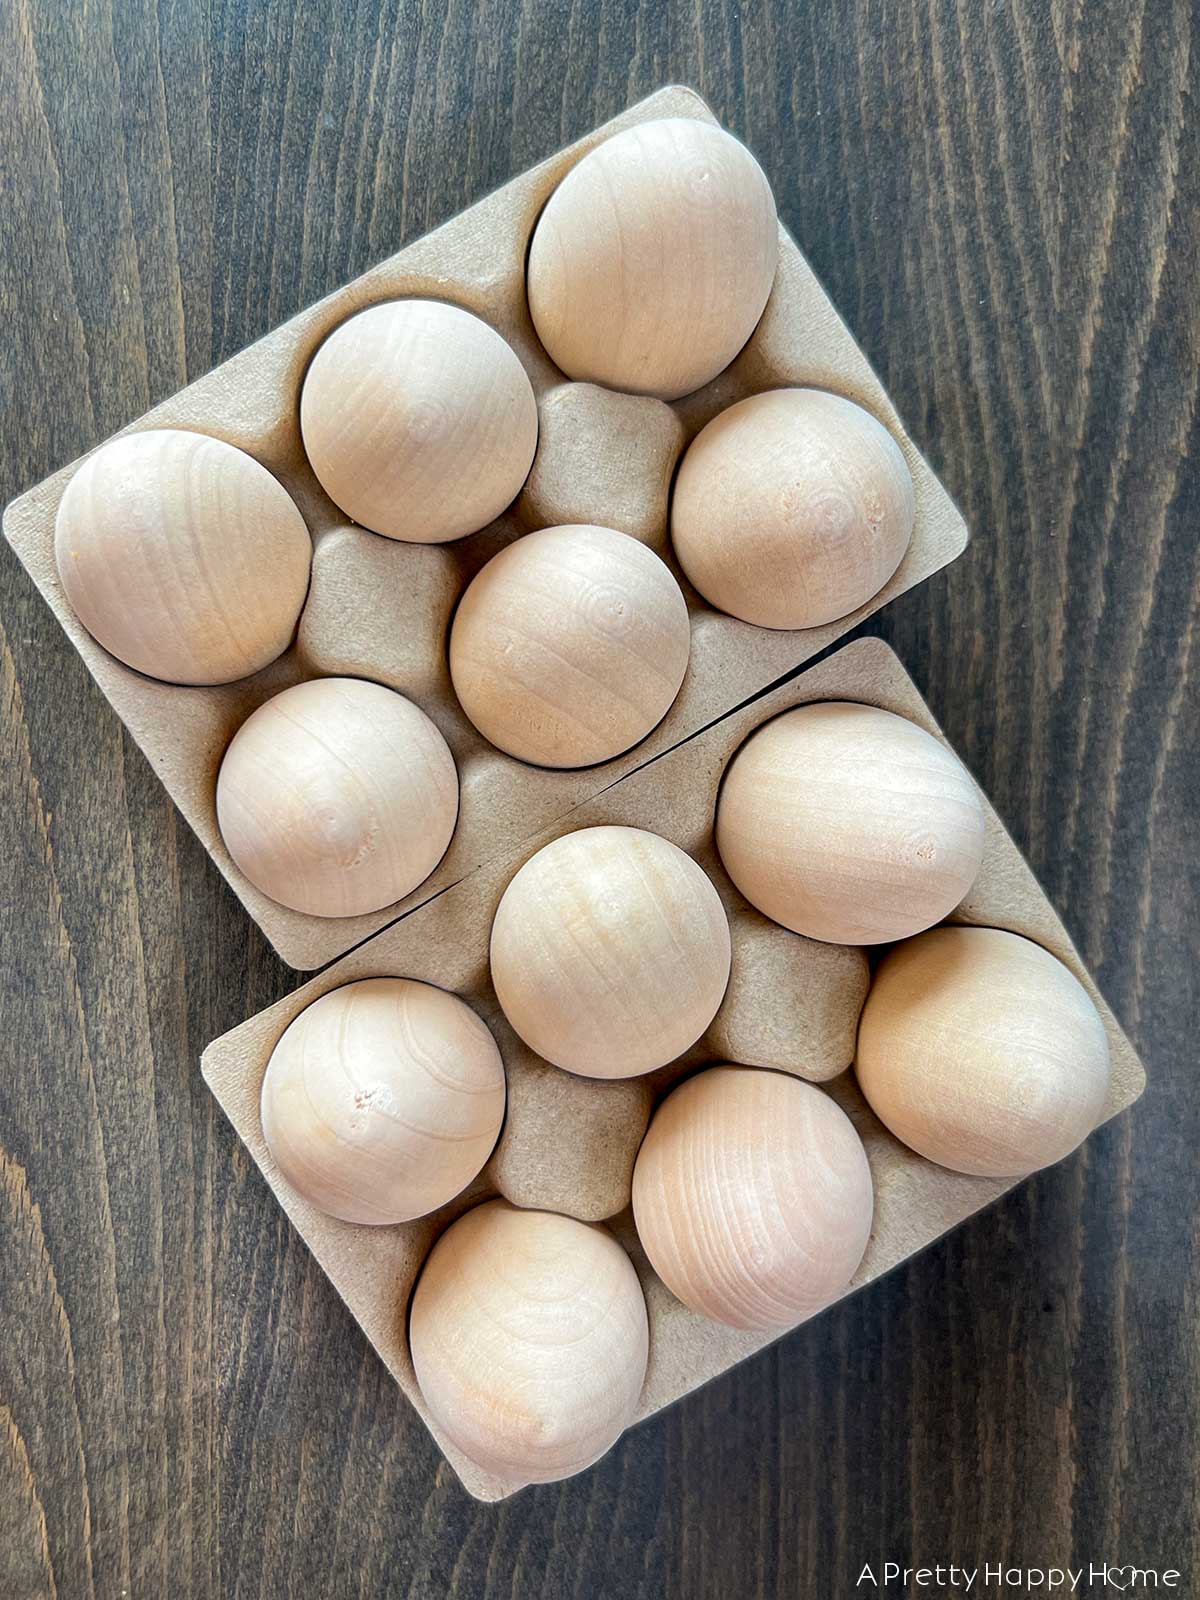
My wood eggs started as a $3 find in the Target Dollar Spot. Don’t worry if you don’t live near a Target. You can buy wood eggs online and I know because I’m no stranger to crafting with wood Easter eggs.
I hatched up an idea to elevate these eggs to something you’d find in the designer section of Target and not in their dollar section. (Don’t even get me started on how nothing costs one dollar in that section anymore.)
I’d tell you that I was pleasantly surprised with how these eggs turned out, especially since this was my first time using gold leaf. However, I’d be lying.
I’m not pleasantly surprised. I’m immensely hoppy. I mean happy. Venturing into the realm of ecstatic even.
You need these in your life, so let’s get to it.
HERE’S WHAT YOU NEED to make Gold Leaf Wood Easter Eggs.
wood eggs (Not from Target, but I’ve purchased these twice and they are awesome for crafts.)
gold leaf
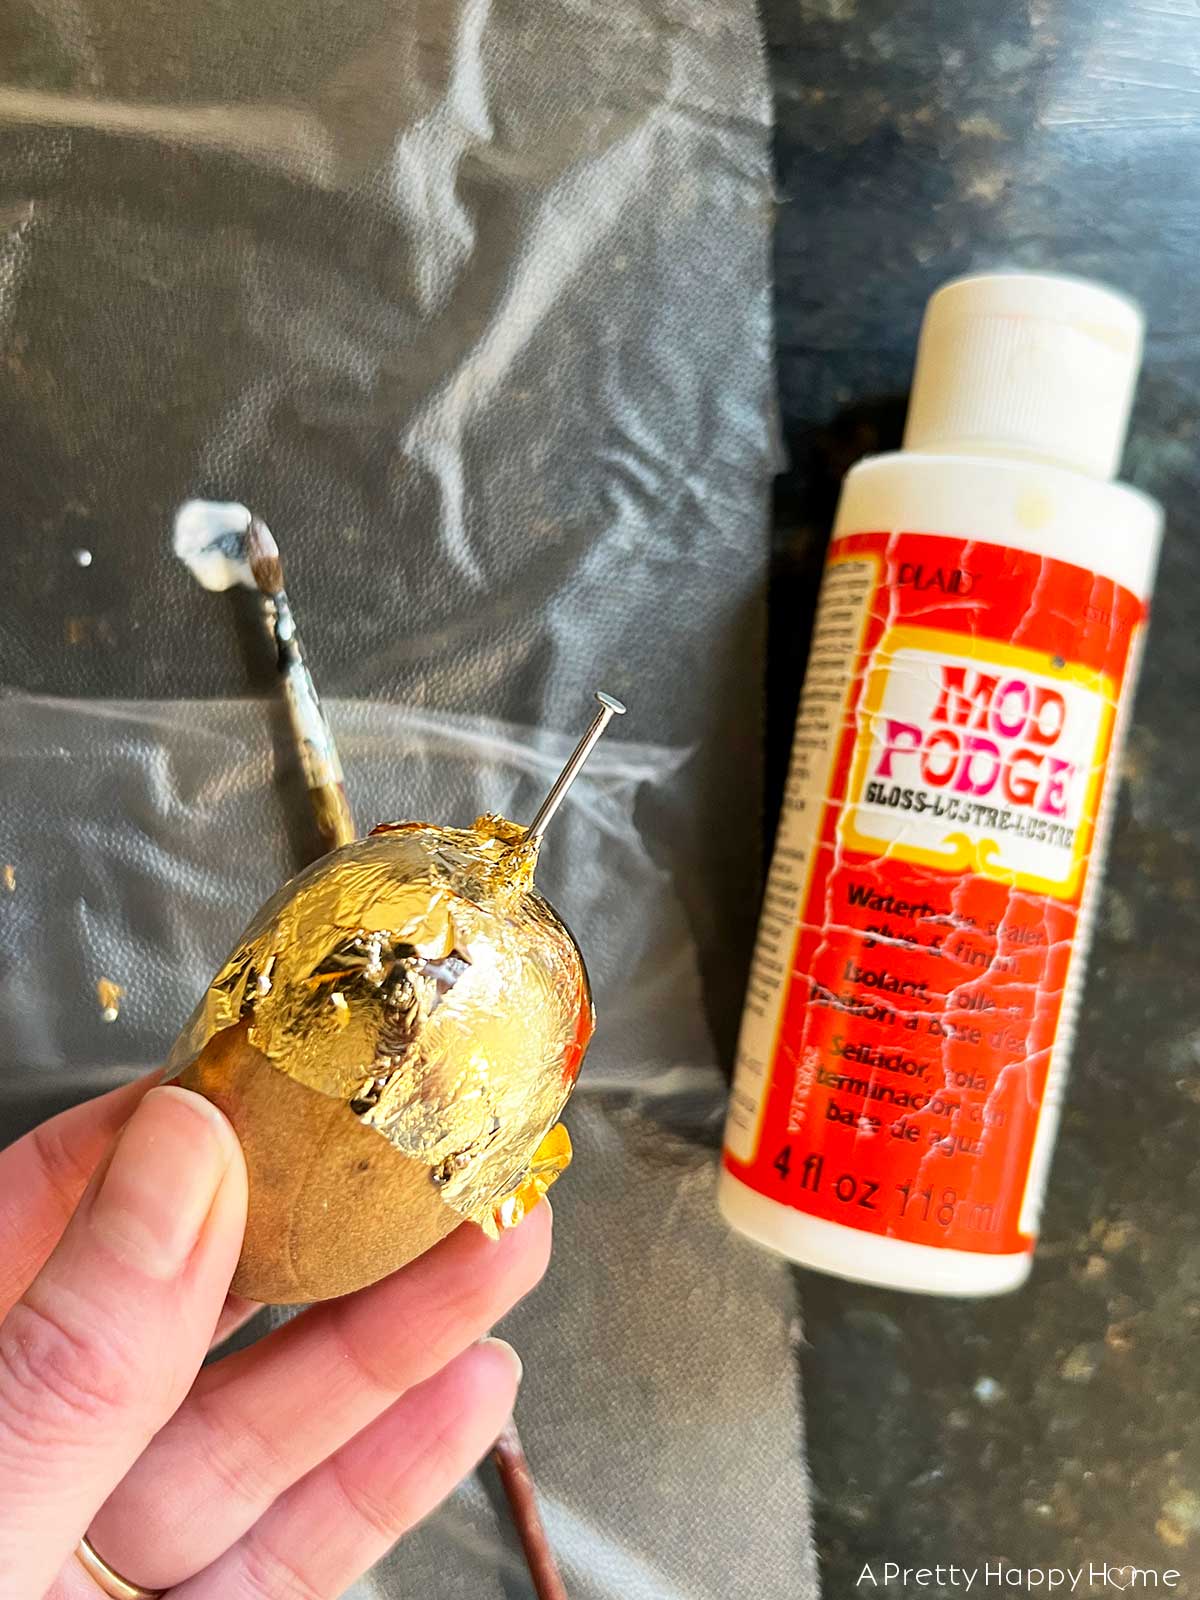
Mod Podge or gilding adhesive
wood stain (optional)
Water-based sealant with glossy finish (Mod Podge works. I used this polyurethane.)
small paint brush
flat paint brush
small nails
hammer
clothespin or string (step 5 will explain this one)
wood skewer and two tall cups (step 5 will explain this one)
Press’n Seal or something else to protect your work area
P.S. There are gold leaf kits, like this one, you can buy on Amazon if that’s easier.
HERE’S HOW TO MAKE Gold Leaf Wood Easter Eggs.
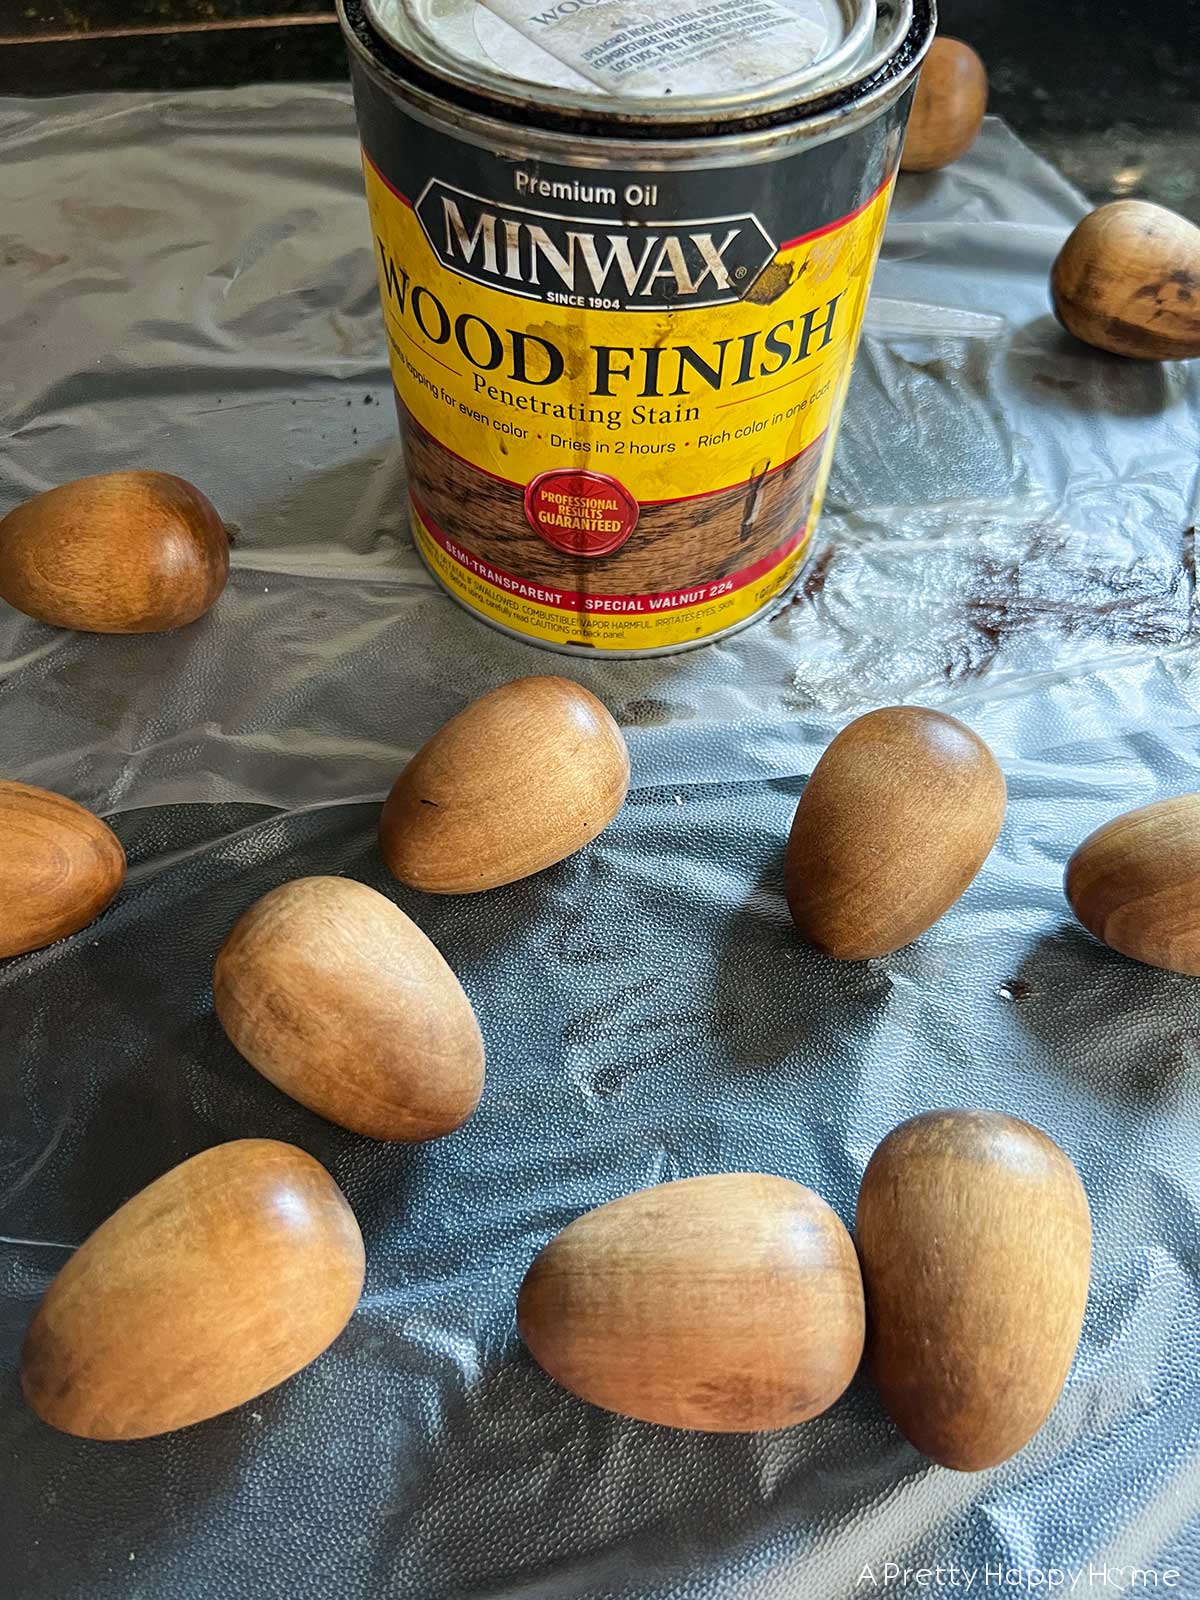
Step 1: If you want, stain your wood Easter eggs.
You can also leave your eggs in their natural wood state.
I used two coats of Minwax stain in “special walnut.” Waiting for the stain to dry is the longest part of this process. I would recommend staining the eggs one day and doing the gold leaf the next.
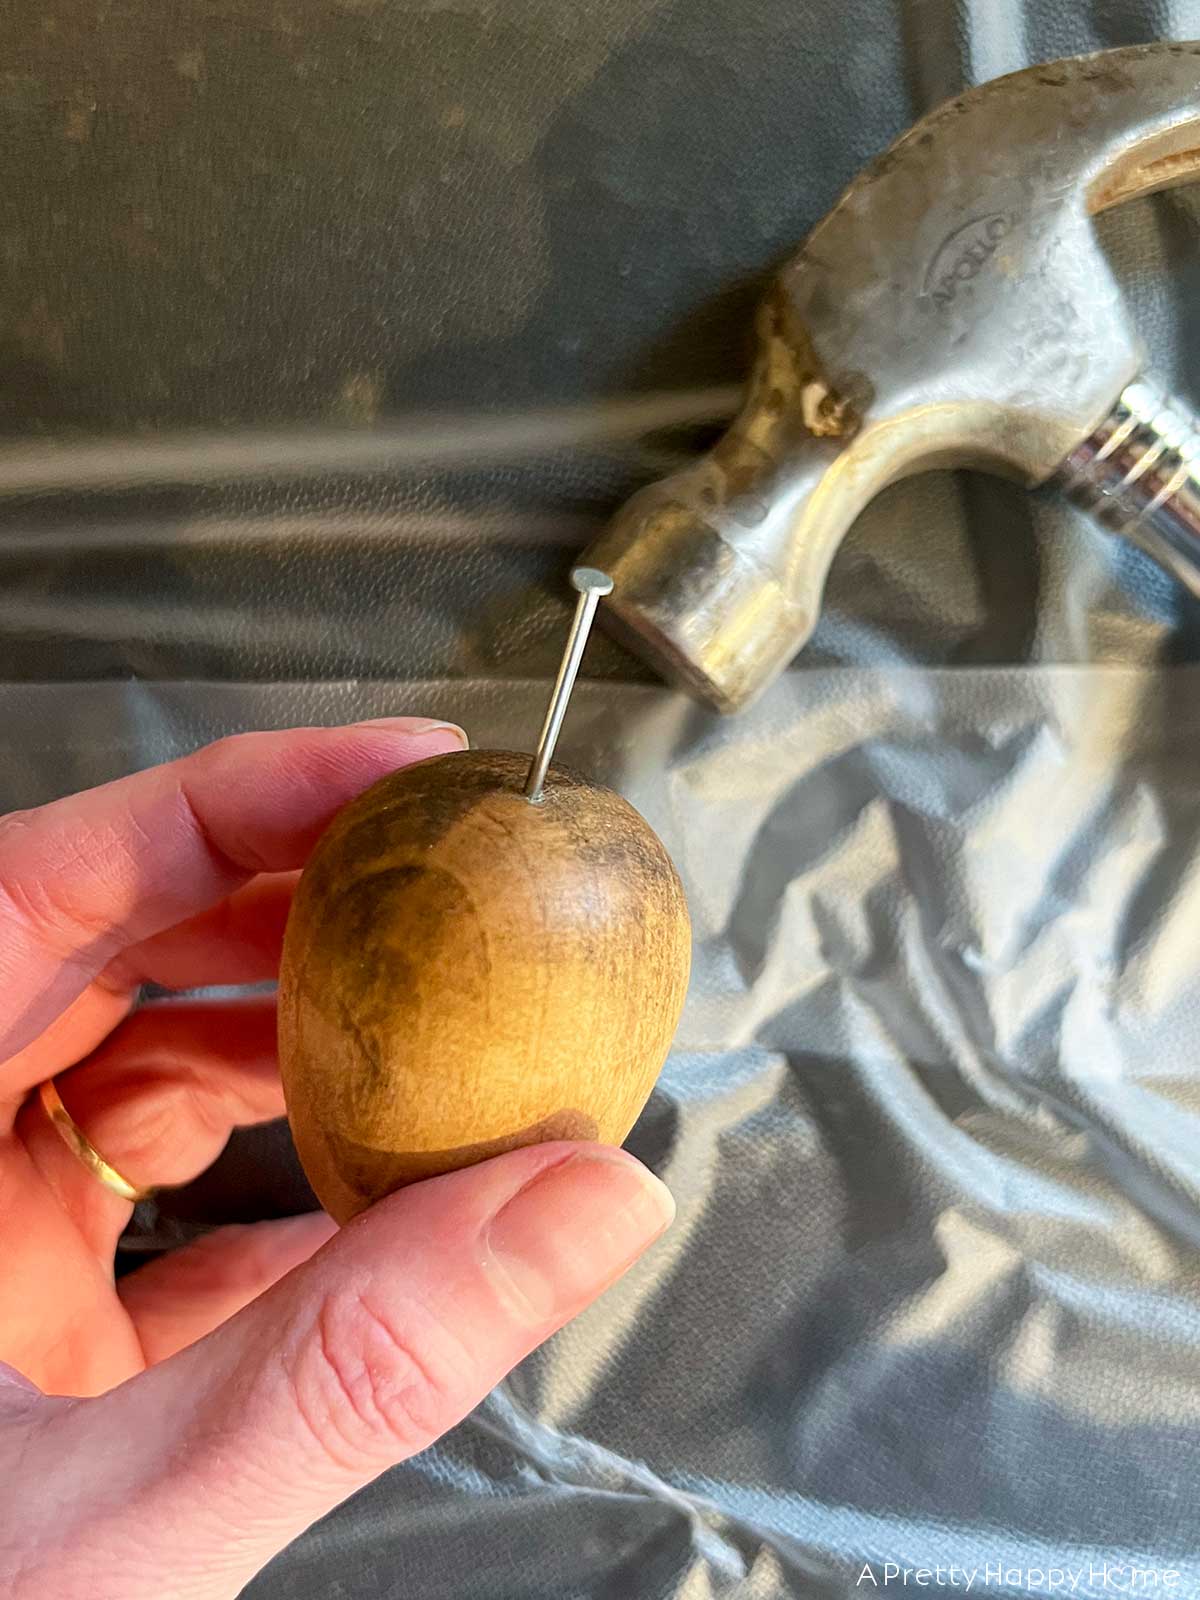
Step 2: Add a small nail to the end of the egg.
This is the most important step of the entire process! If you take nothing else away from this tutorial, let it be this step.
You’re going to need a way to handle the egg when you seal it and a way to hang it to dry.
Tapping a small nail in the fat end of the egg will help you hang the eggs to dry later.
If you can wedge the egg in between something while you tap on the nail it will make this step much easier. Those eggs like to roll around!
If you don’t have small nails, a pushpin might work.
Step 3: Apply gold leaf.
Brush on Mod Podge or a gilding adhesive just where you want the gold leaf to stick. I used a tiny paintbrush for this.
Then, using your hand, quickly press your sheet of gold leaf around the egg. The gold leaf is thin, so it might rip. That’s okay. Just keep adding scraps of the gold leaf until the egg, or the parts of the egg where you applied Mod Podge, are covered.
Wait a few minutes for the Mod Podge to dry.
As a side note, I only used 3 sheets of gold leaf to cover six eggs. A little goes a long way.
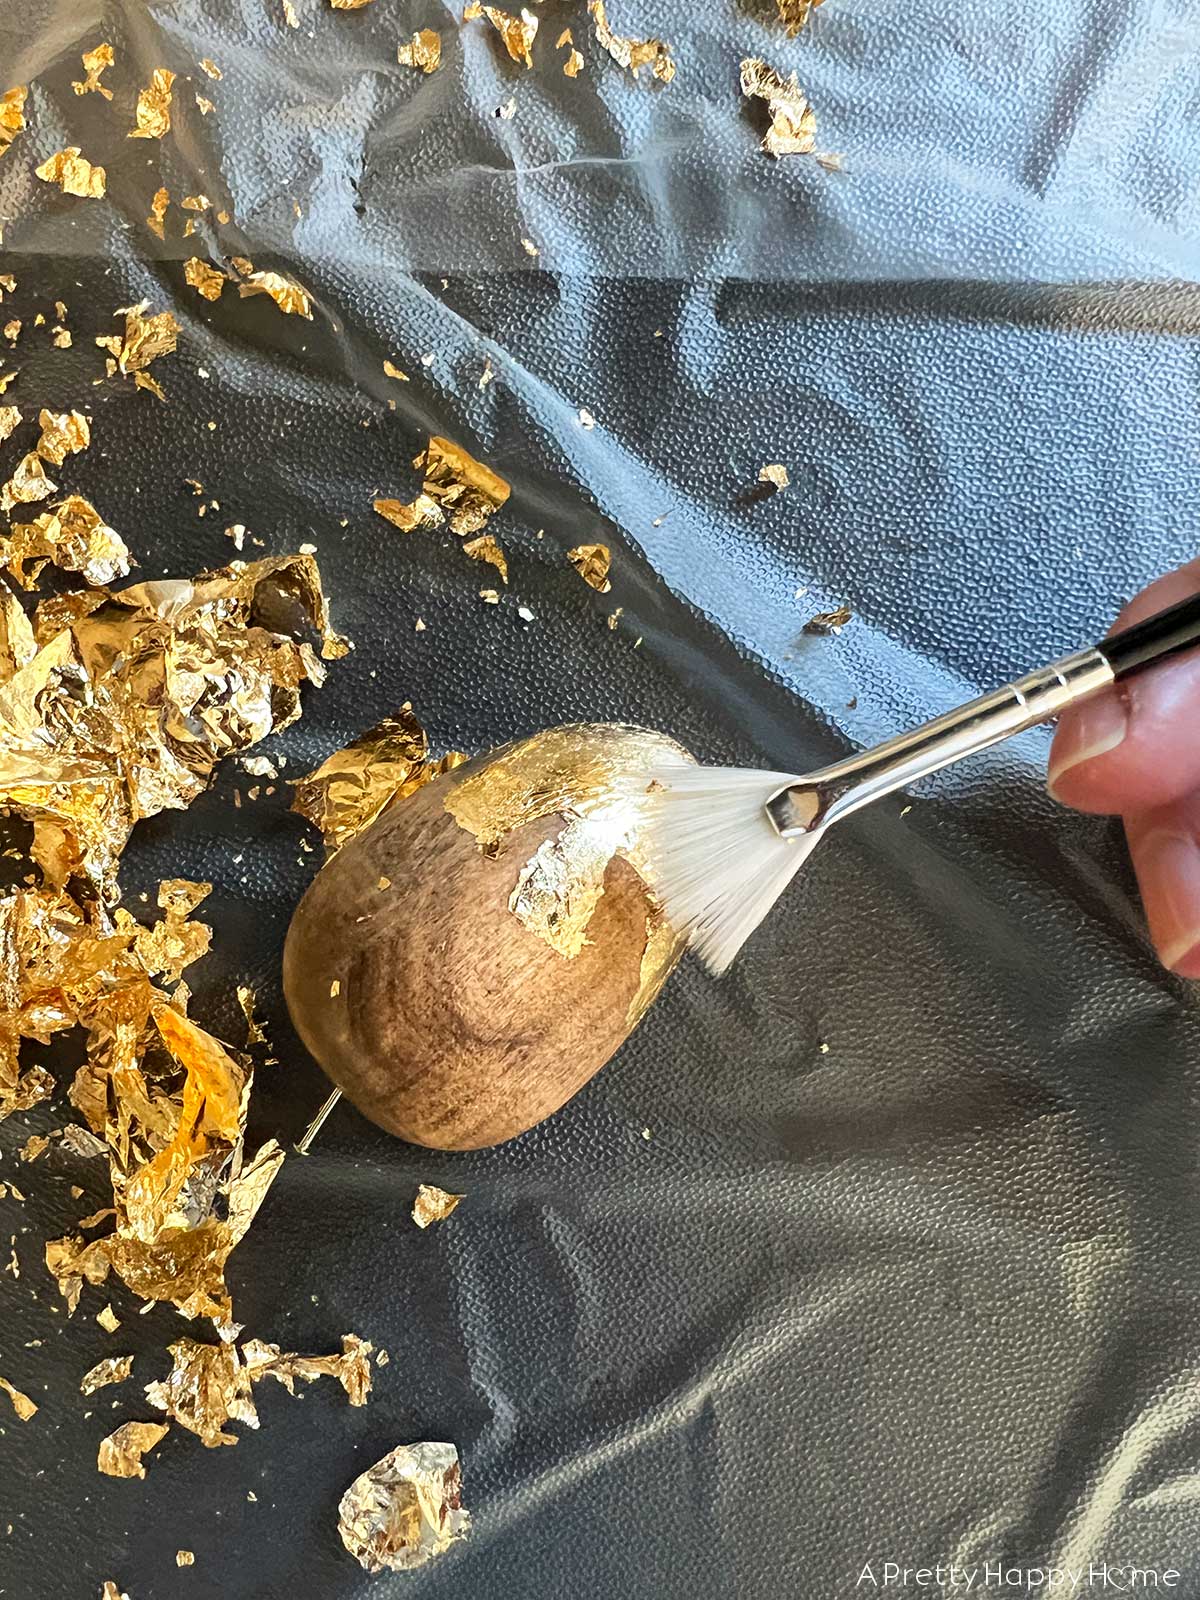
Step 4: Brush off the excess gold leaf.
Please note that I did this craft on my kitchen counter and I layered the counter with Press’n Seal plastic wrap. The Press’n Seal clings to the counter and will make cleaning up the gold leaf at the end of this craft super easy.
Use a flat brush to brush away the excess gold leaf that hasn’t adhered to the egg with the Mod Podge. You can buy gold leaf kits that come with brushes for this. I did not do that. I used a specialty brush for painting fingernails.
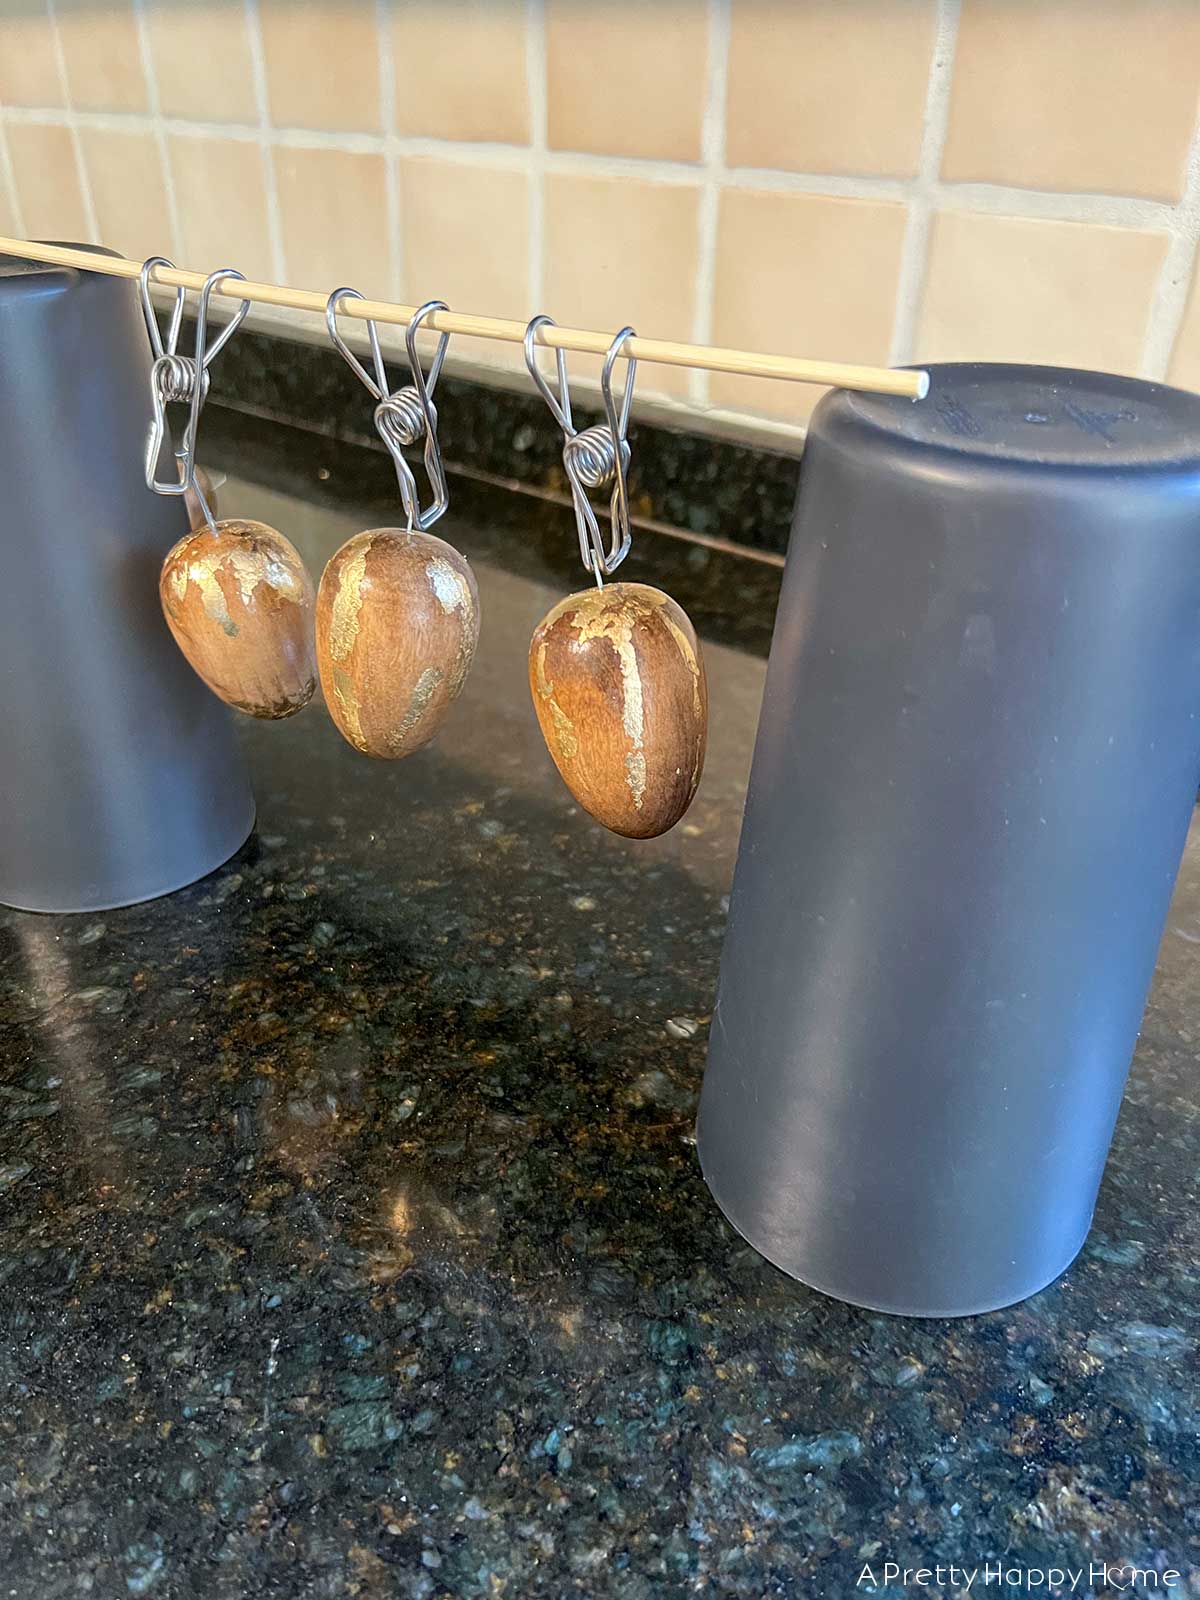
Step 5: Seal your egg.
My understanding is that, while you can buy a specific gold leaf sealant, you can use any water-based sealer to seal your gold leaf.
I tried Mod Podge and that worked well. However, I liked the look of how my 3x Thick Polyurethane looked on the egg.
Before you start applying sealant, attach a clothespin to the nail that is attached to your egg. You could also tie a loop of string to the nail.
Holding onto the clothespin and nail, carefully brush on your clear sealant then hang your egg to dry.
I hung mine to dry from a very sophisticated (wink, wink) contraption of a wood skewer resting between two cups.
With one coat of sealant on the eggs, the gold leaf shouldn’t come off. However, you will feel some texture on the egg. If you’d like to reduce this textured feel, you can add another coat of sealant.
Step 6: Enjoy!
All that’s left to do now is enjoy your Gold Leaf Wood Easter Egg. I should say eggs because I know you’re going to make more than one.
I made a half dozen of these eggs and could have easily made six more because I was having so much fun!
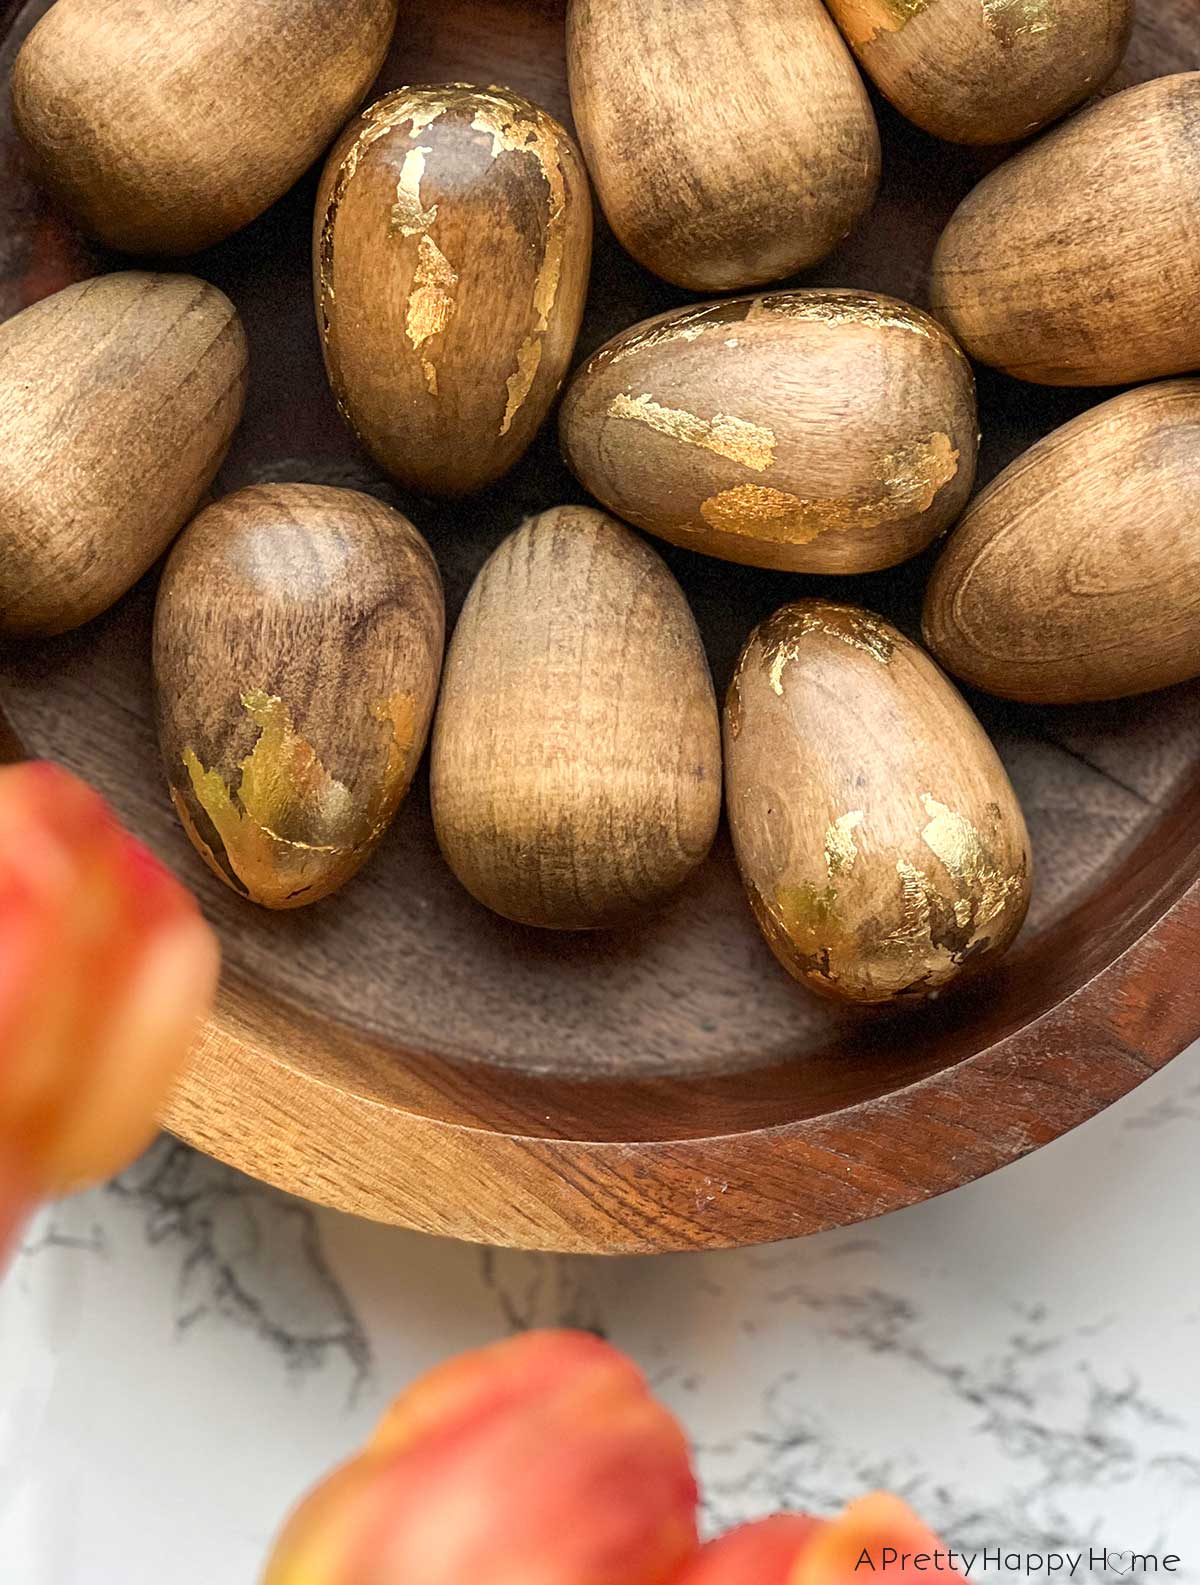
I think my Gold Leaf Wood Easter Eggs look pretty sophisticated, especially considering they started as wood eggs from the Target Dollar Spot!
What do you think of these Gold Leaf Wood Easter Eggs? Have you used gold leaf before? I’d love to know. You can always comment on this blog post, email us here, or reach out via Instagram or Facebook.
If you decide to make these eggs, please tag me on social media or email me a photo as I’d love to see and celebrate your creation!
Happy Easter!
P.S. The inspiration for this craft came from Pam at House of Hawthornes. I read her blog post about jazzing up a wood bowl using gold leaf. I didn’t have a bowl I wanted to transform, but I did have my wood Easter eggs. My favorite way to use the internet is for inspiration and this is a great example of how one idea leads to another and pretty soon you have pretty Easter eggs.
Thanks for being here today. Here are some other blog posts you might enjoy.
*affiliate links in this blog post*


You May Also Like
Parachute Man Valentine’s Cards – Free Printable

Halloween Bat Mantel
