Wood Deacon’s Bench Makeover and a Tip for Disassembling a Bench
If you love a good furniture makeover then you’re in for a treat today! We recently completed a wood deacon’s bench makeover that was so satisfying.
This makeover will probably be even more satisfying for you because you didn’t have to do the work! Ha!
I found a wood deacon’s bench on Facebook Marketplace for $10. The listing said it was “priced to sell.” Talk about an understatement.
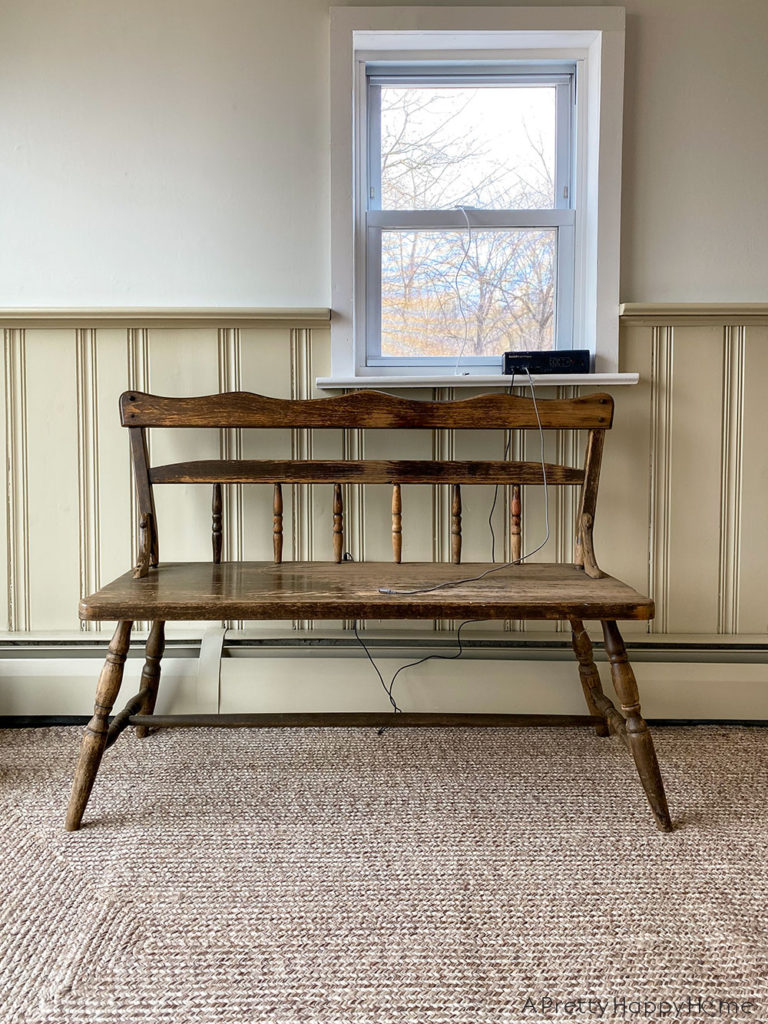
Here’s how the deacon’s bench looked when we brought it home. At first glance, it doesn’t look too bad.
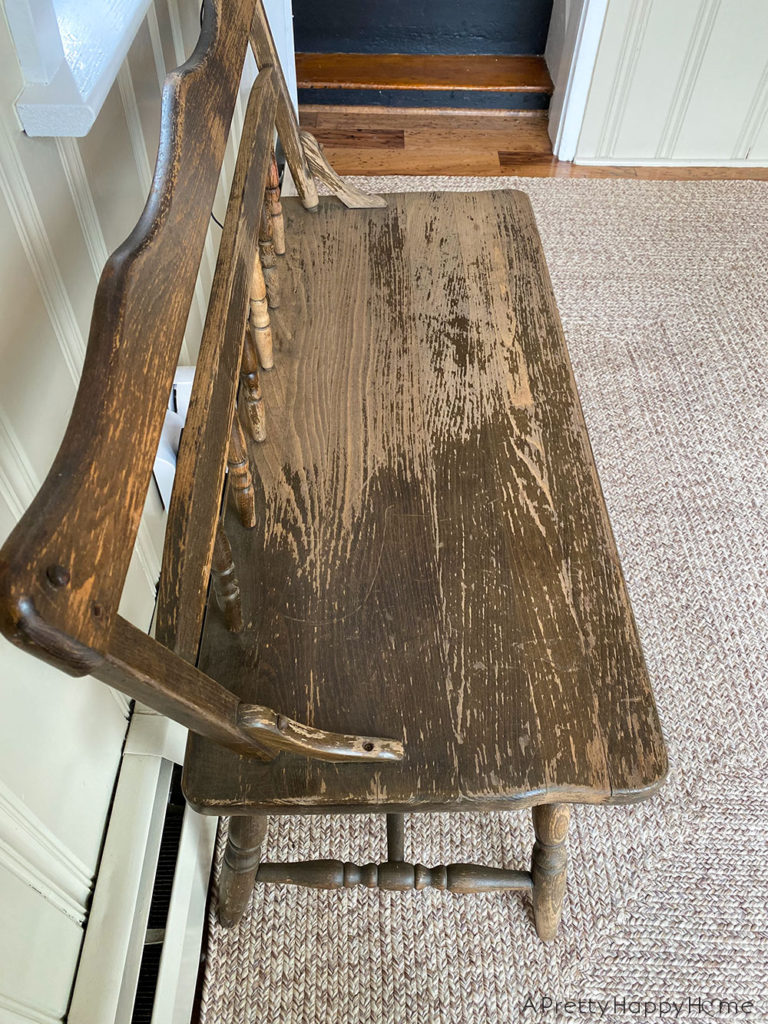
Upon closer inspection, the finish was in rough shape and the legs were a little wobbly.
However, at $10 this was a steal the cheapest wood deacon’s bench I’d seen on Facebook Marketplace. Up until then the least expensive deacon’s bench that I’d seen was $80 and $250 was a pretty common price in my area at the time.
Furthermore, almost every used bench on Facebook Marketplace, no matter the price, is going to need fixing up of some sort.
Therefore, you might as well try to find a deal!
The easiest way to fix this wood deacon’s bench up was to first take it apart.
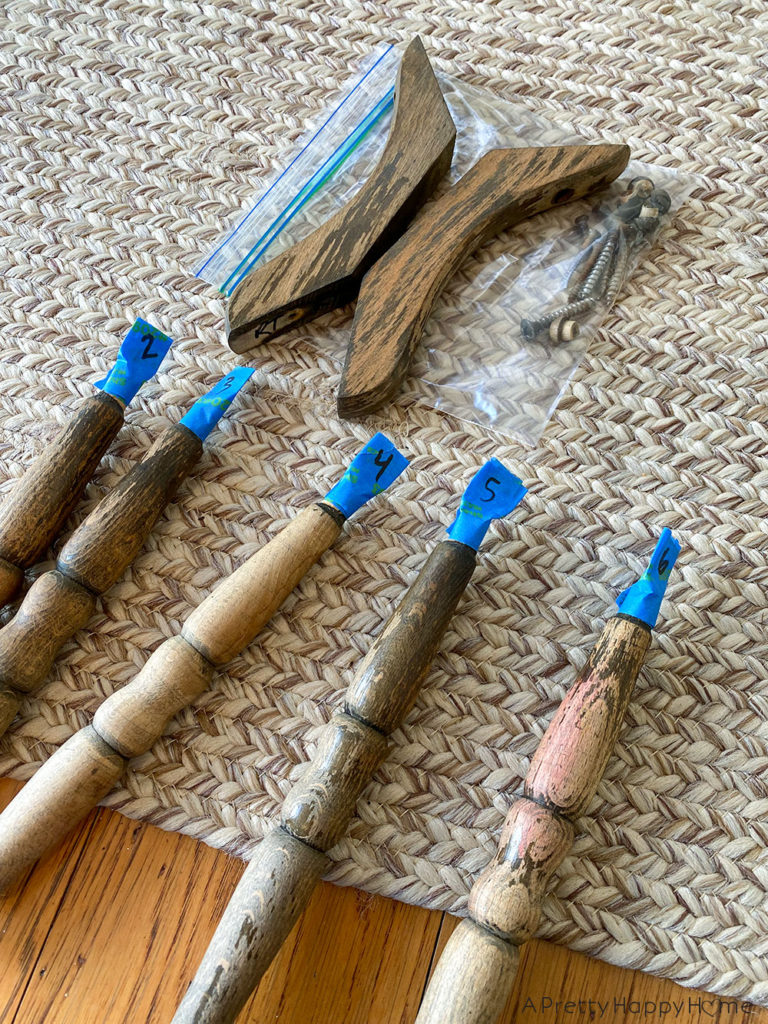
If you only remember one thing I say, please let this bench disassembly tip be it. If you take apart a bench, label each and every piece very, very carefully.
I can’t stress this enough.
Be very specific about your directional labels such as left and right, top and bottom, front and back, and number order. You think you’re going to remember which piece goes where at the time because you’re super smart like that, but you’re not. Trust me, you’re going to forget.
The only reason I knew which was the top of the spindles in the below picture (yes, it matters) was because I only put tape on the top. That really could have messed me up when I was putting the bench back together.
You don’t need a puzzle where you are unsure if the pieces fit, especially if it is a puzzle that needs to hold your weight.
I stripped the varnish off the spindles using CitrisStrip and steel wool.
The CitrisStrip is only taking off the clear coat or varnish that was coating the outside surface of the spindles. It’s not removing much, if any, of the stain that has penetrated deep into the wood. If you want to take the spindles back to bare wood, they would need to be sanded.
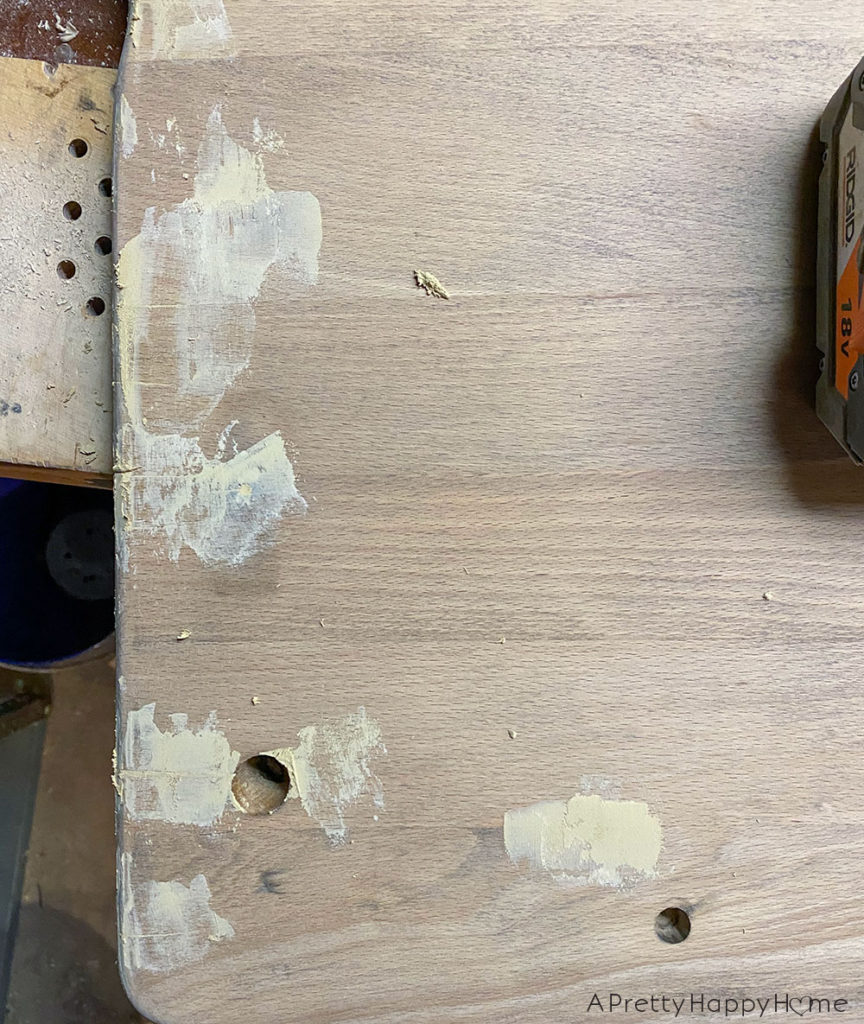
While I risked not being able to match the finish on the spindles and the bench seat, I did sand down the bench seat to bare wood.
This was mainly because we used plastic wood filler (like Bondo that dries hard) to fill in some cracks in the bench seat. That meant it was going to need to be sanded anyway.
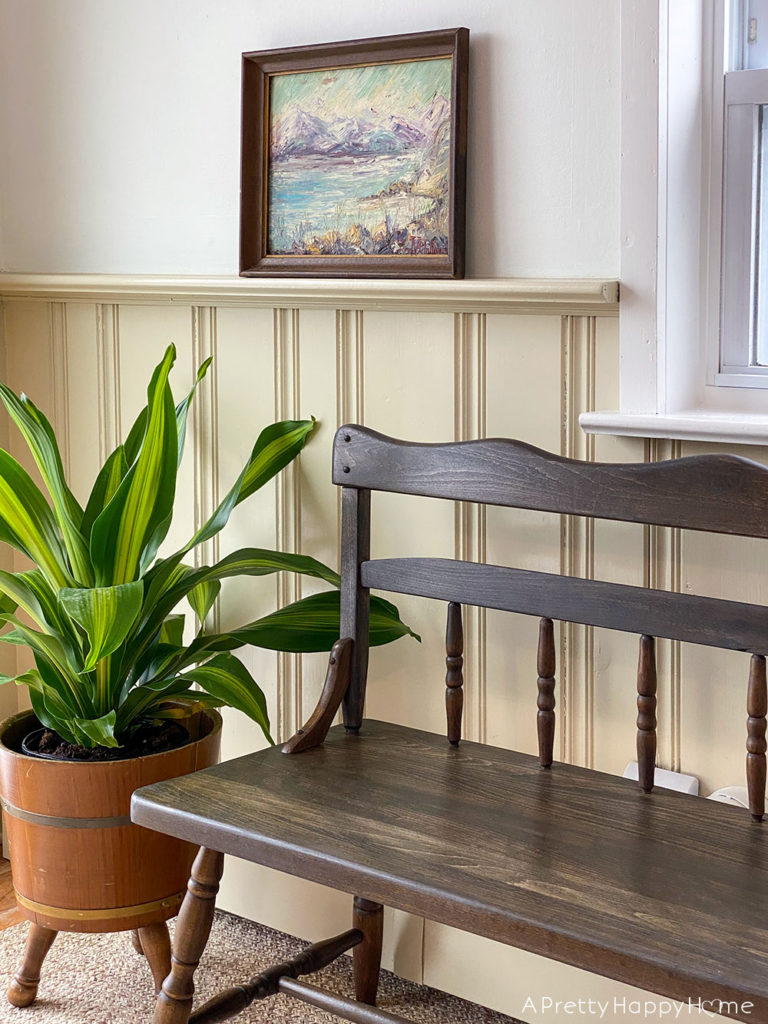
Then I stained everything with two coats of ebony stain and then added two coats of Minwax Antique Oil Finish.
While you do have to wait 24 hours between coats when using the Antique Oil Finish, I’m really into using it lately because it is easy to apply and leaves a soft sheen on the wood. It’s not overly glossy. It just looks glorious.
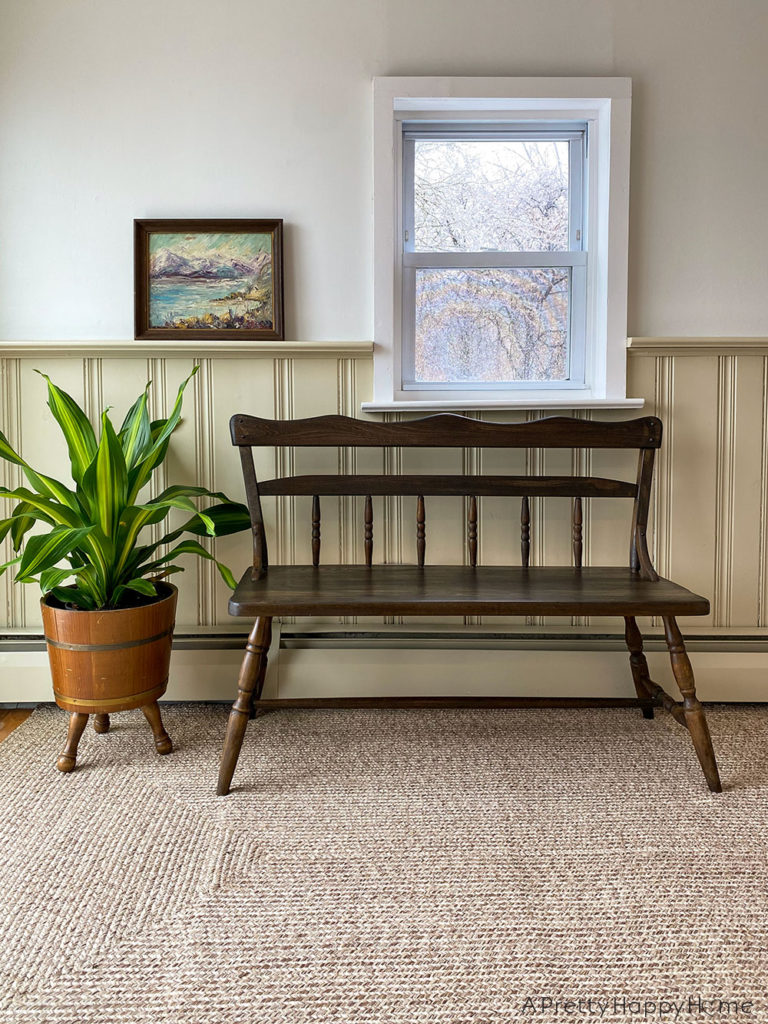
See what I mean?
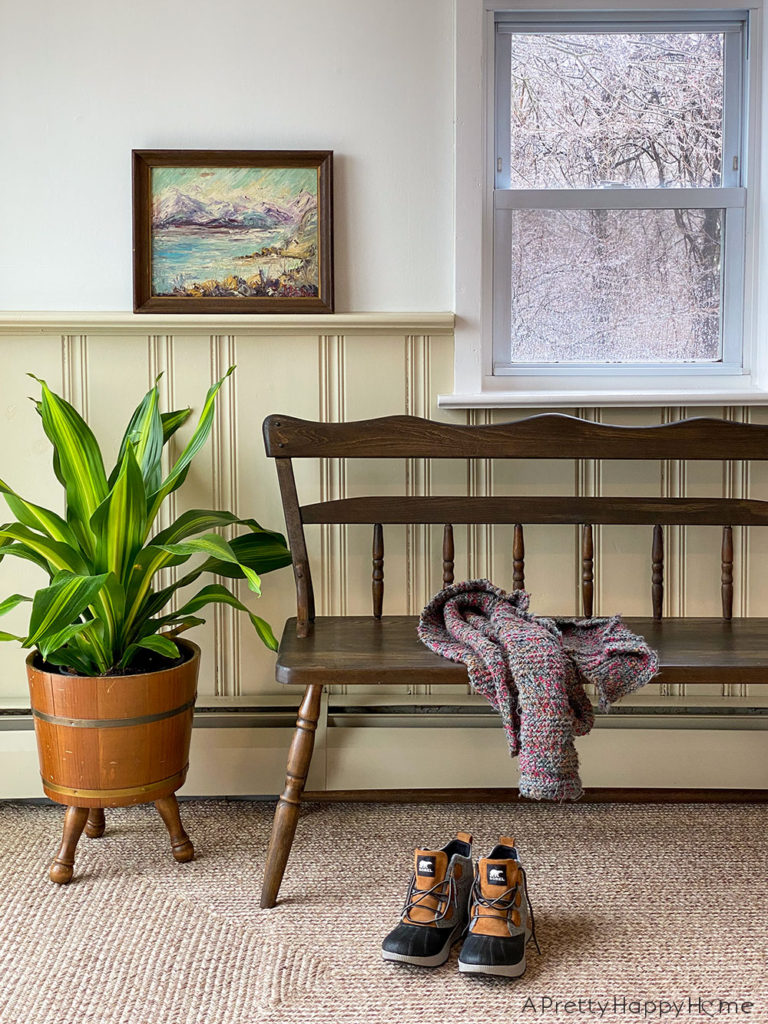
This bench turned out better than I anticipated.
I knew it would be good, but not this good.
It looks like it was meant for this spot, doesn’t it?
I’ve been throwing around the term deacon’s bench in this post. Are you familiar with it?
It’s new to me, but I didn’t grow up in a church with deacons.
The dictionary defines a deacon’s bench as a wood bench with spindles. They were used by, you guessed it, deacons to sit on during a church service.
I have read other websites that say a deacon’s bench should have a lidded storage compartment for storing books that are used during a church service.
This is why we don’t discuss politics or religion at social gatherings. No one can agree!
While the origin of the term deacon’s bench might be in dispute, the internet seems to agree that deacon’s bench is now a commonly used term to describe certain wood benches.
All that really matters to me is that this bench looks good, is comfortable to sit on, and fits this end of our kitchen so darn well!
Even the cat, Sunny, agrees this project was worth it.
I didn’t add it up, but I probably had 4 – 5 hours of active work time restoring this wood deacon’s bench to its present glory.
At one point I said to myself, “If this all goes wrong, this bench seat is going to make an epic cutting board.”
Seriously though, lumber in general and hardwood, in particular, is expensive. I could not buy all the materials for this bench for anywhere close to $10. When deciding on whether or not we start a furniture project from scratch or refinish an existing piece of furniture, the cost of materials is always a factor.
Plus, you know I love saving old things!
I am so happy I ended up being the one to save this wood deacon’s bench.
Materials Used In This Project
Stain: Ebony by Minwax
Finish: Minwax Antique Oil Finish
Wood Filler: Dap Plastic Wood
1/4-inch Button Top Wood Plugs (to hide screw holes)
Screw Extractor (A handy tool to have if a screw head is stripped or broken)
Product Resources Shown In These Photos
Art: thrifted
Planter: thrifted
Rug: NuLoom Braided Indoor/Outdoor Rug 5×8
Wall Color: Arcade White by Behr in Satin
Wainscoting Color: Khaki Shade by Behr in semigloss
Scarf: Knitted by yours truly.
Duck boots: Sorel
*affiliate links in this blog post*
Have you done a makeover on a wood bench? I’d love to see pictures! You can email me here or reach out on Instagram or Facebook.
I can’t say often enough how glad I am that you are here. If you’d like to read another blog post, try one of these:


