DIY
IKEA Lamp Hack
On Monday I showed you pictures of my new headboard. It took me a fair amount of time to work up the gumption to show you pictures of where I sleep. It’s a little creepy. Point of clarification: You aren’t creepy, it’s the internet creeper that’s creepy. You are freaking amazing and I’m glad you are here. Anyway, I’m slightly neurotic (I’m sure you couldn’t tell) and posting pictures of my bed meant I had to iron my pillowcases and the part of the flat sheet that would be visible. Oh, and the duvet cover. I’m pretty sure I cleaned my oven too. So, yeah. That was a pain in the butt.…
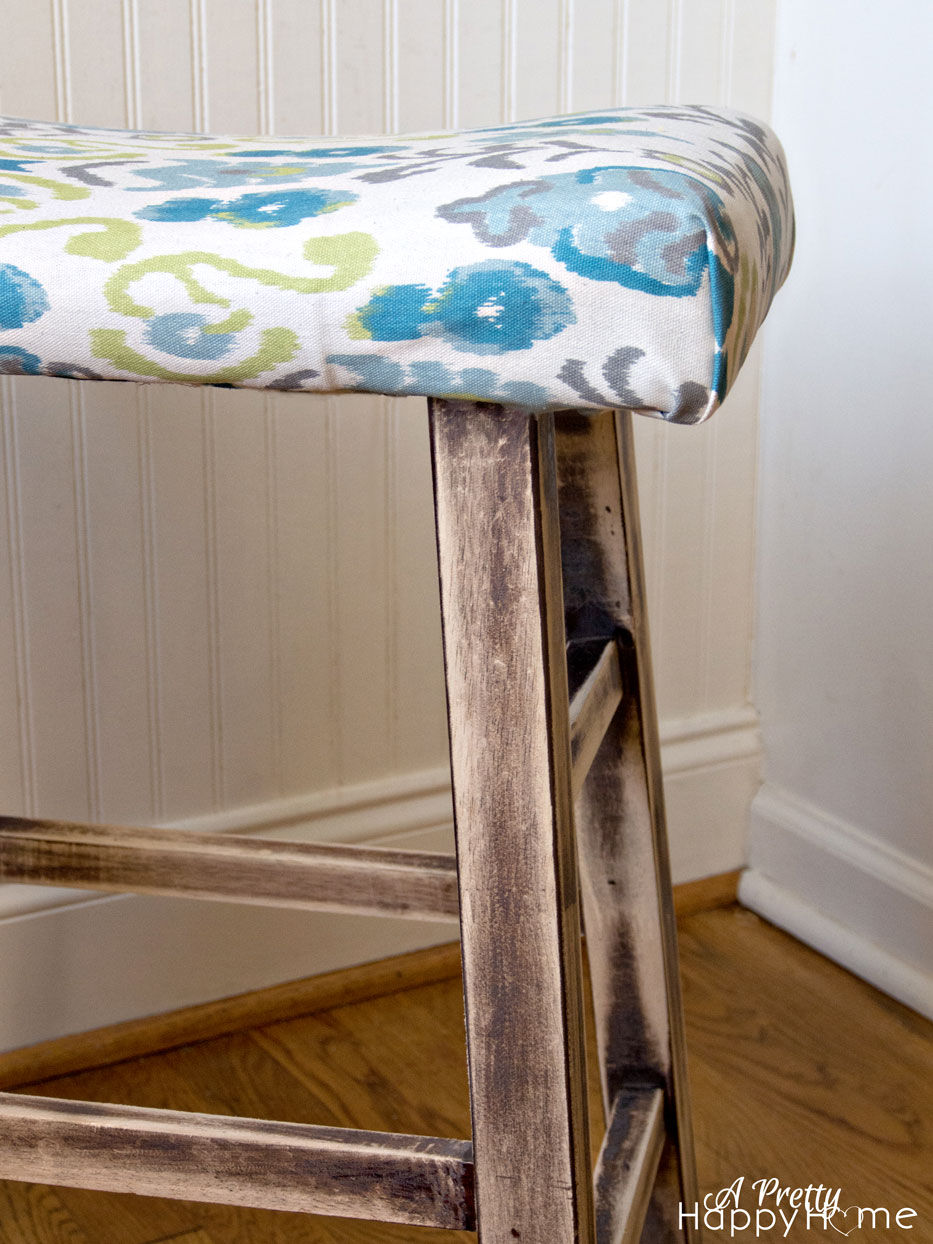
Barstool Make Under
Maybe you remember 137 years ago when I posted this photo? It was more like 3 weeks ago, but who’s counting? That was a chalk paint fail. I was trying to make over these barstools, which I loved 8 years ago. What do I feel now? Definitely not love, but I don’t detest them. That would require too much energy. The wood base was actually in good shape on all three of the stools. The faux leather tops, however, were looking like they’d been mauled by a pack of animals used by small children for the past 8 years. The barstools had admirably served their purpose, but it was time for them to go.…
Step Stool (from High School Shop Class) Makeover Part 2
We have two step stools that were made during high school shop class. Anyone else have such a treasure? After all these years, the stools are still super sturdy. Education for the win! I made over the first stool last year, but the second stool was still in dire need of a refresh. As you can see, it has been lovingly cared for for many years. I decided to makeover the stool using natural wood and stained wood. That’s how my thought processes start – very vague. While I was mulling the direction the makeover should go, I dived in and sanded the stool down with my Ridgid Sander. With the stool freshly sanded,…
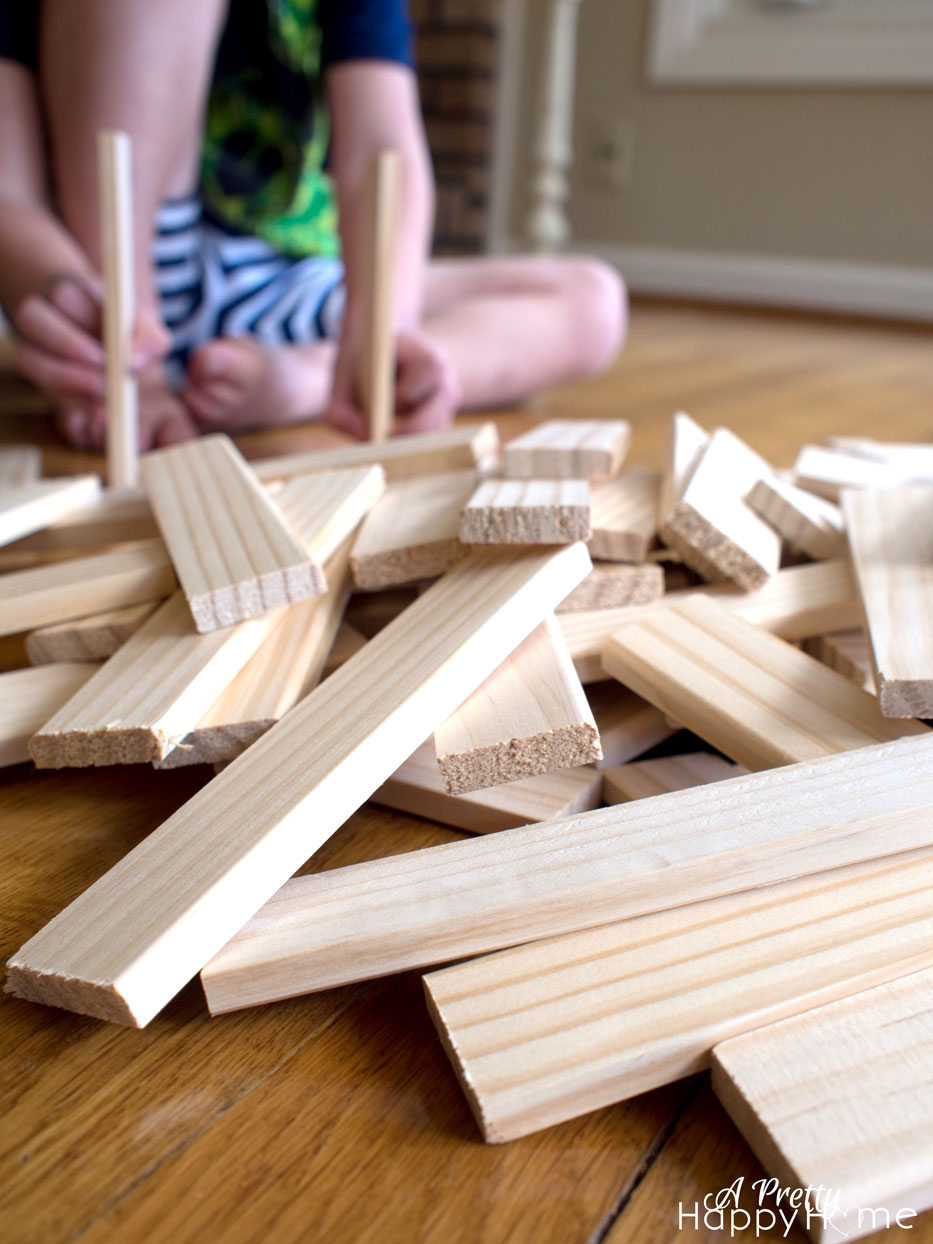
DIY Wood Blocks
Most of the projects on this blog have one thing in common: me. This project is the exception. Besides taking pictures, I had nothing to do with this project. I’ve got to tell you, doing nothing felt GREAT! Ever since we went to Discovery Place in Charlotte, North Carolina, my husband has been talking about making some blocks for our son to play with at home. Because we don’t have enough Legos. On Friday of last week Handy Husband came home with 8 strips of door stop moulding and announced he was going to make a bunch of blocks for our 5-year-old. “You might want to write about this,” he said. “Stop sweet…
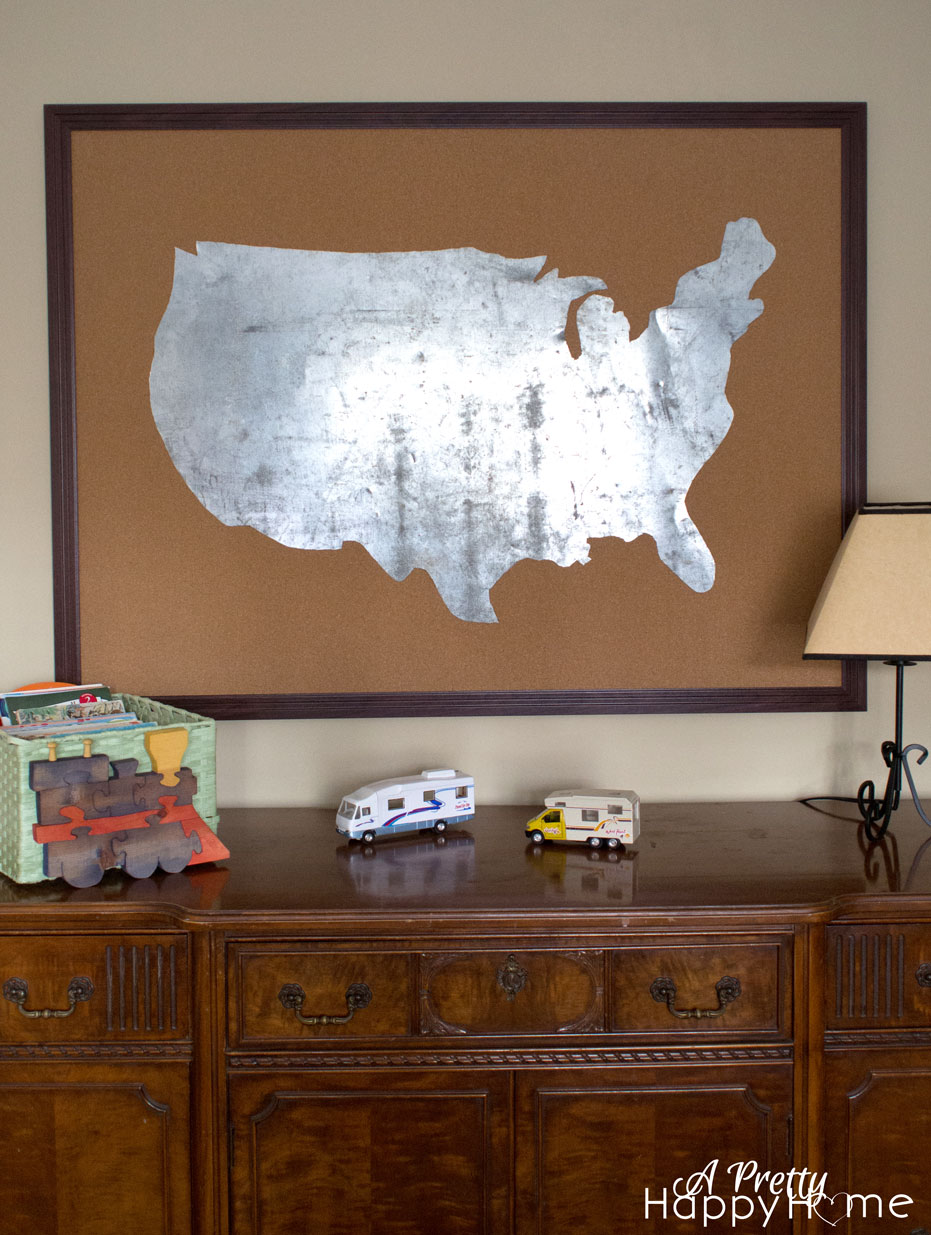
Sheet Metal Map
I’m not sure if it’s all boys or my son in particular, but my 5-year-old doesn’t give a rip about decorating. Now, if I put something new in his room – it doesn’t matter what it is – he’s stoked about the shiny thing for all of 3.2 seconds. Then he’ll move on to the important matters of a kindergartener – whatever those are. In all reality, I’m decorating his room for me. The blank walls in his room gave my wandering mind something to focus on while I read LEGO City: Fire in the Forest! for the 217th time in a row. It’s a fascinating read. I wanted a huge piece of…
DIY Chimney Plug
Chalk this DIY up to one of the most random projects we’ve ever done in the name of saving a buck. We have two wood burning fireplaces we do not use. We could, but for a variety of reasons, we really like our forced-air gas furnace. However, the draft from our chimneys was wreaking havoc with our heating and cooling bill. For some unknown reason neither of our fireplaces have a damper. I could stand next to the fireplace in the living room and feel the cold air pouring into the house this winter. Not good. It’s just as bad as one of my kids leaving the back door open. Except this…
Scrapmaster Project #4: Dove
Last year, Handy Husband decided to rip all of our random scrap wood into 1 inch wide strips. Out of that, we made rolling milk crates, arrow art and a growth chart. There was still a little bit of wood left, but the lengths were all pretty varied. I wasn’t sure what to do with it all, so the wood sat in our garage waiting for inspiration. In the meantime, my kids decided the wood made for excellent swords. I’m sure nothing can go wrong with that game. One day, inspiration finally struck and mommy took away all of the kids’ fun (and quite possibly saved an eye or two). A wooden…
When Would You Paint A Counter?
The the burning question of the day is when would a sane person paint a counter? Answer? When they are desperate. In picture form, desperation looks like this: That is an unfortunate countertop made doubly worse by some sort of permanent marker that even Mr. Eraser and his band of toxic cleaners could not fix. To the child that decided to draw a heart on the counter…I’m not feeling the love. And no, it wasn’t one of mine. The countertop came to us this way. This bathroom needs to be gutted and reconfigured, but that’s not happening in the near future. In the meantime, I thought I would read all of the…
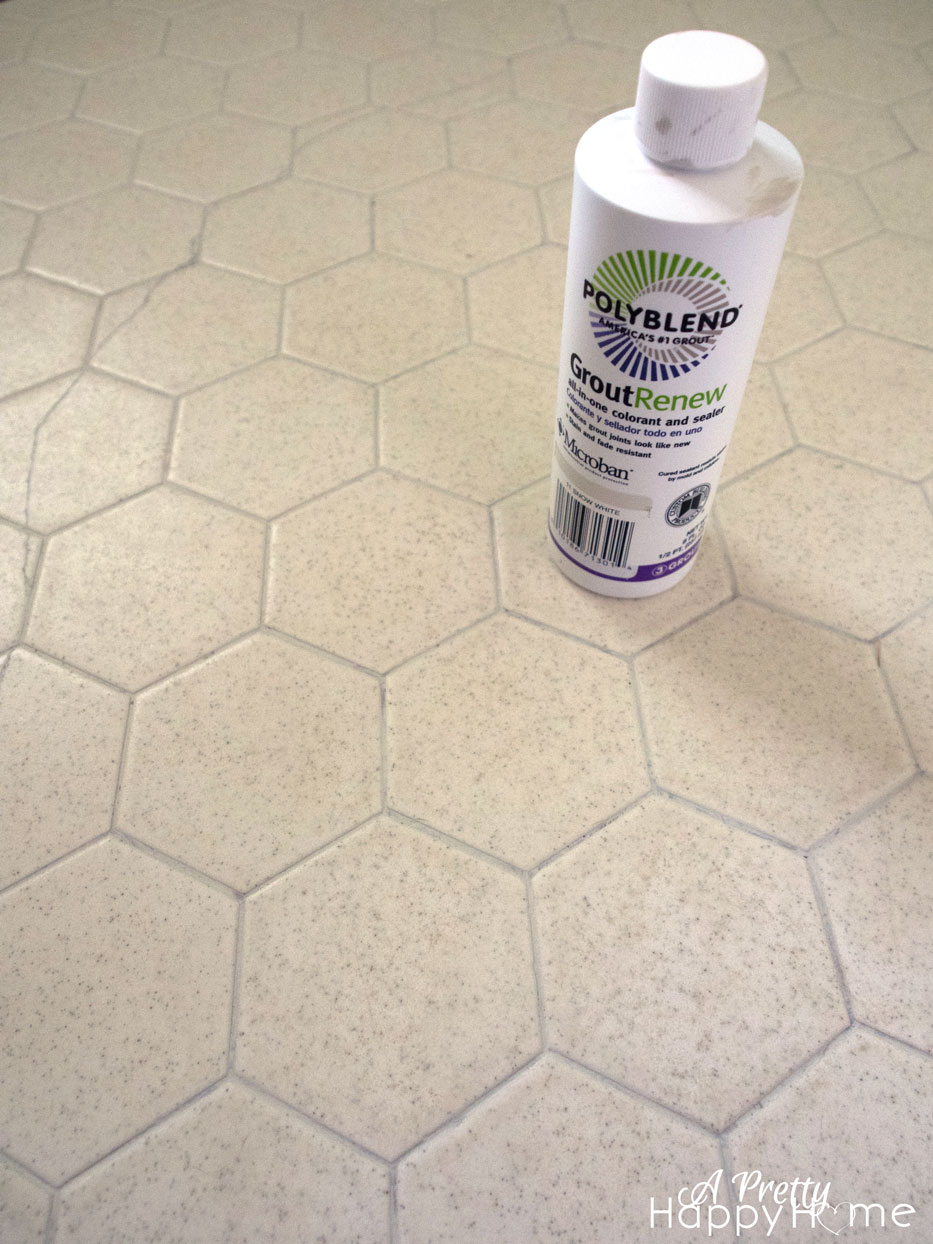
Fixing Nasty Grout Is Pretty Easy
The Junk Whisperer is coming to visit me next month and it prompted me to take a good hard look at the bathroom she would be using during her stay. Normally, if I have to go in there, I just kind of squint and say to myself, “hey, it’s not so bad…if you don’t turn on the light.” I’m fairly certain the bathroom is original to the house. My powers of deduction lead me to conclude that the grout in this bathroom is also original to the house. While I’m holding on to the most fervent of delusions that the grout has been thoroughly cleaned periodically in the last 50 years,…
Arrow Mantel Art
Brace yourselves. Today I’m going to show you a work-in-progress. I thought it would be super fun to see how long it takes for me to figure out how to finish what I started! That was sarcasm, folks. Seriously though, I have a feeling it’s going to take me awhile to figure out how this project ends. It all started because I needed art for the mother of all mantels. It’s probably 8-feet long. As most things begin around here, I had an AWESOME idea and a spare piece of plywood. I’m running out of spare pieces of plywood though, so I might have to stop blogging then. 😉 Through a bit of…